
Are you confused about how to wire outdoor lights? Don’t worry. If you do not know how to wire outdoor lights, you will learn from this article. We will show you super easy steps for wiring outdoor lights.
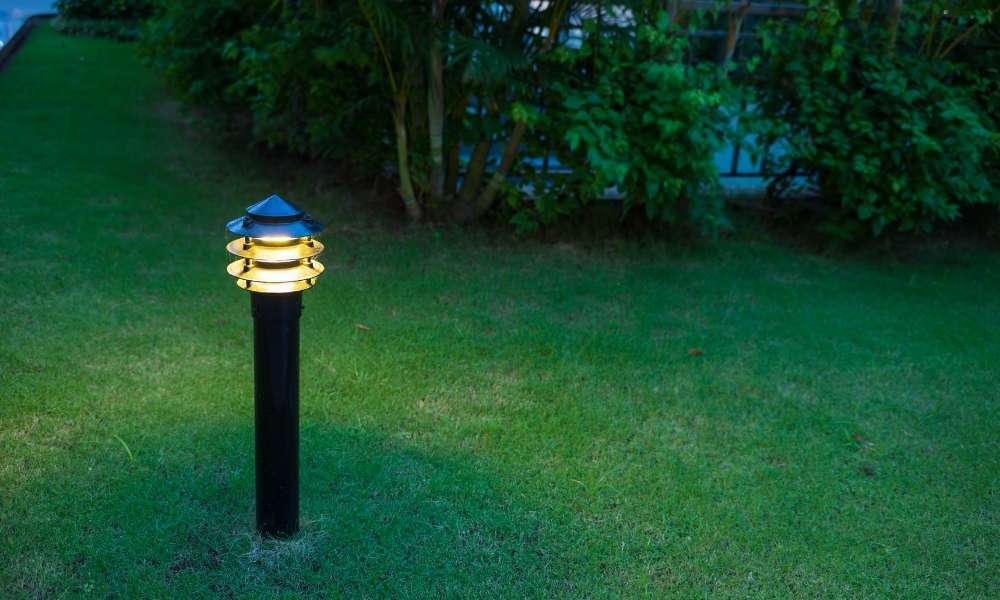
It increases the beauty of your backyard and makes it look classy. The lights illuminate the walkway and the backyard and secure the safety of your house.
There are several mounting options. Mounting the lights with metal stakes is easy. You can keep the color a light clear white or warm white.
It creates an aesthetic outlook and illuminates your walkway to the entrance. The height of all the lights should be the same. You need to mount them properly so that they stay straight and look organized.
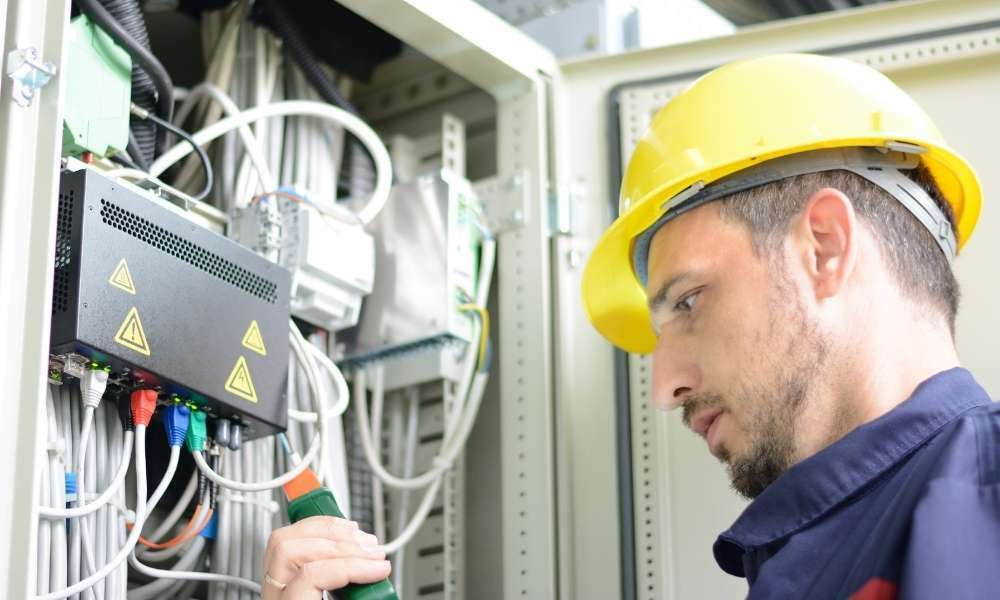
Many people feel it is trouble as they do not know the proper way how to wire outdoor lights. If you do not have any previous experience in electrical work or connecting cables, you can hire a professional electrician.
But you can do it yourself too. You just need to be careful while connecting the wires to avoid any risk of improper connections.
Seeing from even the street enhances the demand for your house. They come with simple and elegant designs.
Read The Instructions
You must read the manufacturer’s instructions. The instruction manual contains a lot of information. You will know the light type and wire type.
Sometimes there can be differences in the models. In that case, you must go through the instruction manual properly.
Choose The Type Of The Cable
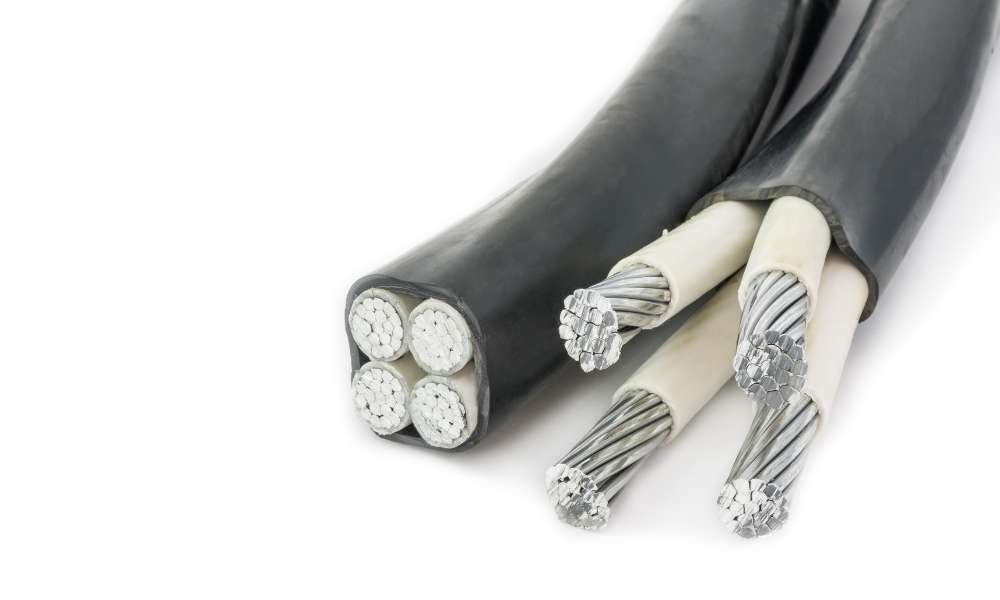
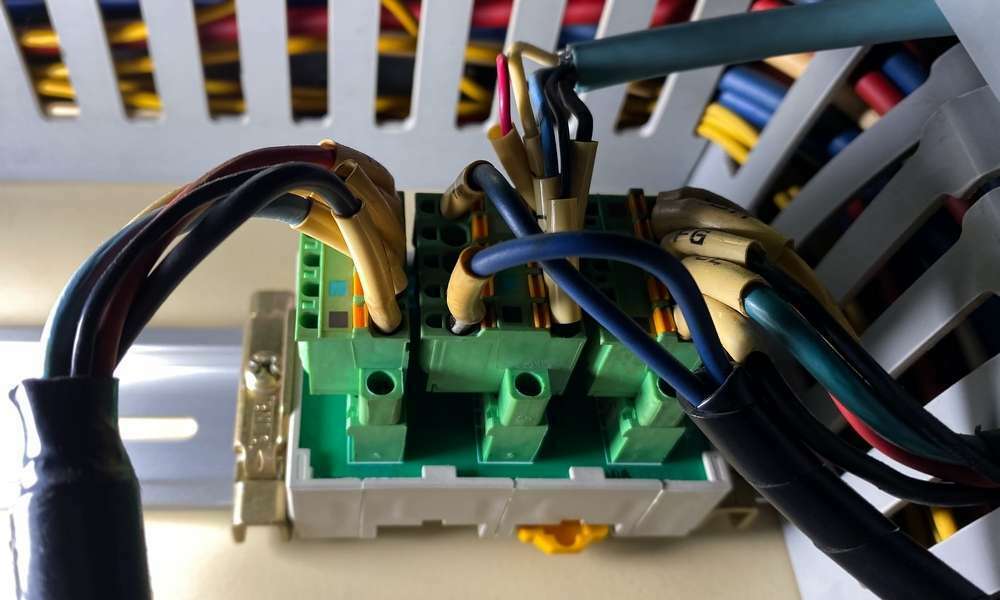
You should know the cable type and its advantages. UF cables are mostly used cables. It is easy to use and they are safe as well. You can also use SWA cables which come with 3 cores of wires.
SWA cables are a little complicated. You need to identify the earth cable from the visible three cores. Generally, the earth cable in an SWA cable is covered with a yellow or green cover. You need to ensure the connection of the earth’s core and the other two cores properly.
Again you have to ensure that the cables are safe. Placed in a weatherproof box that is attached to the wall. So overall, it needs to connect with proper safety.
It will be better for you to use UF cables which are easy to use and have a fuse at the starting point to secure the safety.
Get The Permissions
You should have electrical permission given by the local building inspections department before starting to wire you outdoors.
Get permission to avoid any further complications. If you are living in a rental apartment or rental house, you need to inform the authority before drilling on the walls and after that, you can start your work.
Mark The Area

First of all, you need to mark the area where you want to lay or bury the wires. Otherwise, you can’t be able to decide on the location of light fixtures.
If you do the entire wiring according to a plan, you will get the output properly. So you need to use a paint spray and mark the lines where you want to run the wire. Generally, it is beside the walkway. Spray from the transformer to the entire wiring area you need.
You should also clean any tiny roots of any big tree which can be a barrier while wiring.
Inspect Utility Lines
After marking the line for wiring, you need to be confirmed. That there are no utility lines below the line. Otherwise, the lines can be leaked or damaged while digging the soil to bury the wire.
Call the utility company to send a worker to check if there are any utility lines situated below the marked lines.
If there are any utility lines, you need to change the position of your marked lines to 2-3 feet left or right. If no utility lines are situated below the marked lines, then you can continue the next step using the first marked lines.
Locate The Nearby Power Outlet
For a long-lasting service, you should use mains-powered lights. Battery-powered or solar lights do not require any wiring. But the lights shine bright when they are mainly powered.
To connect with the main power, you need to inspect an outdoor power outlet that is closer to the walkway and you need less amount of wires. If the power outlet is not closer, then you need to use a lengthy wire than the closer outlet needs. That will cost you more. So try to find a nearby power outlet outdoors.
If you don’t have any existing power outlets outdoors, then you need to install one. For this, drill the wall and connect the wires. Now mount the electrical box and screw the plate. If you are afraid of installing alone, you can hire a professional electrician.
Install A Transformer
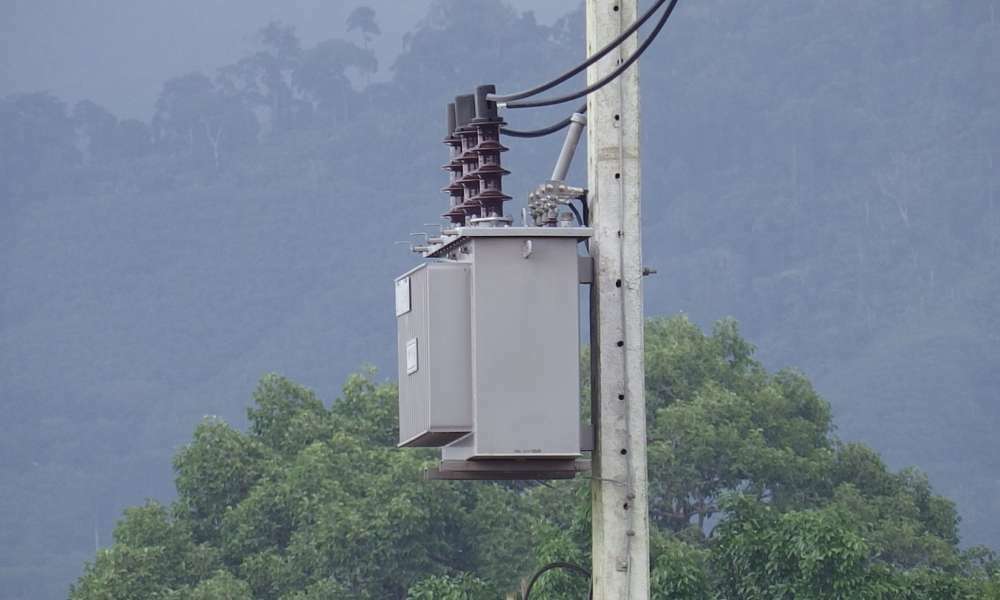
To maintain safety, you need to use a transformer that will reduce the voltage. You can directly use a line voltage. But that is quite risky. So you should consider using low voltage for outdoor lights and use a transformer.
The outdoor lights are at the ‘Load’ terminal. It is meant for outdoor power supplies. The transformer will be connected to the power outlet through a plug.
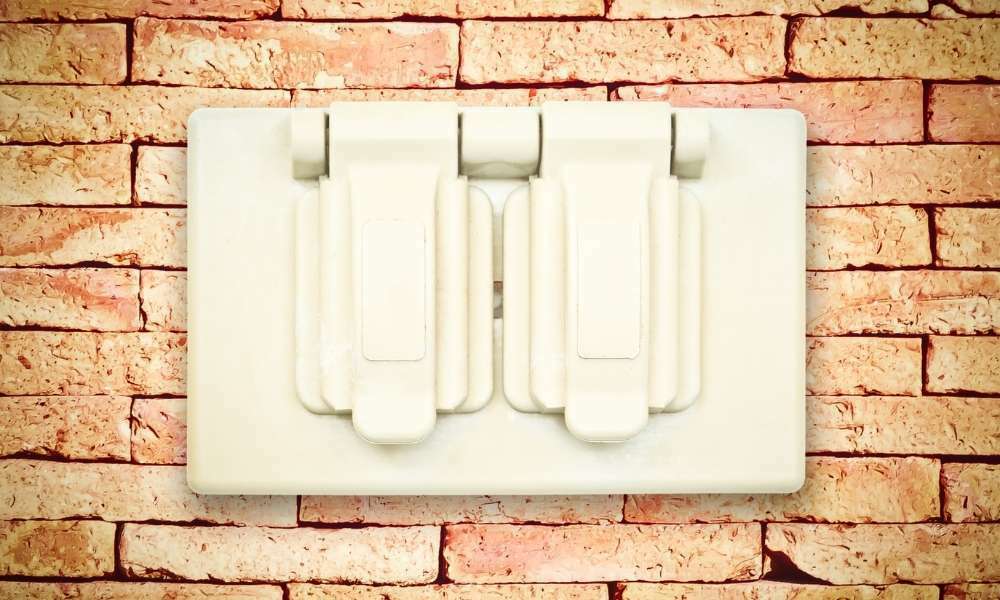
Both the power outlet and the transformer should be weatherproof and GFCI-protected. Otherwise, you may get an electrical shock in wet weather.
Dig The Line

You need to dig at least 3-4 feet deep on the marked lines. Go through the marked lines and keep digging and keep the depth the same for the entire length.
Use a shovel to dig the line. Keep the grass and soil beside the line so that you can use them while burying the wires.
Dig properly on both sides of the walkway. One thing you should keep in mind is that you need to start digging at least 1 foot away from the edges of the walkway.
Lay The Wires
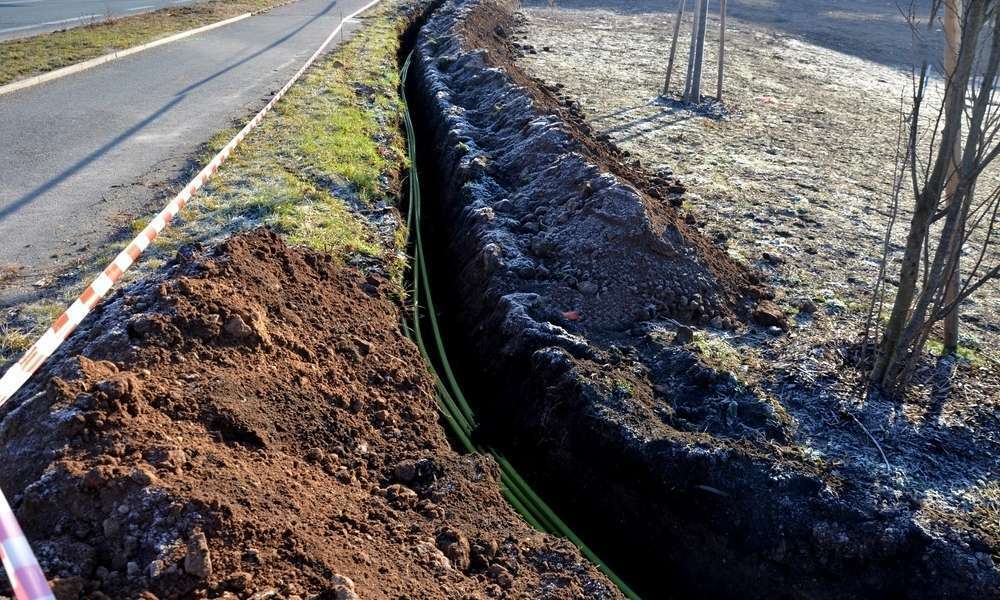
Once you are done digging the line for wiring your outdoor lights, you need to lay the wires on the line.
You should use conduit for extra protection of your wires so that they remain protected from corrosion and do not come in contact with moisture. Place the conduit on the line and feed the wire through the conduit.
The conduit will secure safety. You should use a conduit to avoid any risk. As you are learning how to wire outdoor lights, you should know these tricks.
Generally, wires come with plastic covers but conduit secures proper safety.
Place The Lights In Position
Keep the distance between one light to another light about 8-10 feet. If you place it closer, you will need more lights. Placing the lights after an 8-10 feet gap will cover the entire area and the arrangement will look nice. If you use too many lights keeping fewer gaps, then the outlook will be overwhelming. Keep it classy.
You can assemble these ones by one and keep them in their positions. Each light can have two or three parts including the mounting stake. So you need to assemble the lights and keep them in their positions while maintaining an 8-10 feet gap.
Connect The Lights With The Main Line
There are two connecting halves on the light fixture. Use a connector and put the two connecting halves on the main cable and pinch with the connector.
Now use electrical tape to secure the connector and the wires. Continue the process for each of the lights and connect them to the main line.
Dig The Holes To Mount The Lights

Once you have connected the lights with the main line, now it is time to dig the hole. Dig the holes in the positions keeping 8-10 feet from one light to another light. The depth of each hole should be at least 3-4 feet. Keep the same depth in all holes.
Mount The Lights
After digging the holes, push the stakes of the lights into the holes one by one. Gently push them through the depth and dab the soil after that. Mount straightly and make sure that the lights remain straightly mounted strongly.
Never use any hammer to push the light fixtures through the holes. Grab them with your hands and push them with your hands as well.
If you ever try to use a hammer or any heavy thing, it can be damaged. So it will not be a wise decision.
Bury The Wires

You don’t need to toil so much for this. The soil that you have put beside the wireline, now you need to bury the wire with that soil.
Use a shovel and put the soil over the wire in a way that the wire remains at least 3-4 feet under the ground. After filling the line with soil, spray some water so that it does not remain loosened.
Plug-In The Transformer And Turn On The Light
Now it is time to turn on the light. Before that, plug the transformer into the power outlet and switch the light on.
They will create the desired outlook that you wanted. You should check these before installation if there is any problem with any light or not.
If it happens that one of the lights goes off due to any damage, you need to replace the light without any delay. Otherwise, it will shut down the other lights too.
Set The Timer
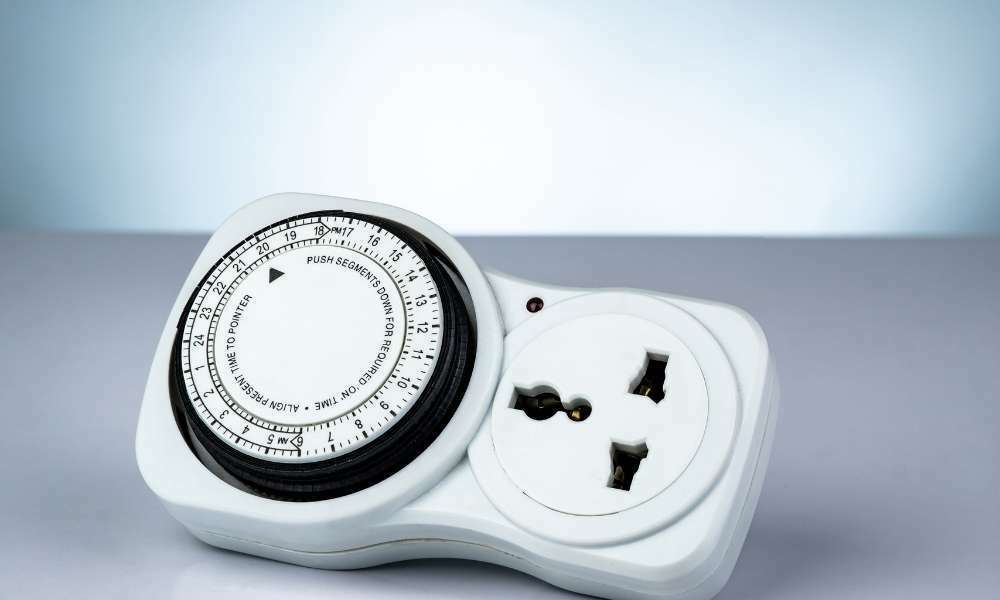
It is a tough task to turn it on and off it daily at a certain time. So you have to set the timer and the lights will automatically turn on and off according to the scheduled time.
So set the timer and it will illuminate your outdoor after sunset and secure the safety of your house.
Precautions
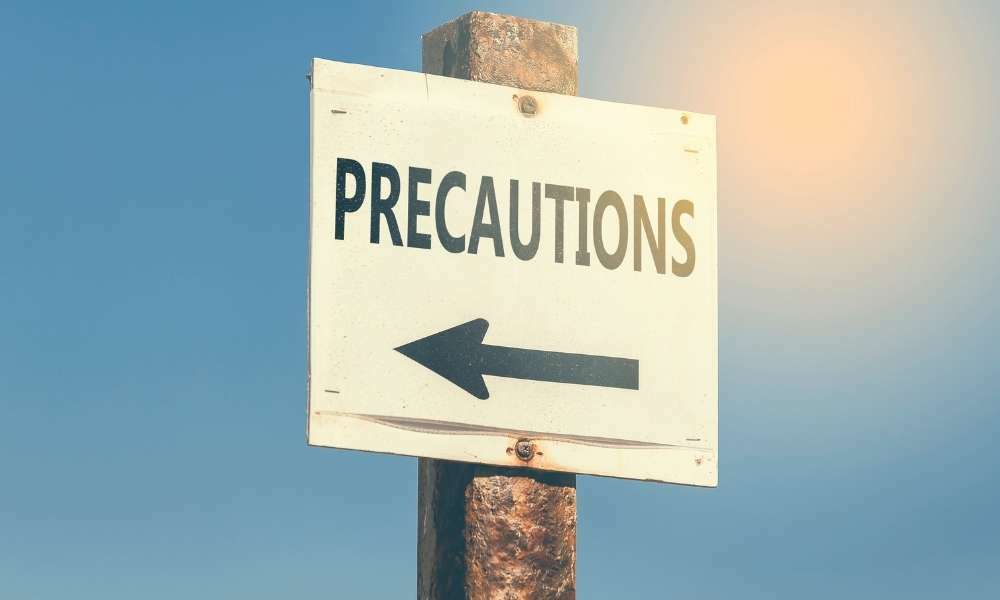
While doing any work, we need to maintain some precautions, especially while doing electrical work. Wiring is not an easy task for everyone.
If you do not maintain safety issues, you can get an electrical shock. Again some precautions will secure a long-lasting service. You must be aware of these precautions as you are learning how to wire outdoor lights. Some precautions are given below :
Don’t Overload The Circuit
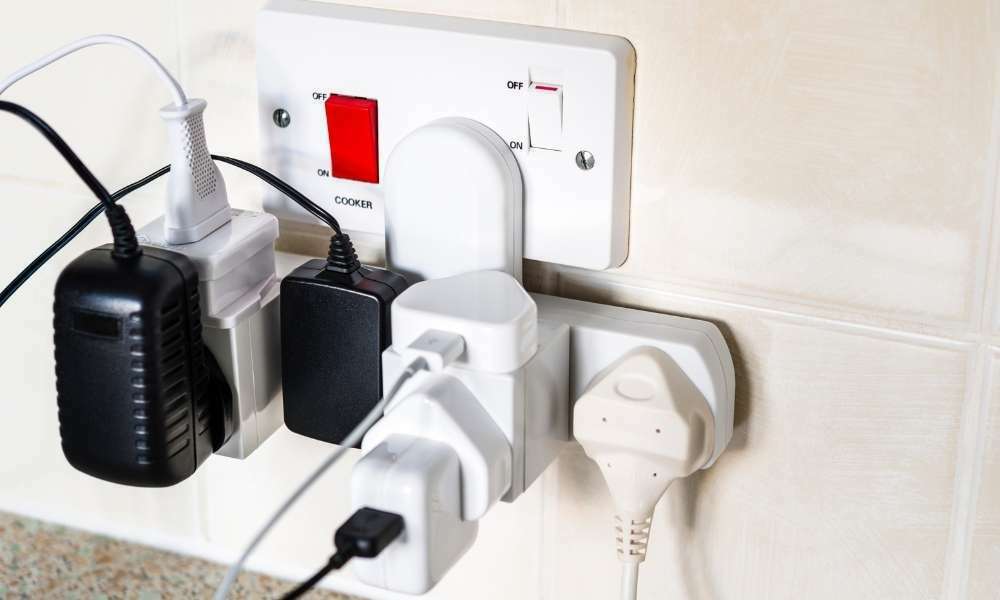
While wiring lights, you need to count the total wattage and other electrical things that are connected to the circuit.
Calculate the previous wattage and add the wattage of the lights you are going to wire as outdoor lights. The total wattage should not be more than 80% of the circuit’s capacity.
Secure The Protection
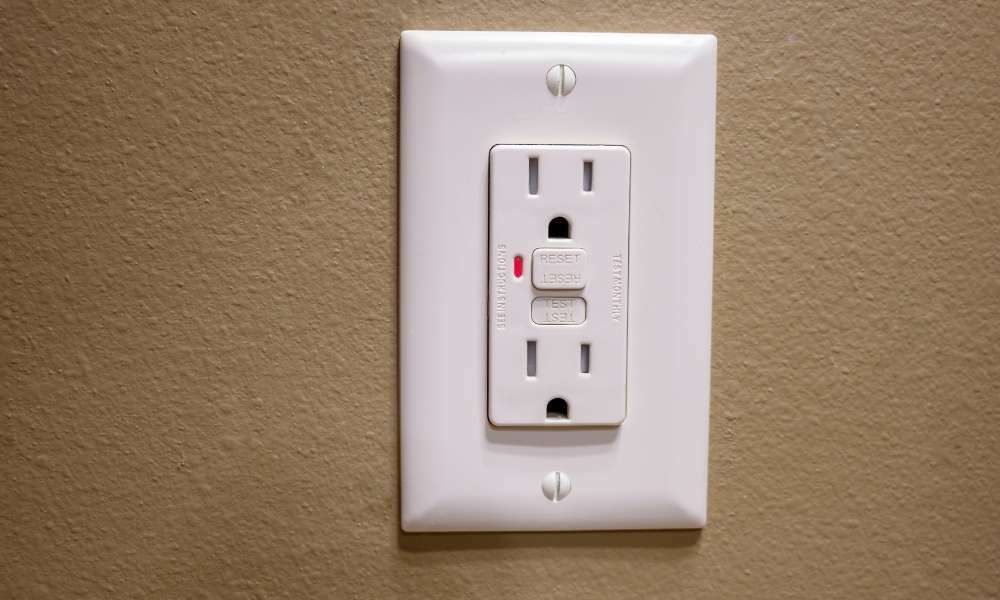
The power outlet should be GFCI-protected. Some people can not understand if their outlet is GFCI protected or not. Sometimes a standard outlet linked with a GFCI outlet can be used as a GFCI-protected outlet.
Inspect the GFCI buttons in your outlet or you can check the outlet with a GFCI tester. Then you can be assured that your power outlet is GFCI protected or not. If not, install a GFCI outlet for your outdoor light.
Use Metal Conduit
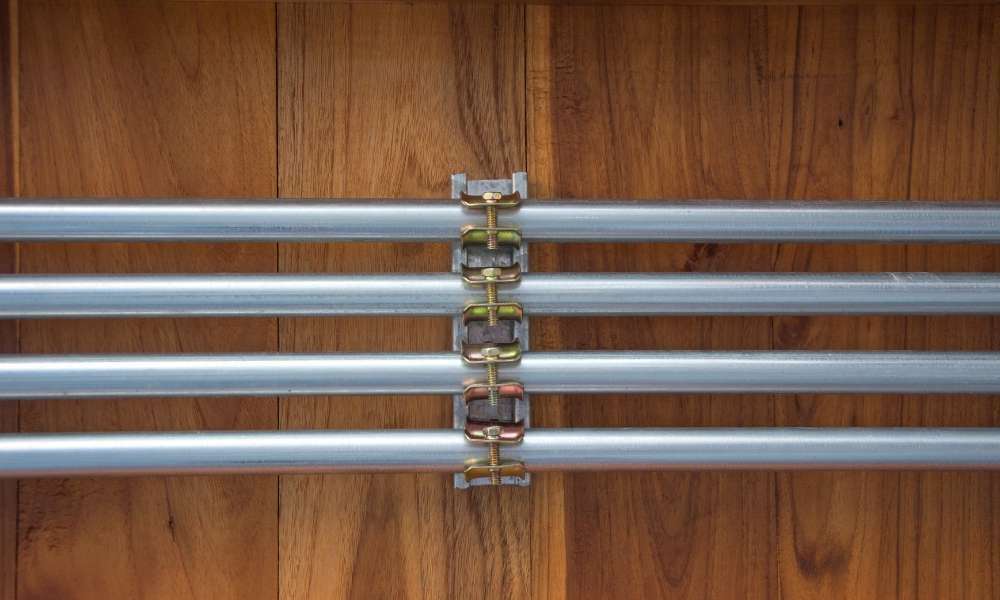
You must choose the right conduit to protect the wire and secure safety. If you choose a thin conduit, it will corrode soon. On the other hand, the plastic conduit is weak and may tear apart.
So you should use a metal-based conduit to protect the wire. Feed the wire through the conduit and keep the wire safe from moisture.
Conclusion
Wiring outdoor lights are easy if you follow the steps properly and the connections are accurate. Through this article, we have tried to show you the steps of how to wire outdoor lights in detail.
Hope you have enjoyed this article. Comment below and write to us about your opinions. Have a good day!