The outdoor light timer turns the outdoor lights on and off at the exact time that you have set. It makes your work easy by turning the light off and on even when you are not at home. If you know how to set outdoor light timer, you can set the yourself without any help from the experts.
An outdoor saves electricity bills as it turns off the light at the proper time. You can keep it for one or two hours as well or on specific days in a week.
It protects your home from thieves and secures its safety. If you set the times in a tricky way and the light turns off and on in such a way it looks like someone is inside the house and this trick keeps the home protected when you are away.
If you set the timer, you don’t have to remember when the lights should be turned on and off. So you can concentrate on other work on the festive days. Even you can hang out with friends being tense free as you have put it.
There are many types of timers. You can choose which you want. Some features come with built-in timers. So you can keep them easily.
Type Of Outdoor Light Timer
You may find various types of timers. There are Mechanical, and digital light timers, photoelectric lights, smart switches, and many more timers.
You can choose an item according to your choice. If you don’t know how to set outdoor light timer, learn from this article.
The switches and setting process can be different according to the model. The maximum model has a similar type of setting feature, but some have different settings.
Read The Instructions
To know the type and setting, you should read the instructions of the manufacturer properly. By reading the instructions you will know what to do and what not to do.
The instructions contain the rules for setting the timer. You can also know the installation process of an outdoor of i.
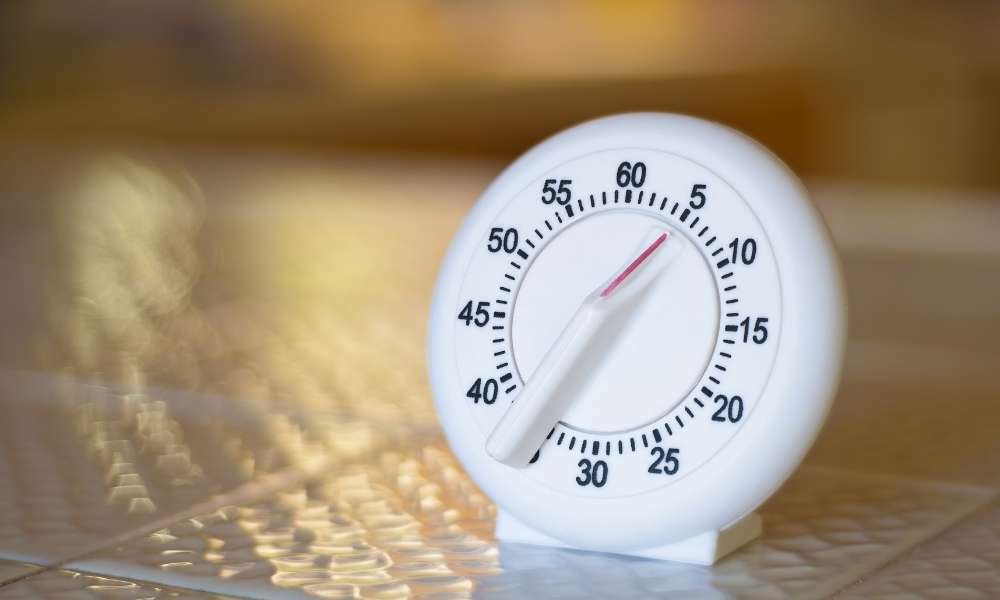
Setting Process Of Mechanical Timer
By learning how to set outdoor light timer, you can put any type of outdoor item. The mechanical timer is an analog-type f. There are some steps to keep this Item. The steps are given below :
Put The Arrow On The Current
In a mechanical timer, you will find an inner circle and numbered dial surrounding the inner circle. You need to hold the inner circle and it clockwise until you get the current on the arrow point.
Keep turning the inner circle grabbing your fingers and putting the arrow on the current time. It is better to point the arrow at the exact than to point at the nearest time.
Most of the mechanical work in the same way and the setting process is similar. But if the timer has a different keeping, you should follow the manufacturer’s instructions.
Set The Turn On Time
After putting the arrow on the current time, you need to schedule the move-on time first. The numbered dial buttons surrounding the inner circle are for keeping the time.
Press down the button at which you want to move on it. Try to press the button at the exact required to move on the lights or closer to the time.
If you want to turn on the light at 4.00 PM, then you need to press the button which is pointed by the 4.00 PM arrow on the dial.
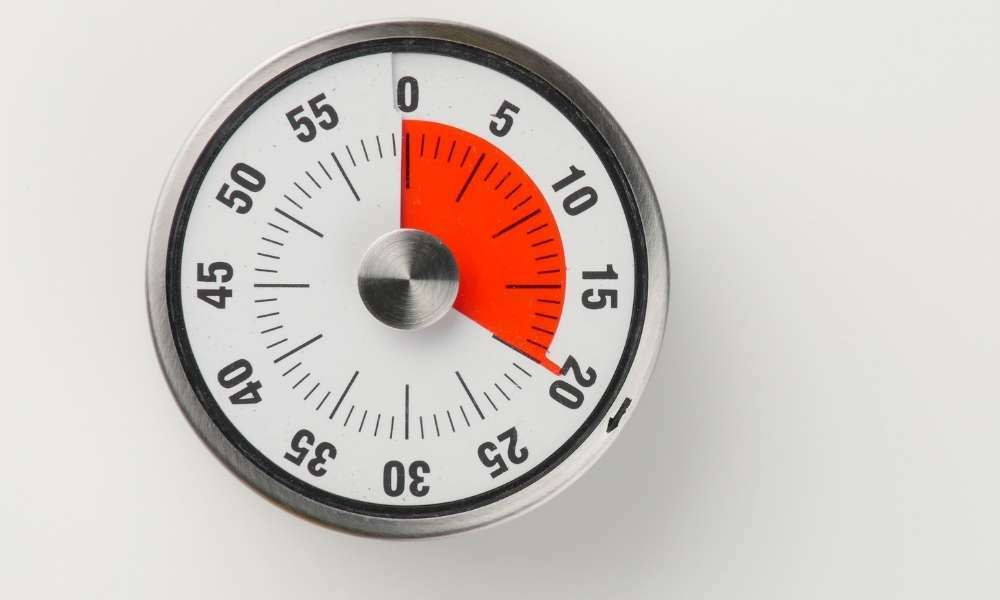
Set The Turn Off Time
You need to put the turn-off time as well. The process is very simple. All the pressed-down buttons indicate the time when the light will be on. On the other hand, all the pulled-up buttons indicate the time when it will remain off.
So you need to press down the buttons at which time you want the lights on and keep the other buttons up at which you want the lights to remain off.
For example, if you want to keep on from 6.00 PM to 5.30 AM, then press the buttons from 6.00 PM to halfway between 5.00 AM and 6.00 AM while keeping the other buttons up. In that case, it will turn on at 6.00 PM and move off at 5.29 AM.
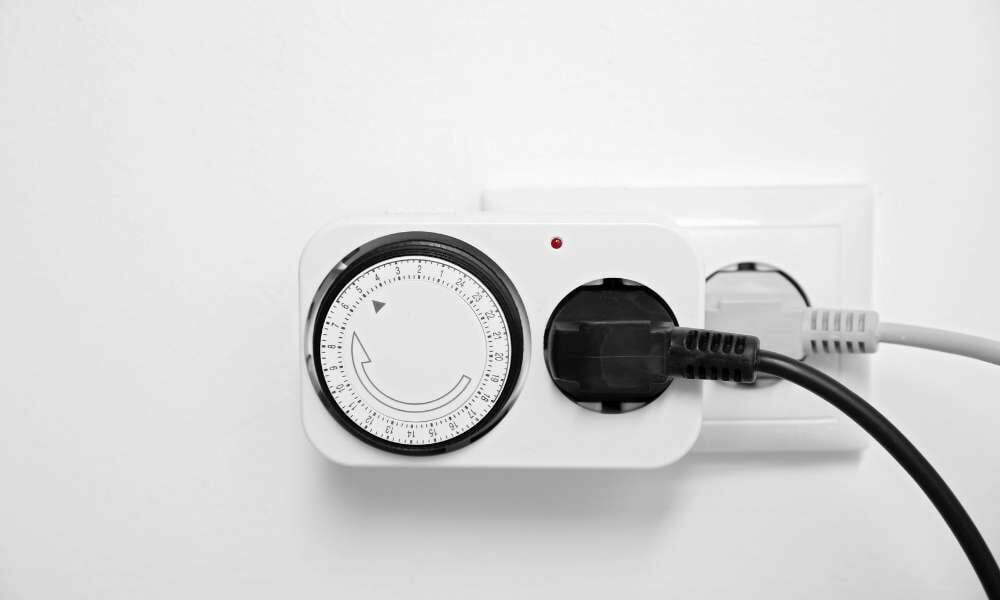
Turn The Switch At Auto Position
After setting the scheduled time, you need to turn it to auto position. You will find three options which are ON, OFF and AUTO. Moving the switch of the timer to the AUTO position so that your light turns on and moves off according to the schedule that you have kept.
If you turn the switch to the ON position, then it will remain on and the flow of electricity will start. On the other hand, if you move the switch to the OFF position, then there will be no electrical flow. So if you want your timer to work perfectly, you have to move the switch to the AUTO position.
After that, you have to plug it into a socket of a free wall. There are no complications in twisting the cables or wires. Just plug in the and it will start working. To know more about how to set outdoor light timer, keep reading.
Plug-In The Light On The Timer
After putting the switch into an electrical socket and turning it at the AUTO option, you need to plug the light switch in and move it on the light switch.
Once the light switch will be on, then it will be connected and will move on at the scheduled time that you have kept on the timer. It will start providing electricity to the light when the scheduled turn-on it will start and will be powered on.
The light will move off at the scheduled as the timer will stop providing electricity at the turn-off time.
Setting Process Of Digital Light Timer
Digital works faster and smarter than analog. The functional process is more expanded in digital items. You can even put weeks, days, hours, minutes, and several times for a day as well.
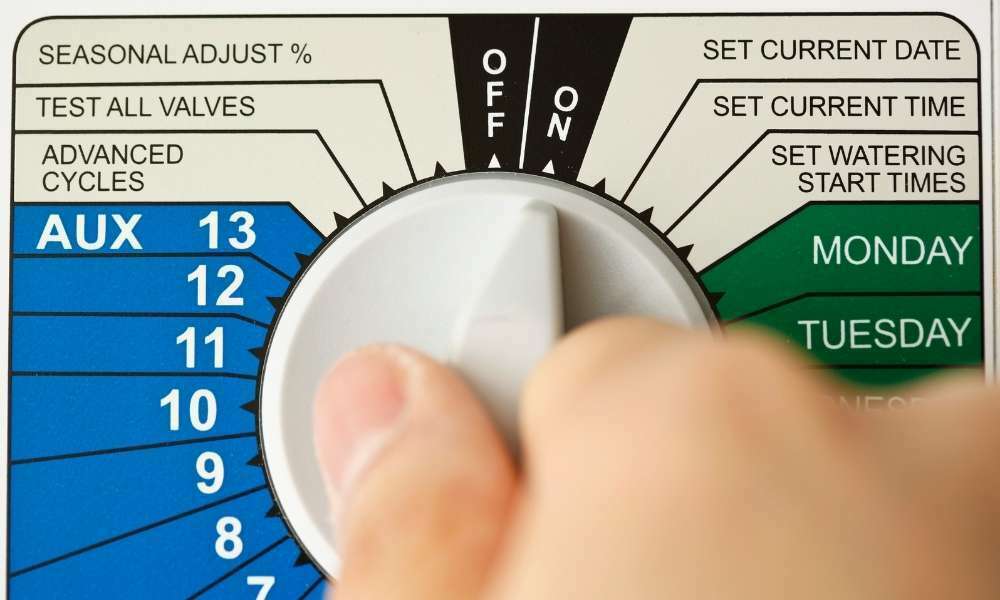
Set The Current Day And Time

To set the digital light, first of all, you need to keep the current day. As you are learning how to set outdoor light timer, you should learn the steps carefully.
Once you are done setting the current day and time, leave the ‘CLOCK’ button. After setting the current day and time, you have to start the next step.
There is a digital screen and buttons below the screen. Press the ‘CLOCK’ button and hold it until you have finished the step. While pressing the ‘CLOCK’ button, press the ‘WEEK’ button to set the current day, and then press the ‘HOUR’ button and the ‘MINUTE’ button to put the current.
Set The Turn On Schedule
The advantage of the digital timer is, that you can set several turns on time in a day or in a week and keep them scheduled. So the light will turn on at the scheduled times.
Press the button, button then release it and start setting the move-on time. You don’t need to keep holding it like the ‘CLOCK’ button. Now press the “WEEK” button to keep the days of the week on which days you want the lights on.
After that, press the ‘HOUR’ button to put the hour and press the ‘MINUTE’ button to put the minute. You can set different times on different days of the week. For that, you need to press the ‘PROG’ button for each day’s keeping separately.
Once you have finished setting the move-on times, you can return to home on the screen by pressing the ‘CLOCK’ button.
Set The Turn Off Time
You need to keep the turn-off time as well. If you want to move on the light several times in a day, you must set the turn-off for each-on time.
To set the turn-off time, press the ‘PROG’ button once. Then release the button and press the ‘WEEK’ button to put the day. After that, press the ‘HOUR’ button and the ‘MINUTE’ button to set the turn-off time.
You can put different turn-off times by pressing the ‘PROG’ button each time. Setting an off is important otherwise it will not work properly.
Reset Any Schedule If Needed

The digital item has an amazing option that you can reset the entire schedule or any specific time of the schedule easily. So if you want to change any time schedule that you have kept, all you need to do is press the “PROG” button and hold it until you get the exact schedule that you want to delete.
Once you get the time schedule, release the “PROG” button Press the “R” button, and hold it until the screen goes blank. Then you can reset the schedule.
Turn On The “AUTO” mode
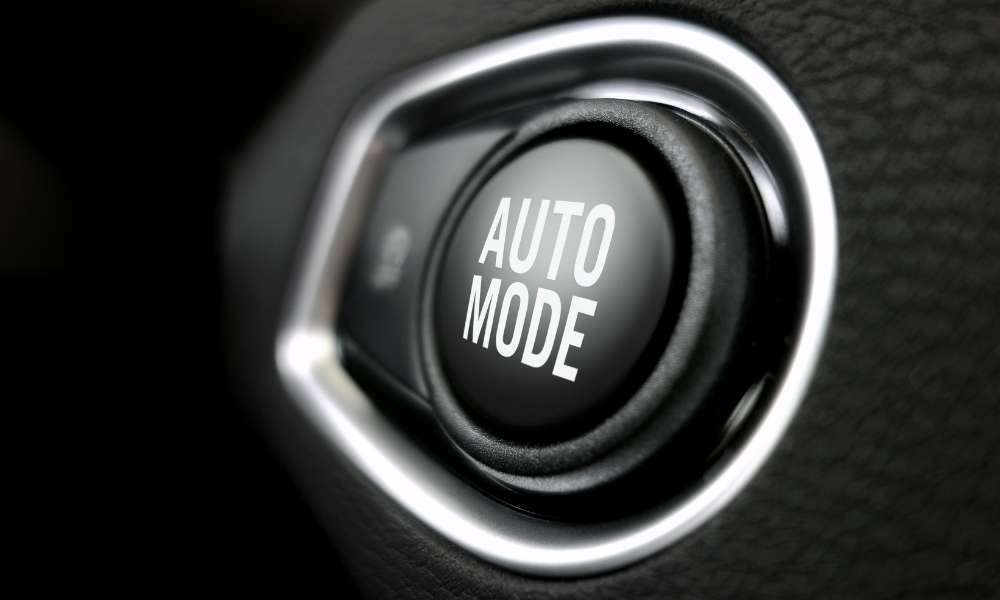
Once the -on time and turn-off time of the light have been set, then you need to turn on the “AUTO” mode.
You will notice a button labeled ON/AUTO/OFF. Press the button until you see the AUTO mode on the screen. Once you get the “AUTO” mode, release the button. This way the “AUTO” mode will be activated.
Install The Timer
After all the settings, you need to plug into an electrical socket. Try to find a socket on a free wall and plug it in. Then plug the light switch on and turn the switch on. As the is kept to the “AUTO” mode, the lights will turn on at the scheduled time even after you turn on the switch.
Setting Process Of Photoelectric Timer
This is another type of timer. The photoelectric does not have any dial. It has a light sensor. So if you switch it on, it can detect the sunlight and off automatically, and turns on after sunset. But you can put the turn-on time and -off time manually as well.
In some models, a photoelectric comes with a controlling remote. So with that remote, you can set the turn-on time and off without going outside. This advantage increases the demand for photoelectric timers.
To know more about how to set outdoor light timer, continue reading.
Setting Process Of Smart Switch
Smart switch timers are easy to control and the setting is so simple. You just need to install the smart switch timer. Then you can control them using a mobile app or voice commands.
You can put the time anywhere. This secures the safety of the house because you can set the timer even when you are not at home by using an app and will turn on and off according to the setting which will look like someone is inside the house.
But the installation of a smart switch may seem difficult if you have no experience with any electrical work before. You can install it by hiring a professional or you can do it yourself.
Another option is installing a battery-powered smart switch timer. This will reduce the complication of electrical work. But a mains-powered is always a better option to have the service for a long time.
You can also choose smart outdoor bulbs which come with a built-in it. These types of lights can be controlled using an app.
Installation Process
To install a smart switch timer, first of all, you need to unscrew the existing switch box. Then remove the plates and disconnect the wires.
If the wall wires do not have exposed bare wires after disconnecting, then use a wire cutter and remove 1-2 inches of plastic cover from the wires. Now connect the new wires properly with the wall wires. Connect black to black, white to white, and green to green wires.
After twisting the wires, wrap electrical tape on them so that there is no bare wire remaining exposed. Now put them on the switch box and screw the box plate nicely. Once the installation is done, turn on the switch and set the from the app. It will turn on at the scheduled time.
Conclusion
Outdoor lights make our work easy and allow us to remain busy with other work without remembering the turn-on time or off of the outdoor lights. You can set the timer from anywhere you go and this keeps the thieves away and secures the safety of your house.
Now that you know how to set outdoor light timer, you can put your timer yourself. Hope you have liked this article. Don’t forget to comment below. Write to us about your opinions. Enjoy!