Cast iron Dutch ovens are a loved staple in lots of kitchens around the sector, known for his or her sturdiness and flexibility in cooking everything from hearty stews to baked loaves of bread. These heavy-obligation pots can final an entire life, frequently turning into a family heirloom surpassed down through generations. However, the durability and performance of a cast iron Dutch oven significantly rely upon how nicely it’s miles maintained. Proper care not simplest preserves those features but also complements the flavors of the dishes cooked in them. In this article, we’ll explore the essential techniques for clean and maintaining your cast iron Dutch oven to ensure it remains in pristine condition, ready to handle any culinary challenge you throw its way.
Gather Necessary Cleaning Supplies:
- Mild Dish Soap (Optional)
- Stiff Brush Or Sponge
- Paper Towels Or Clean Cloth
- Vegetable Oil Or Cast Iron Conditioner
- Salt
1. What is Cast Iron
Cast iron is an iron-carbon alloy acknowledged for its terrific heat retention, making it best for cookware which includes Dutch ovens. This fabric is not handiest durable however also enhances the taste of food while used frequently. However, solid iron requires ordinary upkeep to maintain it functioning at its satisfactory. It is obviously vulnerable to rust, so it’s vital to clean and season it successfully after every use. Cast iron cookware, while properly cared for, develops a non-stick surface that improves through the years, offering you extra advantages in cooking whilst making sure your Dutch oven remains a precious device on your kitchen.
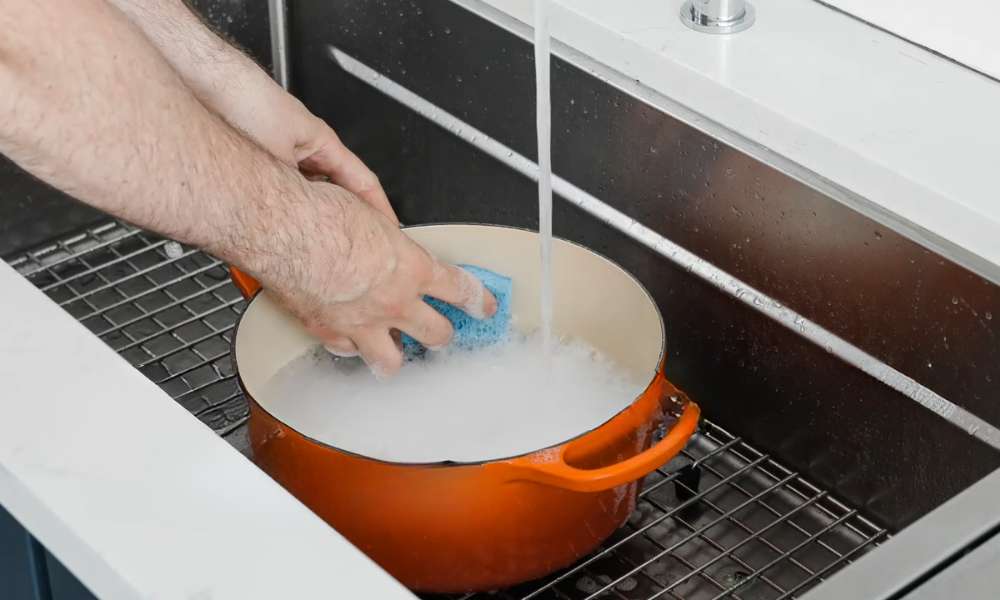
2. Daily Cleaning Steps
Cleaning your cast iron Dutch oven straight away after cooking is important for maintaining its situation and toughness. By disposing of food debris and grease right away, you save you them from turning into baked on, which may be tough to smooth later and might degrade the seasoning. For daily cleaning, it is high-quality to use minimum soap and warm water; an excessive amount of soap can strip away the seasoning which you’ve built up over the years.
Use a stiff brush or sponge to gently scrub the surface. After washing, the most essential step is thorough drying. Leaving your solid iron damp can cause rust, which is unfavourable to its overall performance. To dry, use a easy cloth or paper towels, and do not forget putting the Dutch oven on a warm stove for a few minutes to make certain all moisture is evaporated. This easy but powerful cleansing ordinary facilitates hold your cookware’s integrity and readies it for its next use.
3. Dealing with Stubborn Residue
When faced with cussed residue in this Dutch oven, it is essential to tackle it gently to avoid unfavorable the treasured seasoning that builds up over the years. For those hard spots, a sprinkle of coarse salt may be your nice pal. The abrasive texture of the salt enables scrape away stuck-on food with out the harshness of chemical cleaners. Another powerful approach is to fill the pot with water and bring it to a boil; the warmth helps loosen the residue, making it less difficult to clean off.
As for tools, stay with ones which can be secure to be used on cast iron, together with wooden spatulas, stiff nylon brushes, or chain mail scrubbers mainly designed for this cause. These equipment effectively remove meals debris without compromising the integrity of the seasoning layer. By the use of those methods and gear, you could preserve your solid iron in pinnacle shape, equipped on your subsequent culinary journey.
4. Re-seasoning Your Dutch Oven
Recognizing when this Dutch oven desires re-seasoning is key to its preservation. Telltale signs consist of a dull, dry appearance, meals sticking to the surface extra than regular, or visible rust spots. Re-seasoning can restore its non-stick houses and defend it from damage. To re-season, begin through giving your Dutch range an intensive cleansing to get rid of any rust or particles.
Next, preheat your oven to 350-four hundred ranges Fahrenheit. While it is heating, follow a thin, even layer of oil over the complete floor of your Dutch stove, inner and out. Suitable oils for seasoning encompass flaxseed oil, that’s popular for its difficult end, or canola oil, that is effectively to be had and additionally powerful. Place the Dutch range upside down inside the preheated oven, setting a sheet of aluminum foil beneath to catch any drips. Bake for about an hour, then flip off the oven and let the cookware cool internal till it’s absolutely cold. This process will support the seasoning and prepare your Dutch oven for greater pleasant cooking experiences.
5. Preventing Rust and Damage
Preventing rust and damage is essential to prolong the life of this Dutch oven. To keep rust at bay, always ensure your Dutch stove is completely dry before storing it; residual moisture is the primary cause of rust. After washing and drying, apply a light coat of oil to the surface, which acts as a barrier against moisture and air. When it comes to storage, choose a dry, cool place. If possible, avoid stacking other pots directly on the cast iron, as this can scratch the seasoning surface.
For those who use their Dutch stove infrequently, consider storing it with a paper towel inside to absorb any moisture and leave the lid slightly ajar to allow air circulation. These simple practices will help maintain your Dutch stove in optimal condition, ensuring it remains ready for your next cooking adventure.
6. Common Mistakes to Avoid
When maintaining this Dutch oven, certain cleaning practices can inadvertently cause damage, reducing the lifespan and cooking efficiency of this cherished cookware. A common mistake is soaking the Dutch stove in water, which can lead to rust formation. Similarly, using harsh detergents or metal scouring pads can strip away the seasoned coating that is crucial for a natural, non-stick surface.
Another oversight is neglecting to thoroughly dry the Dutch oven after washing, as even small amounts of leftover moisture can initiate rusting. Additionally, storing food in the Dutch stove in the refrigerator can also contribute to moisture buildup and corrosion. Understanding why these practices are harmful underscores the need for proper care and handling to preserve the functional qualities of this cookware for generations.
7. Advanced Tips for Care
Restoring a rusty cast iron Dutch oven is not as daunting as it may seem and can bring your cherished cookware back to life. Begin by scrubbing off the rust using a mixture of coarse salt and water, and applying it with a potato cut in half—the potato’s acidity aids in rust removal. For more severe cases, a vinegar soak may be necessary, immersing the pot in a 50/50 solution of white vinegar and water for a few hours, but be cautious not to over-soak as vinegar can eat into the metal.
Once the rust is remove, wash the oven thoroughly, dry it completely, and immediately proceed with a thorough re-seasoning. For ongoing maintenance, routinely heat your Dutch stove lightly oiled for 10-15 minutes after cleaning, and store it with a layer of paper towel inside to absorb any excess moisture. These advanced care steps ensure your cast iron remains in top condition, ready for whatever cooking task you throw at it.
Conclusion
Taking right care of this Dutch oven is critical for maximizing its capability and durability. By information the right cleansing strategies and safety practices, you can ensure that your Dutch range maintains to supply awesome culinary consequences. Remember, instant cleansing after use, right drying, ordinary seasoning, and keeping off not unusual cleaning mistakes are all key to preserving the pristine condition of your cookware. Embrace those practices, and this Dutch range will not nice serve you nicely in severa food however may additionally additionally come to be a valuable piece handed down via generations. Whether you are a pro chef or a domestic cooking fanatic, the proper care will make your Dutch range a reliable accomplice on your culinary adventures.