Seasoning a Dutch oven is an essential step in making sure its durability and enhancing its cooking overall performance. A nicely pro Dutch oven now not simplest creates a natural non-stick surface but also protects the cast iron from rust and improves the flavor of your dishes. Whether you’re using a logo-new Dutch oven or restoring an vintage preferred, expertise the seasoning procedure is vital. How to Season a Dutch Oven, this manual will walk you thru the materials wanted, and an in depth step-through-step manner to achieve a great, long-lasting seasoning. With these guidelines, you will experience the advantages of a nicely-maintained this oven for future years.
What is Seasoning?
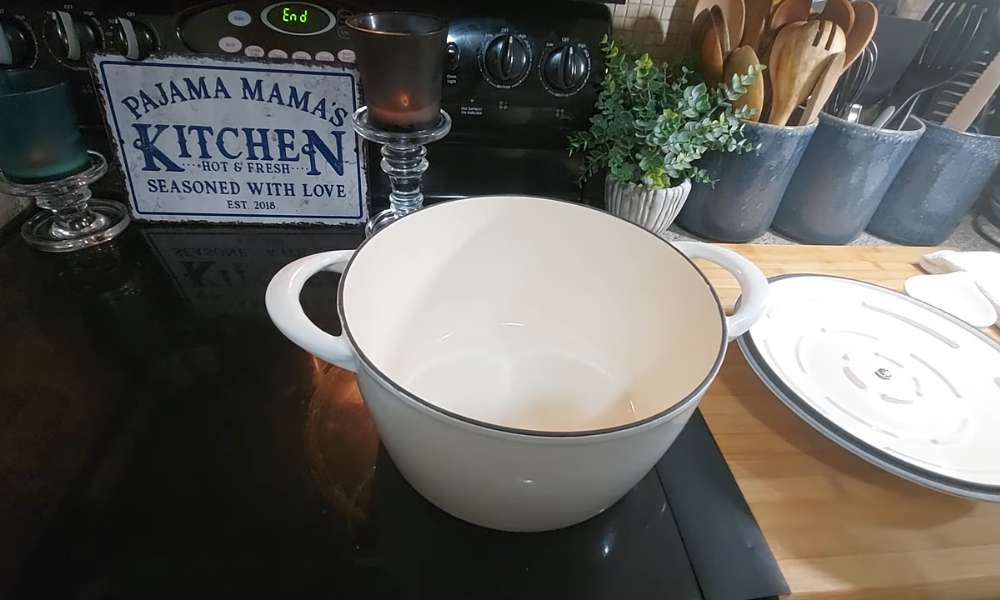
Seasoning is the process of treating the surface of a cast iron Dutch oven with oil and heat to create a protective, non-stick coating. The purpose of seasoning is to prevent rust, enhance the cooking surface, and improve the overall durability of this oven. The science behind seasoning involves the polymerization of oil.
When the oil is heated to a high temperature, it undergoes a chemical reaction, forming a hard, plastic-like layer that bonds to the metal. This layer not only shields the cast iron from moisture and oxygen, which cause rust but also provides a smooth surface that food doesn’t stick to easily. Properly seasoned, a Dutch stove becomes an indispensable kitchen tool, combining functionality with ease of maintenance.
Why You Season a Dutch Oven?
Seasoning a Dutch oven is crucial for several reasons. It creates a herbal non-stick ground, making cooking and cleansing much less complex at the same time as improving the taste of your dishes. The seasoning technique includes using oil and heating it, which office work a protective layer at the cast-iron. This layer prevents rust and corrosion, extending the lifespan of this oven. Additionally, a nicely-seasoned oven distributes warmness greater lightly, ensuring everyday cooking outcomes. By seasoning this oven, you no longer best decorate its standard performance however also hold its amazing, allowing you to enjoy scrumptious meals with minimum renovation for many years.
Materials Needed
List Of Essential Materials:
- Dutch Oven
- Cooking Oil
- Soft Cloth Or Paper Towels
Recommended Oils:
- Flaxseed Oil
- Vegetable Oil
- Canola Oil
Step-by-Step Seasoning Process
Seasoning a Dutch stove involves a straightforward, step-by-step process to ensure it is properly protected and non-stick.
1. Preparation: Start by cleaning the Dutch oven thoroughly with warm water and mild soap to remove any residues or protective coatings from manufacturing. Once cleaned, dry this oven completely with a soft cloth or paper towel to prevent rust from forming.
2. Applying the Oil: Next, apply a thin layer of oil to the entire surface of the Dutch stove, both inside and out. Recommended oils include flaxseed oil, vegetable oil, or canola oil. Use a soft cloth or paper towel to ensure even coverage, wiping away any excess oil to avoid sticky residue.
3. Heating the Dutch Oven: Preheat your stove to a temperature between 450°F and 500°F. Place the Dutch stove upside down on the middle oven rack, with a baking sheet or a piece of aluminum foil on the lower rack to catch any drips. This positioning helps distribute the heat evenly and allows excess oil to drip off.
4. Baking the Dutch Oven: Bake the Dutch stove for about an hour, then turn off the oven and let it cool inside. This cooling process helps the oil to polymerize properly. For optimal seasoning, repeat the oiling and baking process two to three times. Each layer builds up the protective coating, ensuring a durable and effective seasoning.
Maintenance and Re-Seasoning
Maintaining the seasoning on your Dutch oven is essential for its longevity and performance. For routine care, it’s best to clean the Dutch stove with hot water and a brush or sponge, avoiding soap which can strip the seasoning. After washing, dry it thoroughly to prevent rust. If you notice food sticking to the surface, dullness, or rust spots, it may be time to re-season.
For quick touch-ups, apply a thin layer of oil to the cleaned and dried surface, then heat it on the stovetop or in the stove until the oil begins to smoke slightly. Let it cool, and repeat if necessary to restore the non-stick coating. Regular maintenance and occasional touch-ups will keep your Dutch stove in excellent condition, ensuring it remains a reliable tool in your kitchen.
Troubleshooting Common Issues
Troubleshooting commonplace troubles with seasoning a Dutch range can help keep its overall performance and toughness. If you come upon sticky residue after seasoning, it typically manner an excessive amount of oil became carried out or it wasn’t heated lengthy enough.
To restore this, vicinity this range returned within the oven at 450°F for any other hour to completely polymerize the oil. Uneven seasoning or rust spots can be addressed by way of scrubbing the affected areas with a best steel wool pad, then cleaning and drying the range thoroughly earlier than reapplying a skinny layer of oil and reheating. For restoring a overlooked Dutch stove, start by disposing of any rust or antique, flaking seasoning with a vinegar soak or scrubbing it with baking soda and water.
Once wiped clean, dry the stove completely and re-season it by means of following the original seasoning steps. These tips make sure this oven remains in top circumstance, prepared for all of your cooking adventures.
Additional Tips and Best Practices
To keep your Dutch stove in prime condition, it’s important to follow additional tips and best practices. Regular use of this stove helps maintain its seasoning, as the oils from cooking continuously enhance the non-stick surface.
In the initial stages after seasoning, avoid cooking highly acidic foods like tomatoes or citrus, as they can break down the seasoning layer. When it comes to storage, ensure this stove is completely dry before putting it away to prevent rust. Place a paper towel or cloth between the lid and the pot to allow air circulation and absorb any moisture.
By using your Dutch stove frequently, steering clear of acidic foods early on, and storing it properly, you can extend the life and effectiveness of its seasoning, ensuring it remains a staple in your kitchen for years to come.
Conclusion
Properly seasoning your Dutch stove is a vital step in making sure its sturdiness and improving your cooking revel in. By expertise the technological know-how at the back of seasoning, following a step-by way of-step procedure, and preserving the seasoning with regular care, you may hold your Dutch range in wonderful condition. Troubleshooting not unusual problems and adhering to exceptional practices will similarly expand the existence of your cookware. Regular use and mindful storage will guard the seasoning and hold this stove ready for any culinary task. Embracing these strategies will now not most effective keep this stove but additionally increase your cooking, allowing you to revel in delicious meals for years yet to come.