The Ninja Blender has become A popular choice among kitchen enthusiasts for its powerful blending capabilities And versatility. Whether you’re whipping up A refreshing smoothie, Creating A delicious sauce, Or grinding nuts into A fine powder, Knowing how to properly turn on your Ninja Blender is the first step towards culinary success. In this guide, We will walk you through the simple And straightforward process of turning on your Ninja Blender, Ensuring that you can begin blending with confidence And efficiency.
What is Ninja Blender?
Ninja Blender is A line of high-performance blenders manufactured by Shark Ninja. The blenders are designed to be powerful, Efficient, And versatile, Allowing users to make smoothies, Juices, Nut Butters, Sauces, Soups, Dips And more. The Ninja mixer line includes several different models with features like Auto-iQ Technology which provides preset programs for specific tasks such as smoothie making or ice crushing.
Additionally, The Ninja blenders come with A range of accessories including single-serve cups And lids for easy blending on the go. All models also come with A one year warranty for peace of mind. With their powerful motors And variety of features, Ninja blenders are an excellent choice for anyone looking to upgrade their kitchen appliances.
Components of the Ninja Blender
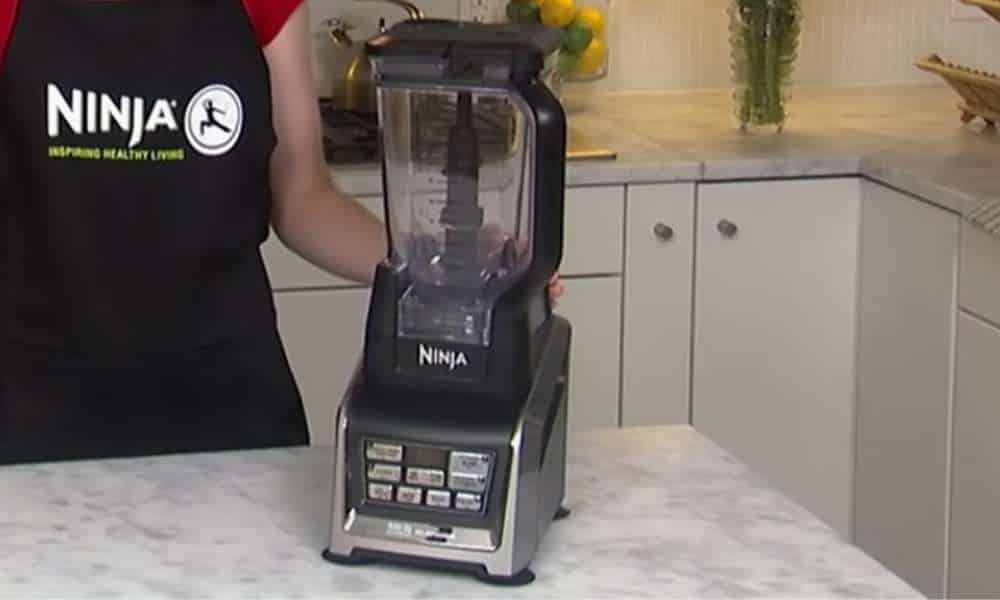
The pitcher: The pitcher serves as the primary container where all your ingredients are place for blending. It is typically constructed from high-quality, Durable glass or heavy-duty plastic. The pitcher often has measurement markings etched on its sides to help you measure ingredients accurately. Depending on your mixer model, The capacity of the pitcher may vary.
The blades: Ninja Blenders are known for their unique, Highly effective blade design. The blades are made of stainless steel, Ensuring long-lasting sharpness And durability. They are usually designed in A stacked or layered manner, Which aids in providing superior blending performance. Some models feature removable blades, Making cleaning And maintenance much more manageable.
The base unit: The base unit is the heaviest And most robust part of the mixer. It houses the motor that powers the entire device And has the control panel on the front. This panel contains buttons or A dial that lets you adjust the blender’s speed And settings according to your needs.
The lid: The lid is an indispensable part of the mixer, Designed to fit securely on top of the pitcher. Its primary role is to prevent the contents from spilling or splattering during the blending process. Most lids also feature A removable center cap, Allowing you to add more ingredients without having to remove the whole lid.
Step-by-step Guide: Turning on the Ninja Blender:
Ensuring the Blender is Plugged in and Positioned Correctly
Before you start the process, Ensure your Ninja Blender is connect to A power source. The power cord should be plugge securely into A working electrical outlet. Also, Ensure that the mixer base is position on A stable, Flat, And dry surface, Away from any water source. Make sure it’s not too close to the edge of the counter to prevent any accidental tipping over.
Correctly Placing the Pitcher on the Base
Once the base unit is position correctly, Take the pitcher And place it on the base. Align the grooves on the bottom of the pitcher with the corresponding ones on the base unit. Twist it slightly until it locks into place.
Proper Placement and Assembly of Blades
Next, Handle the blade assembly. It’s crucial to handle it with care due to the sharp edges. Grip it by the top, Away from the blades, And lower it into the pitcher. Ensure that it fits snugly onto the central shaft inside the pitcher.
Remember, The blades are very sharp, So handle them carefully to prevent accidental cuts.
Adding Ingredients to the Blender
Now you’re ready to add your ingredients into the pitcher. You can add fruits for A smoothie, Vegetables for a soup, Or any other ingredients based on your recipe. Be mindful of the maximum fill line on the pitcher to avoid overfilling.
Securing the Lid
After adding the ingredients, The next step is securing the lid. This step is crucial to ensure the contents do not spill out during the blending process.
Position the lid over the top of the pitcher And press down firmly. You should hear A clicking sound, Which indicates that the lid is locked securely in place. The lid often has A removable center cap that can be take out if you need to add more ingredients while the mixer is running.
Selecting the Correct Blending Mode
The Ninja Blender comes with different blending modes, Each suited for different types of ingredients And textures. Based on your recipe, Select the appropriate blending mode on the control panel. This could range from ‘Pulse’ for rough chopping, To ‘Blend’ for smooth purees, Or ‘Crush’ for ice or hard ingredients.
Powering on the Blender
With everything in place, It’s time to power on the mixer. Locate the power button on the front of the base unit. This button usually features A universal power symbol. Press this button to power up your Ninja mixer.
Monitoring the Blending Process
Once you start blending, Keep an eye on the process. If your recipe requires A particular consistency, You might need to stop the blender partway through, Stir the ingredients, And then continue blending.
Remember, You should never remove the lid while the mixer is operating. If you need to add more ingredients mid-blend, Remove the center cap on the lid And add the ingredients through the hole.
Safety Precautions
Using A Ninja Blender is fairly straightforward, But there are A few safety precautions you should keep in mind:
- Always ensure that the lid is properly secure before blending.
- Never exceed the ‘Max Fill’ line on the pitcher.
- Always turn off and unplug the blender when not in use.
- Do not attempt to touch the blades while the mixer is in use.
Always handle the blades with care, As they are extremely sharp.
With this guide, You should now be able to turn on And operate your Ninja mixer with ease. Blender For Smoothie Bowls increasingly popular as a healthy and refreshing breakfast or snack option. Many people rely on their trusty Ninja blenders. However, it is essential to keep in mind some safety precautions when using this powerful appliance.
Cleaning and Maintenance of the Ninja Blender
Deep Cleaning
Even with regular cleaning, Your Ninja Blender may need A deep clean from time to time. This helps remove any stubborn residues And keeps your mixer in top shape.
- Fill the Pitcher with Warm Water: Fill the blender pitcher about halfway with warm water.
- Add Dish Soap: Add A few drops of mild dish soap to the water.
- Blend: Put the pitcher back onto the blender base, Secure the lid, And blend on A low setting for about one minute. This process allows the soapy water to clean hard-to-reach areas, Including under the blades.
- Rinse And Dry: After blending, Unplug the mixer And carefully remove the pitcher. Rinse it under warm water, Making sure to wash away any soap residue. Dry thoroughly before reassembling or storing.
Regular Maintenance
- Check the Blades: Regularly check the blades for any signs of dullness or damage. If the blades are dull, They may not blend efficiently And might need to be replace.
- Inspect the Seals: Look at the seals on the lid And around the blade assembly. If they’re worn out or damaged, They may not seal properly, Leading to leaks during blending.
- Clean the Base Unit: Wipe down the base unit with A damp cloth, And make sure to clean the control buttons to remove any residue. However, Never immerse the base unit in water or any other liquid.
- Store Correctly: When not in use, Store the mixer in a dry, Clean place to avoid dust accumulation.
Conclusion
Turning on A Ninja Blender involves more than just pressing A button. From the initial assembly of the blender’s parts to the actual blending process, Each step plays A crucial role in ensuring you get the best results. Knowing how to properly position the mixer, Correctly assemble the blades, Add ingredients, Secure the lid, And select the correct blending mode are all crucial elements of using your Ninja mixer effectively.
Furthermore, Regular cleaning And maintenance of your mixer will extend its life And keep it in peak performance. With this guide, You should now have A comprehensive understanding of how to turn on And use your Ninja Blender.