Seasoning an enameled cast iron Dutch oven can also appear unnecessary to some, given the protecting enamel coating, however it is a key step in making sure your cookware performs at its great. While traditional forged iron calls for normal seasoning to prevent rust, enameled versions advantage from this manner as well. Over time, even enameled surfaces can lose their non-stick features and broaden stains or wear. By studying the way to season an enameled cast iron Dutch oven, you may enhance its sturdiness, enhance its non-stick floor, and keep the stunning finish that makes it a kitchen favourite. Let’s discover the easy steps to maintain your Dutch stove in prime circumstance for years yet to come.
Understanding the Charm of Your Enameled Cast Iron Dutch Oven
The splendor of enameled cast iron lies in its fusion of sturdiness with a swish, protective teeth layer. Unlike traditional cast iron, the enamel acts as a protect, shielding the uncooked iron underneath from rust, decreasing the need for frequent oiling. However, this doesn’t mean a loose skip from upkeep. Over time, the tooth’s effectiveness in repelling meals particles and stains diminishes, making seasoning a useful device to refresh its overall performance. Seasoning offers an extra layer of protection, retaining the non-stick qualities and preserving that smooth, glossy floor. Unlike ordinary solid iron, which needs constant care, enameled versions offer ease but nevertheless advantage from occasional seasoning.
Why Seasoning Matters for Enameled Cast Iron
Seasoning serves more than one purposes. First, it preserves the Dutch oven’s non-stick abilties. Although enameled forged iron begins with a naturally easy floor, overuse, excessive warmth, and abrasive scrubbing can put on down that first-rate. Seasoning rejuvenates this slick floor. Secondly, seasoning strengthens the sturdiness of the Dutch stove. A properly-pro oven boasts a fortified barrier, assisting to shield towards chips, cracks, and other wear and tear. It also builds up resistance to staining and odors, maintaining your Dutch stove looking pristine irrespective of what you cook in it.
Preparing for Seasoning: The Crucial First Step
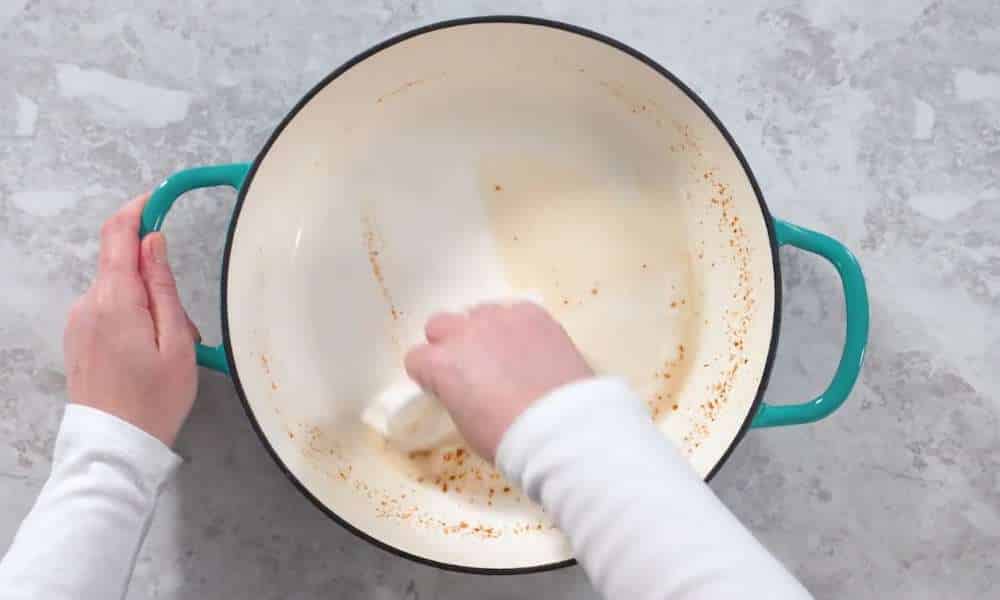
Before diving into the seasoning procedure, it’s important to prepare the Dutch oven well. Begin through cleaning it thoroughly to remove any lingering oils or meals residue that would intervene with seasoning. Use heat water, slight dish cleaning soap, and a tender sponge for a mild easy. Ensure it’s absolutely dry afterward, as moisture is the enemy of accurate seasoning. A lint-loose cloth works best for drying, or you can allow it air-dry naturally. Also, look at the teeth carefully for any chips or cracks; addressing these issues ahead is key to right seasoning.
Choosing the Right Oil: The Secret to Success
The oil you select for seasoning can make or break the process. Opt for oils with high smoke points like flaxseed, grapeseed, or vegetable oil—these oils form a durable, non-stick coating that bonds well with enamel. Natural oils are preferred since they leave a smooth, clean layer without any sticky residue. On the other hand, oils like olive oil, with their lower smoke points, should be avoided as they can leave behind an unpleasant, gummy finish after heating. The right oil ensures the seasoning process results in a strong, smooth coating that holds up to everyday use.
How to Season Your Enameled Cast Iron Dutch Oven
Now, onto the actual seasoning. Preheat your oven to around 300°F (150°C). Apply a light coating of your chosen oil to the interior of the Dutch oven, spreading it evenly with a soft cloth or paper towel. Be sure to wipe away any excess oil—too much can lead to pooling and leave behind a sticky mess. Place the Dutch stove upside down on the middle rack of your oven and allow it to bake for about 30 to 60 minutes. This heat helps the oil bond with the enamel, creating a protective, non-stick layer. Afterward, turn off the oven and let the Dutch stove cool inside. Once it’s cooled down, it’s ready for storage or immediate use.
Maintaining That Perfect Seasoning
To keep the seasoning intact, proper maintenance is key. How often you need to season depends on usage, but a light seasoning after every few uses helps retain the protective layer. When it comes to cleaning, stick to gentle methods—warm water and a soft sponge are usually enough. For stubborn stains, avoid harsh chemicals and scrubbing, as these can erode the seasoning.
Common Mistakes to Steer Clear Of
One common mistake in seasoning is using too much oil. This results in a sticky, uneven finish rather than the desired smooth layer. Another frequent misstep is overheating the Dutch stove during the process. While heat is essential for bonding the oil, too much can cause the enamel to crack or discolor. Additionally, using the wrong oil, such as one with a low smoke point, can hinder the seasoning process, leaving behind an undesirable finish.
How to Re-Season Your Dutch Oven Like a Pro
Over time, the seasoning on your Dutch oven might wear thin, signaling the need for re-seasoning. If food starts sticking more often or stains begin to form, it’s time to refresh the coating. The re-seasoning process mirrors the original steps—clean thoroughly, apply oil, and bake—but you may want to use a slightly thicker layer of oil for a more durable finish. This restores the protective barrier, keeping your Dutch stove performing like new.
Cooking with a Seasoned Enameled Dutch Oven: A Culinary Game-Changer
With a well-seasoned Dutch oven, the culinary possibilities are infinite. From slow-cooked stews to crispy seared meats, a pro floor complements the flavor and texture of your dishes. High-warmth responsibilities like browning or searing grow to be handy, as food is less probable to paste. Even for low-warmth cooking, consisting of simmering soups, the seasoned teeth permits for a mild launch of flavors, with none scorching at the bottom. Embrace the flexibility of your pro Dutch stove and test with extraordinary recipes to release its full capability.
Storing Your Dutch Oven Safely
Storing your Dutch stove nicely facilitates maintain its seasoning and stops harm. Ensure it’s completely dry earlier than storing to keep away from moisture buildup, that could cause rust or tooth degradation. Store the oven with the lid barely ajar to permit air circulation, or vicinity a tender material between the lid and the pot to guard the teeth from chipping.
Cleaning Without Stripping the Seasoning
To smooth your enameled Dutch oven with out adverse the seasoning, stick with non-abrasive sponges and moderate detergents. Avoid metallic wool or harsh scrubbing pads, as those can scratch the enamel. For cussed food residue, a short soak in heat water have to do the trick. Baking soda is likewise an outstanding non-abrasive purifier for difficult stains.
Troubleshooting Common Problems
Even with right care, your enameled Dutch oven might also face problems. Stains, rust, and discoloration can occur with exposure to excessive warmness or abrasive cleansing. To tackle stains, a baking soda paste can paintings wonders. If the teeth chips or cracks, deal with the oven with care, as persisted use may want to get worse the damage. In case of excessive harm, attaining out to the producer can be essential. By following those suggestions, your Dutch stove will stay a cherished kitchen staple for years to come.
Conclusion
Learning the way to season an enameled cast iron Dutch oven is a straightforward manner that can substantially amplify the life and performance of your cookware. By adding an additional layer of safety, you beautify its non-stick competencies, guard against staining, and maintain the tooth’s smooth end. Regular seasoning not most effective improves the oven’s functionality but additionally ensures that it continues to shine, irrespective of what you cook dinner. Whether you are getting ready a slow-cooked stew or searing meats, a nicely-pro enameled Dutch stove will function a dependable companion inside the kitchen for many years. With right care and seasoning, your Dutch stove will stay a loved part of your culinary toolkit.