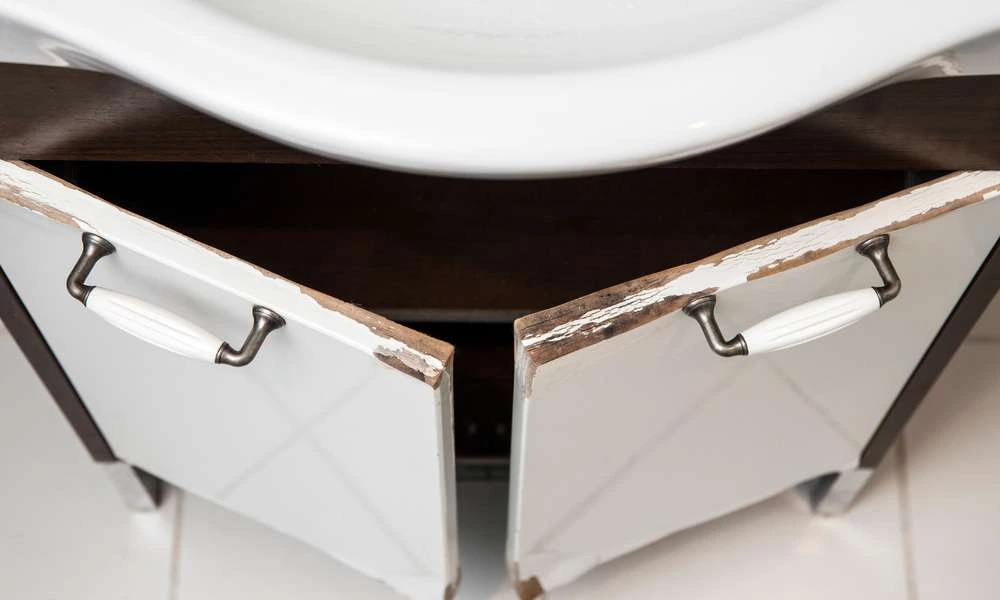
Water can cause extensive damage to any part of your home, but especially the kitchen. When it gets trapped under cabinets and on the floor, it can cause mold, mildew and bacteria to grow, making these areas unusable. Below are some ways on how to repair kitchen cabinets with water damage:
For most homeowners, water damage to kitchen cabinets is a big deal. Not only are the cabinets unusable, but also the wood in the cabinets can swell and warp, making them impossible to open. The good news is that you can repair kitchen cabinets with water harm using a few basic supplies.
Method-1
1. Determine the Extent of Water Damage
If you see water on the floor, walls, or ceiling, there is significant stream damage and you should call a professional to assess and clean up the mess. However, if only a limited amount of stream is present or if there are no signs of standing water, you can try to clean the damage yourself.
2. Close the Main Utility
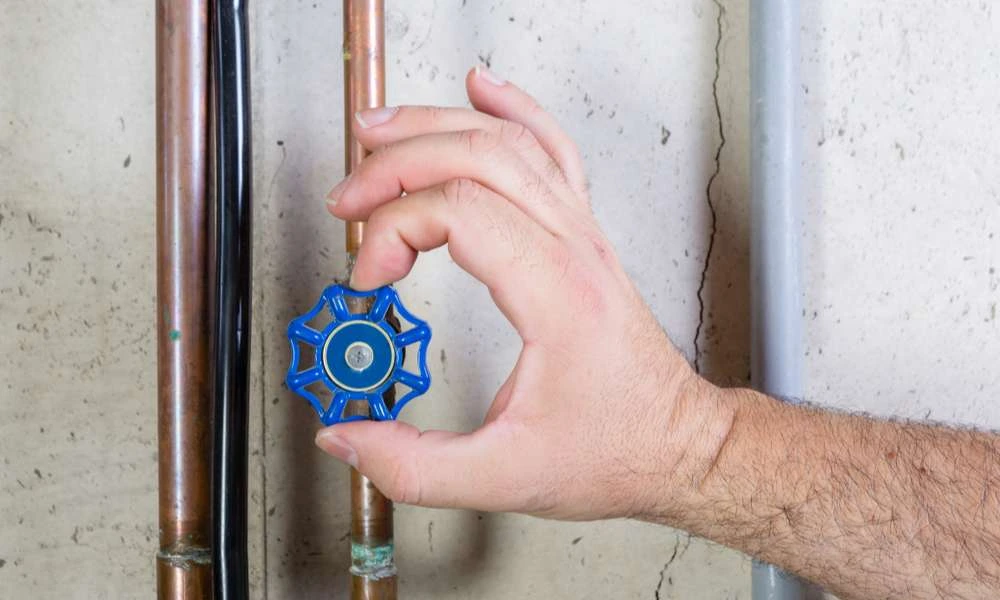
If there is significant stream harm, turn off all electricity, gas and stream while you assess and clean up the area. This will prevent further damage from occurring and help prevent further damage from occurring during cleaning.
3. Wipe Down any Wet Furniture
If the furniture is wet and you can’t move it, clean it so drywall and other heavy objects don’t fall on top of it and cause more damage. Also make sure any glassware is stored safely away from moisture – broken windows can easily translate to broken glassware!
4. Defrost Windows and Doors if Necessary
Ice melts faster in warm weather which means any doors or windows that were open during the incident may now be vulnerable to rain or snow ingress – de-ice before attempting to clear these areas!
5. Wear Gloves and a Mask if Possible
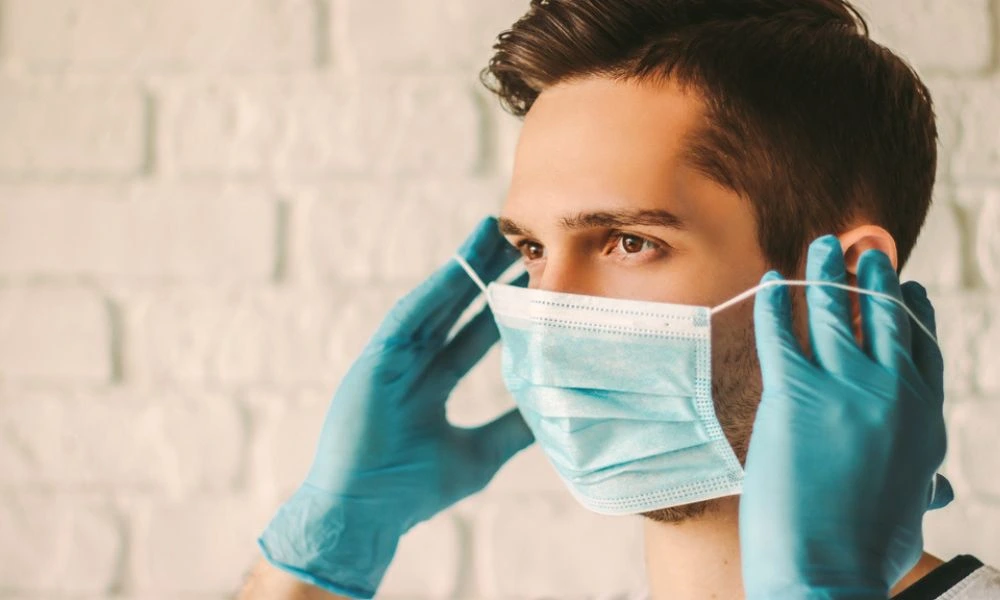
If you do wet a clean towel or mop, wearing gloves will help protect your hands from bacteria and mold growth. If exposure is unavoidable, wear a dust mask to avoid breathing in toxins created by decomposing liquids and materials.
6. Sweep up Debris and Remove Moisture Using a Bucket or Sponge
Once all electrical power is off, begin cleaning debris (and possibly melted ice) from floors, corners, and reachable areas around plumbing fixtures (basically anywhere that’s likely to flood), then use a bucket or sponge to mop up any remaining moisture. Try not to use too much power as it can cause more damage! Keep reading How to Repair Kitchen Cabinets With Water Damage.
Method-2
Step 1
Clean the Area Flooding can cause a variety of water harm in your home, from small leaks to ceilings. Once you’ve cleared the area and checked for hazards, begin cleaning by cleaning up any debris and stream droplets has fallen. Dispose of wet furniture and appliances, defog windows and mirrors, and scrub all surfaces with a disinfectant solution.
Step 2
Remove Damaged Materials Carefully cut away any mold or mold-covered drywall with a knife or pry bar so you don’t spread the water harm to other parts of the wall. If there is heavy stream damage, use a sledgehammer and saw to remove the damaged drywall sections.
Once it’s off you can use a vacuum cleaner to clean up excess water and debris. Ikea has a variety of shelves that you can install above the door sill to help control flooding and prevent further damage.
Step 3
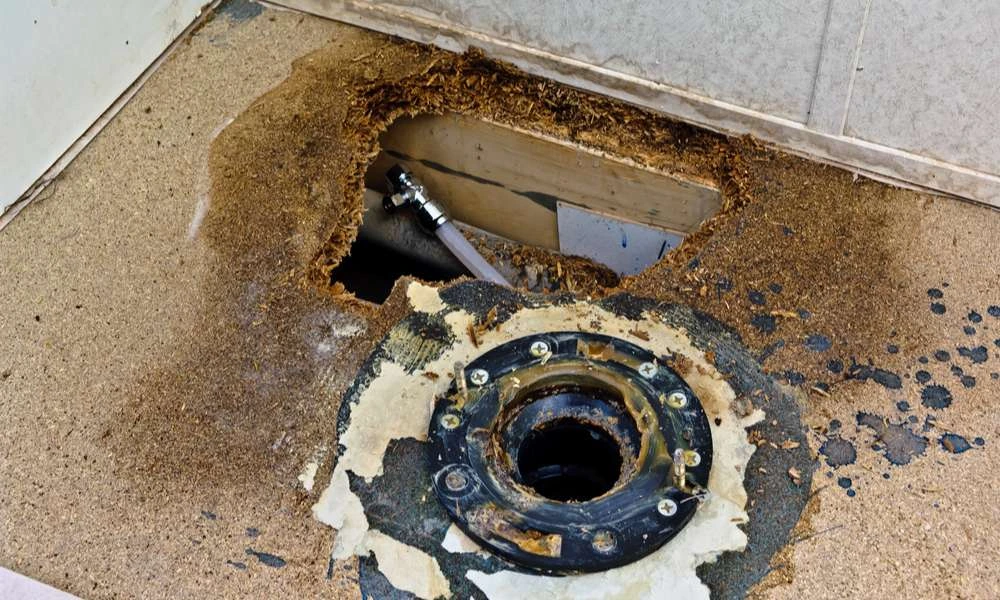
Patch broken floors If there is significant stream damage to the subfloor where the cabinets are located, dry it and patch it as soon as possible before more water gets in. Use a waterproof adhesive-based sealant such as GEOPAK® Stix Mastic to attach mesh fabric strips around the perimeter of the hole to ensure no stream can ever seep into the building again (Note: Do not patch rags).
If your kitchen cabinets are still in good condition but moisture has seeped into or warped the cabinet doors after being closed for an extended period of time, it may be time to replace or refinish.
Step 4
Board Up Openings If you are unable to repair or repair floors or walls, cover the openings with batten boards spread from side to side with 2″ gaps at each peak (adults only – children should try this without adults No. Supervision) The boards are nailed to the studs at 16″ intervals using 1 1/2″ nails to ensure that the edges of the top or bottom panes of the window or door frame do not overlap.
Method-3
Step 1
Remove all materials that may obstruct the flow of water Items such as cans and boxes should be moved out of the way so that liquids can move freely under them.
Step 2
Try de-ionizing the water using a filter or boiling it for a few minutes before using it to dry wet items. This will remove any minerals from the stream and help prevent microbial problems.
Step 3
Apply a generous amount of basic household cleaner directly to the affected area, working into cracks and back hinges of doors where water may seep in unnoticed. Cover entire surfaces with a thick layer, then let sit for at least an hour before cleaning with a stiff-bristled brush or towel. Scrub until all the dirt is gone. Repeat steps 2-4 if necessary.
Step 4
If moisture persists through the cabinet doors or around the frame, you will need to replace them entirely – even if they are slightly warped from flooding. You’ll want to remove any glue or fasteners (like thumbtacks) holding them in place, then seal them with waterproof sealant before re-flushing them in the wall opening.
Kitchens are one of the most common places where water harm occurs. Remember that cabinet doors are often the first thing to fail when a stream gets into the cavity behind them. By following these simple steps, you can get your cabinets back in working order.
Method -4 To Repair Kitchen Cabinets With Water Damage
1. Remove any obstacles in the way. This can include anything from appliances to pots and pans.
2. Once everything is removed, create a waterproof seal around each door using caulking and/or RTV silicone. This will ensure that the stream does not seep in and cause further damage.
3. If there is any wood on or near the cabinet doors, use the saw to cut off the excess wood and flush it with the surface of the door jamb.
4. Apply weatherstrip adhesive around all edges of the door (both inside and outside). This will help retain moisture and protect your walls from stream infiltration.
5. Install new cabinet hardware or use an equivalent product if available (such as marine grade or polyurethane). This will ensure that the doors close properly and do not rub against each other, ultimately leading to further damage.
1. Does Caulk or Duct Tape Work?
Once the water stops damaging the cabinet, you need to stop any stream leaks and make sure the doors don’t open again. This can be done with caulk or duct tape. Choose a waterproof adhesive and seal any cracks or seams around doors and handles. Make sure the tape covers both sides of the door and handle to prevent moisture from entering the other side.
2. Can you repair water damaged cabinet?
Water damage can be repaired with a little bit of work. Start by drying the area out as much as possible. This can be done by using a hairdryer, airing out the area for a few hours, or using a dehumidifier. Once the area is dry, start by repairing any cracks or holes in the cabinet. Use caulk, wood filler, and paint to repair the damage. Finally, seal the repairs with a coat of paint or varnish.
3. Can swollen MDF be repaired?
Swollen MDF can be repaired by a variety of methods, the most common is to use a heat gun and a piece of wood. Heat the MDF until it softens, then use the wood to push the softened MDF back into place.
4. How do you get rid of water damage in cabinets?
There are a few things that you can do in order to try and remove water damage from cabinets. First, use a vacuum cleaner with the hose attachment to suck up any water that has seeped in. Second, use a plunger to push any water that has accumulated out of the cabinet. Finally, use a wet vac to clean up any residual water.
5. What does water damage look like on cabinets?
Water damage to cabinets can range from mildew and rot to destruction. In most cases, water damage is easy to spot due to the wet wood surfaces and mold that will grow on any exposed area. If you are not sure if your cabinet has been damaged by water, you can try a simple test. Pour a pot of boiling water into the cabinet and wait 10 minutes. If the water has cooled enough to touch, then your cabinet has been damaged.
6. What Are The Short Rules for Repairing Kitchen Cabinets with Water Damage?
There are many things you can do to repair kitchen cabinets that suffer from water harm. One of the most important things is to dry the cabinet properly and apply a sealant to the surface. After you clean the cabinet, it’s important to seal any areas that may have stream damage. You can use a spray adhesive, masonry cement, or caulk to do this. Another thing you can do is fill cracks or gaps with silicone caulking. This will protect the wood from future moisture damage and make it easier to clean.
The Final Thought
First, determine the extent of the water harm. If only a small part is damaged, you can try to dry the area as much as possible. You can use a hair dryer, air compressor or stove top burner to get the stream out quickly and help stop further damage. Once the area is dry, use a septic tank cleaner such as Demeter or similar. This will help remove any harmful bacteria and begin to repair the damage. If the dried parts are still wet, it’s best to hire a professional to take a look at your kitchen cabinets and determine the best course of action for repair. Hope you have understood that how to repair kitchen cabinets with water damage.