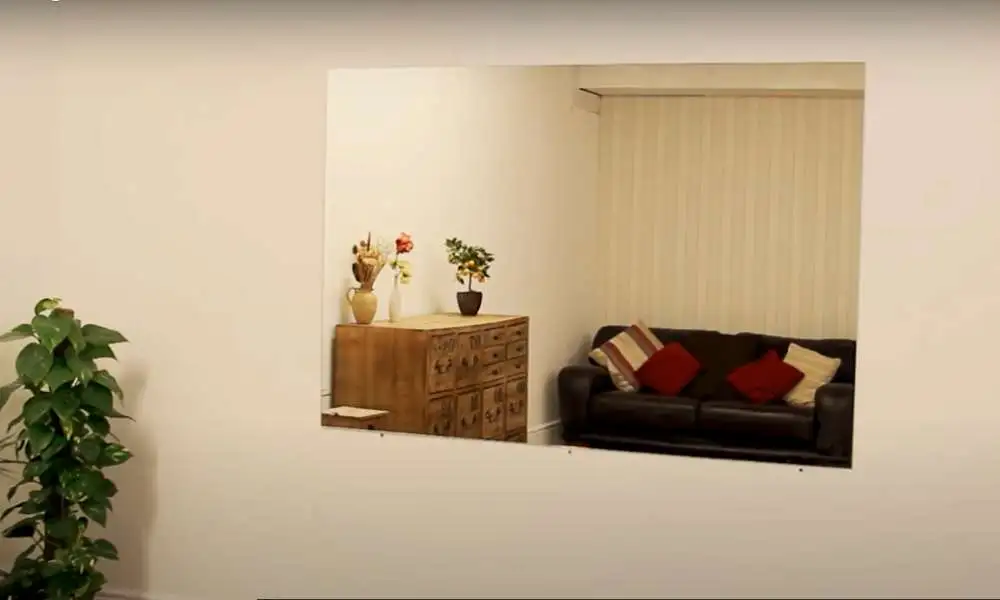
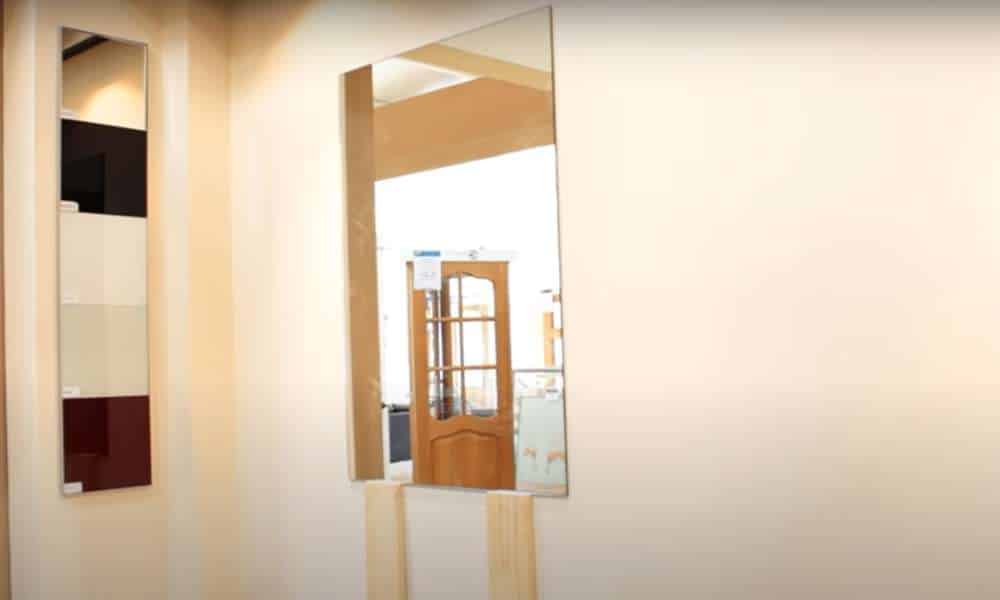
Many people think that a frameless mirror can only look best on the bathroom wall, which is not entirely true. Because you can hang it in other parts of your house if you want. If you want to change the whole look of your house, try to tackle the small challenge by hanging frameless things in your new home so that you can relax. Keep in mind that a frameless thing works well for any type of room decoration that pleases the mind. So you should be prepared how to hang a frameless mirror.
What you will Need
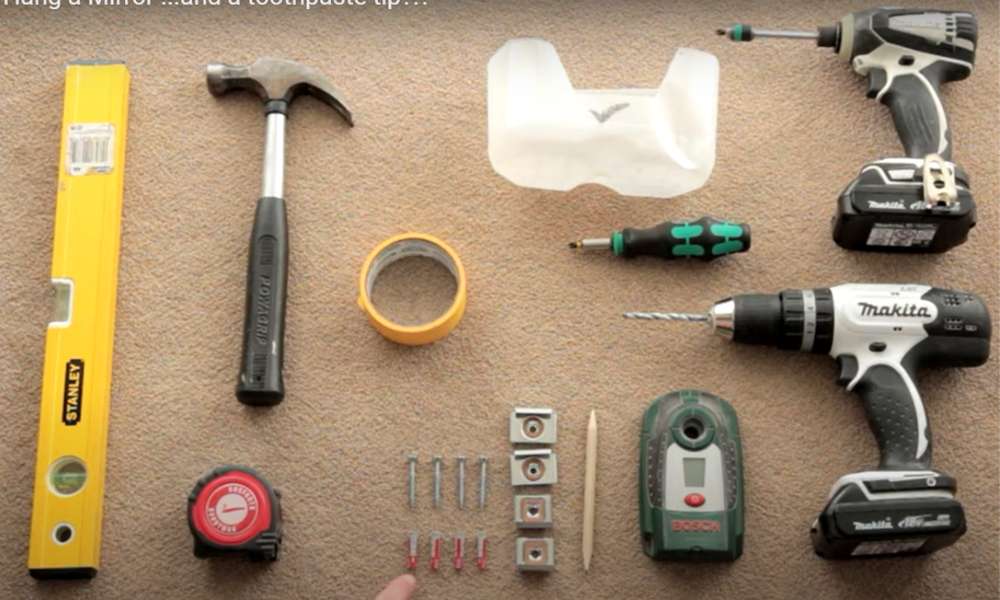
Hanging a mirror may seem like a simple task…but it’s not always as easy as it seems! We’ll walk you through everything you need to know about hanging a frameless item step by step.
- A stud finder (or any metal detector)
- Mirror frame
- Wooden dowel or piece of hardwood
- Screwdriver and drill/screw
- Hammer, screwdriver. nails and screws
- Hook and eye tape
- Caulk
Method 1: A Few Simple Processes
1. Measure
First, measure the wall space where you want to hang the mirror. You’ll need a stud finder and measuring tape. Mark the location of your studs before measuring them out. Make sure they are straight. Then, use your stud finder to locate the center of each stud. Add 2 inches onto each side of the stud center to ensure proper installation.
Next, measure from the center of each stud to where you want your things to go. Draw a line perpendicular to these measurements. Be careful not to over-measure your item. A 1/2-inch overhang at each end of the frame is enough room for hanging hardware.
2. Cut Out Space
The first step is to cut out the space around your item. Use your measuring tape to mark out the amount of space you would like to leave empty. Try to make your cuts right above and below the studs. Try to make them slightly larger than the size of your studs so you have some wiggle room later on.
Now, using your hands, carefully pry open the drywall around your studs until you reach the marking you just made. Remove any loose pieces of drywall and use a utility knife to carefully remove the paper backing of the drywall surrounding your studs. Try to keep the edges smooth since you don’t want to damage the wood. You can even use a nail file if necessary.
3. Prep Mirror Frame
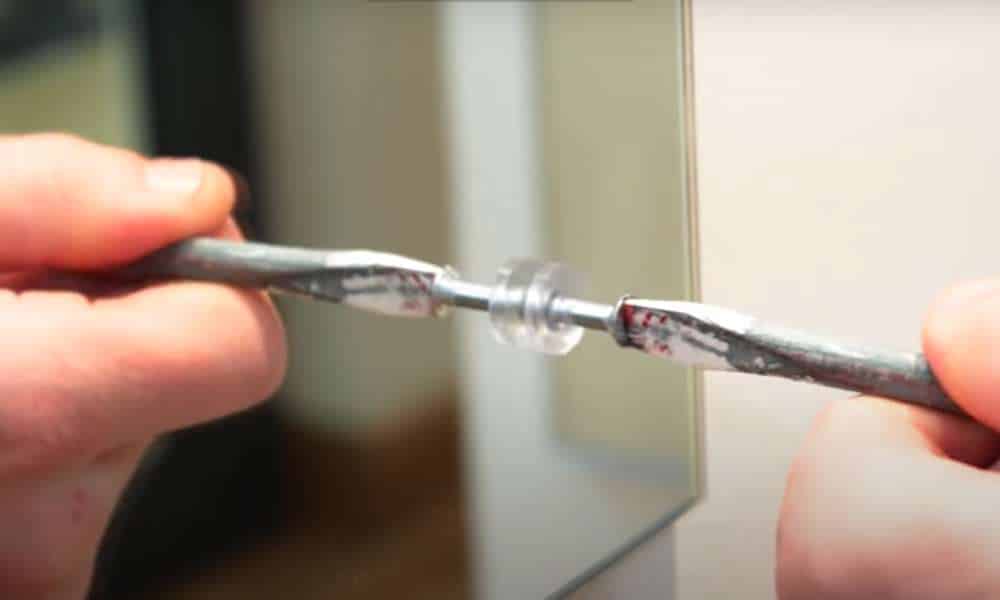
Once you have removed the paper backing, use a hammer drill to drill pilot holes in your studs. Drilling your own pilot holes creates a stronger connection between the wood and screws. Drill two pilot holes close together on either side of your mirror’s edge. It should look something like this.
After drilling your pilot holes, use a countersink bit to create a hole for your anchor screw.
Now comes the fun part! Using an angle grinder or Dremel tool, grind away the excess material around your edge to expose the raw metal of your frame. If you’re using a grinder, make sure to wear safety goggles and a mask. Also, always start grinding at 90 degrees from the edge to prevent gouging the surface. Grind until your frame is completely exposed. Take caution as this tool is dangerous.
To finish off your trimming task, use sandpaper to smooth down your rough edges. Once you’ve finished smoothing everything out, wipe down your frame with mineral oil. This will help protect your frame from future moisture.
4. Hang Your Mirror
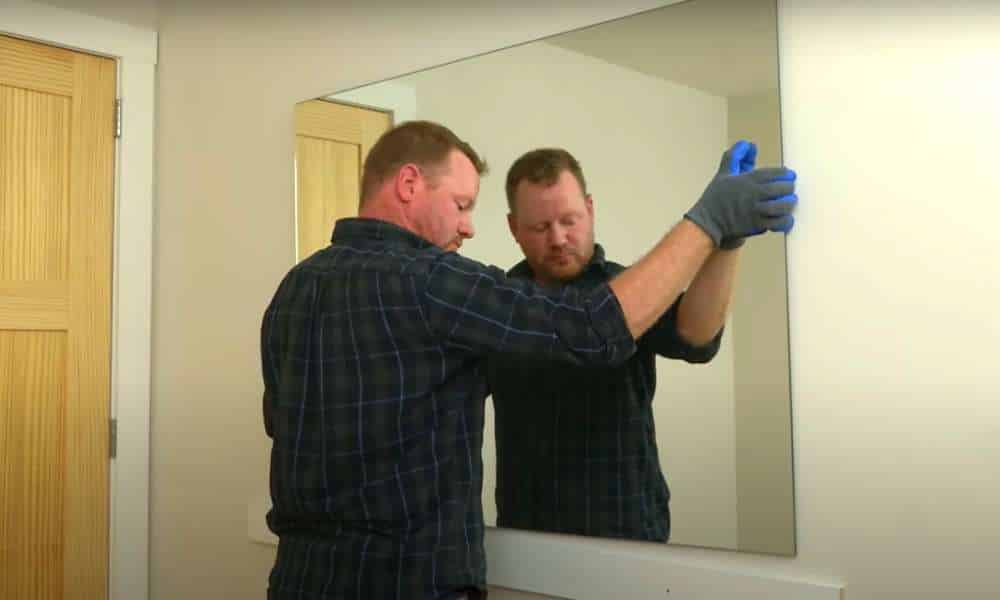
Hang your item with three screws. One screw goes in each corner and one in the middle of your frame. Make sure you get the screws all the way into the studs and secure them properly. After securing your screws, tighten them with a ratchet wrench. To hang it, place the back of it on the wall and then slide it forward into position. Adjust it so that both sides are level.
5. Enjoy After Knowing How to Hang a Frameless Mirror
That’s it. That was a simple project that took less than five minutes. You now have a beautiful mirror in your home without damaging your walls
Method 2: A Few Simple Steps For How to Hang a Frameless Mirror
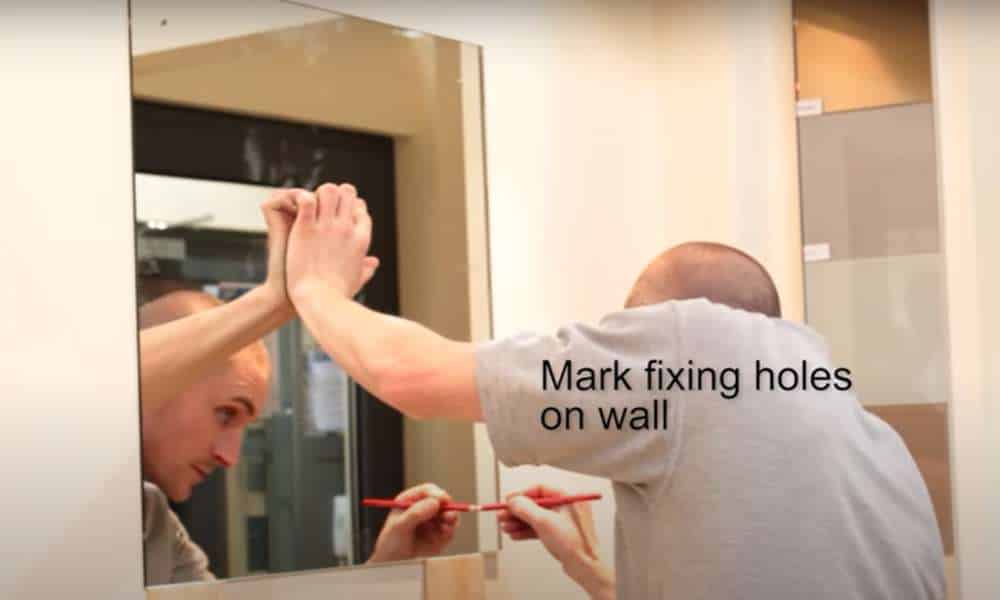
Step 1: Identify and Mark the Exact Spot
If you’re lucky, there will be a stud right where you want to hang it. If not, you’ll need to find the studs around your mirror’s spot and mark them with a pencil.
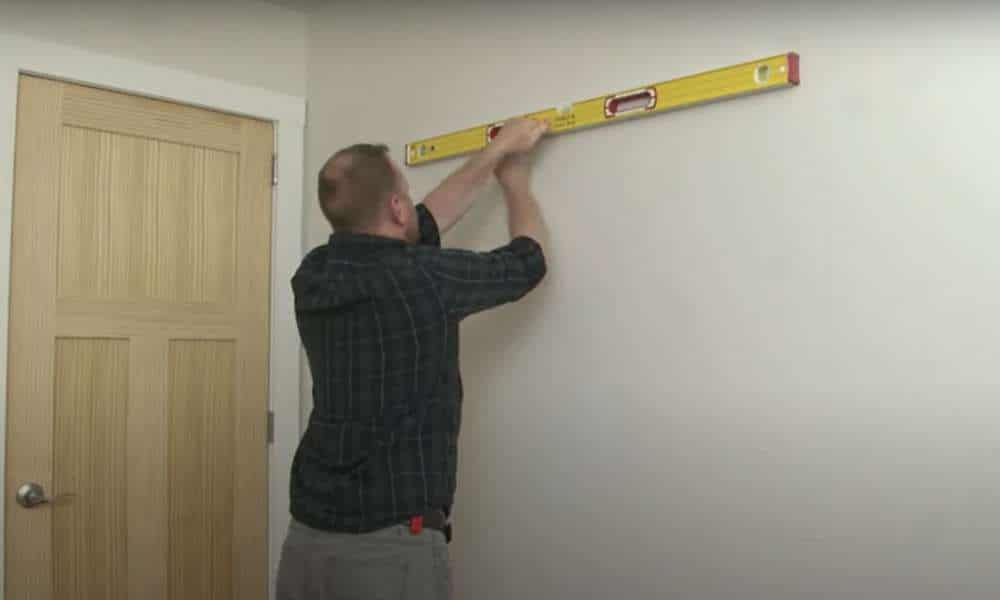
Next, use a level to make sure that the marks on the wall are straight. This is important because it will keep your item from being crooked and looking bad when it’s up on the wall.
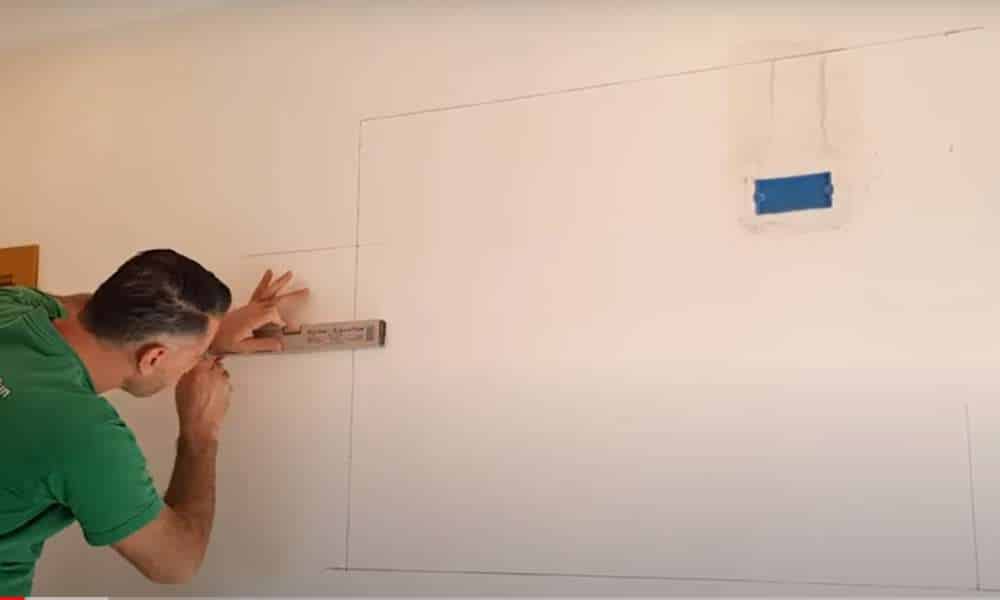
Step 2: Make Sure It’s Straight
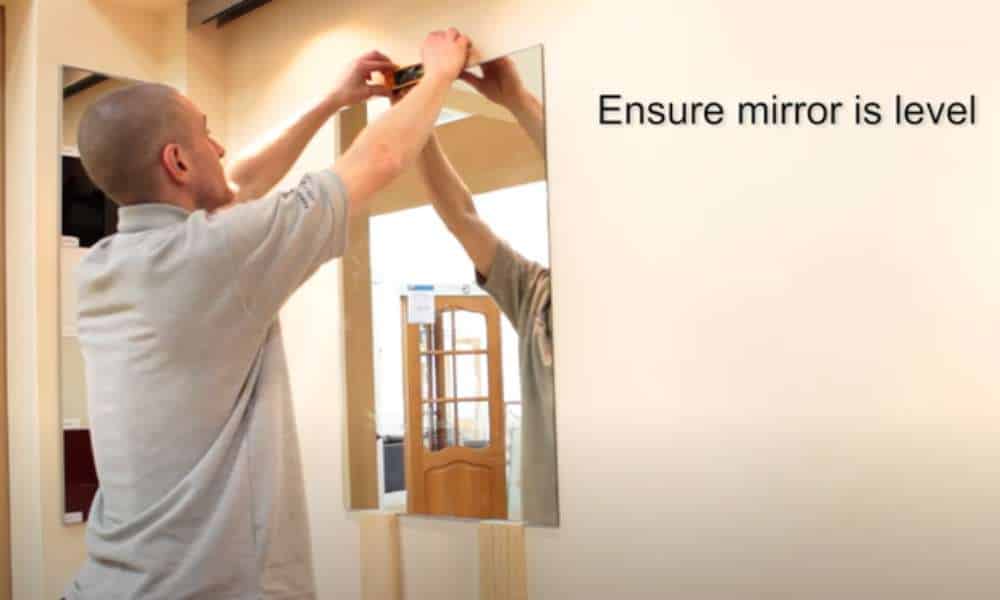
The first step is to measure the wall where you want your mirror to hang. Using a level, make sure that the surface of it is level with the ground.
If you have a large space, it’s best to use two hooks instead of one so that you can hang it straight and avoid any gaps in between.
Step 3. Check The Wall to See If It’s Flat or Not
Frameless mirrors need to be mounted on a flat surface. If you have an uneven wall, you will need to get creative with the installation process.
They also add light and make the space seem more welcoming. But if you hang them on a wall without properly preparing the surface, they may not be as effective.
So before you hang your mirror, it’s important to check that the wall is flat and smooth. If it is, then you can use adhesive hooks or nails to hang it on the wall. If not, then you need to use screws instead so that you can attach the parts securely to a stud in the wall.
Step 4: Select The Real Edges of the Studs
Frameless glass is commonly hung on a wall with the use of this hanger. A mirror hanger is a metal frame that has hooks on the back of it and can be placed over studs in the wall.
Marking the edges of studs is one way to hang frameless parts, but there are other ways as well. One way is to use drywall screws and place them into the holes in the back of the item. Another way is to use toggle bolts, which are fasteners that will hold up to 100 pounds of weight when you drill two holes in your studs.
Step 5: Start Drilling Pilot Holes
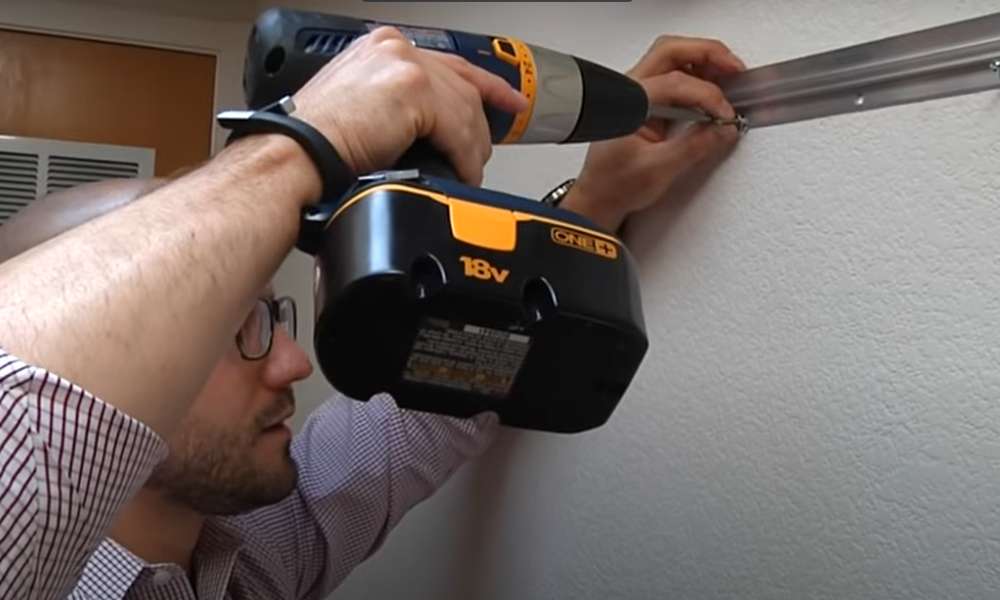
A frameless glass has no frame around it. This means that it will be hanging on a wall with nothing to support it. It is important to drill pilot holes before you hang up your frameless item. This will ensure that the weight of it is distributed evenly and there are no cracks in the wall where you are hanging it.
Step 6: Select Around for The Top Glass Clip
There are many ways that you could hang a frameless mirror in your home, but one of the easiest methods is by using the mark around the top item clip. This clip will help you attach your item securely and without any visible marks or screws!
One of the best ways to hang a frameless glass is by using the Mark Around The Top Mirror Clip. This clip will help you attach your things to the wall securely and without any visible marks or screws.
Step 7: Again, Drill The Pilot Holes
Measure and mark the mirror for drilling to make sure that it will fit over your door frame or surface.
Drill pilot holes into the wall where you want to hang your glass. The pilot holes should be 1 inch away from the edge of your this, and they should be drilled at an angle slanted towards each other.
Use a cordless drill to screw two screws into each hole you drilled in step two, making sure that they are tight enough so that they will not come loose with time and use.
Step 8: The Final Step For How to Hang a Frameless Mirror
Place a small piece of tape on the back of the and use it as a guide for where to drill your mark. Mark the hole with a pencil and then remove the tape from your mirror. Drill at least two holes into your wall, one for each screw that will hold up it.
Insert your screws into the holes and tighten them with a screwdriver until they are secure in place. Hang up your new frameless by placing it between these two screws and lifting up until it is level with its surroundings
Method 3: An Alternative Way to Hang the Mirror
It is a great way to add an extra level of light to a room and make it seem bigger than it is. They also make a room feel more luxurious, which is why they have become so popular in the home decor industry. But what do you do if you would like to hang a frameless item on the wall but don’t want to put any nails or screws into the wall?
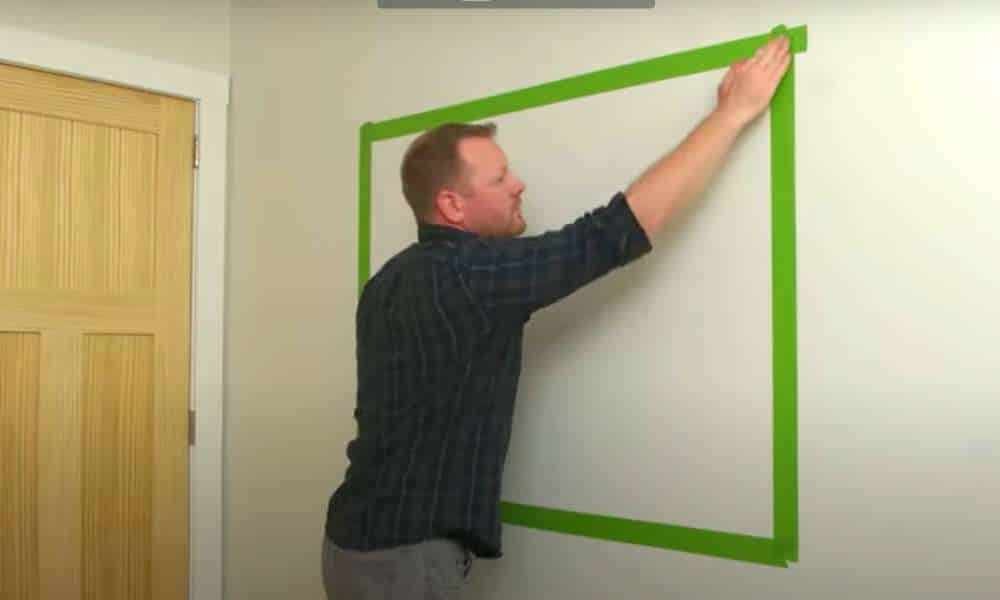
Step 1: Mark The Area
If you want to hang your things without putting any holes in the wall, then you will need two pieces of string. One piece should be about 3 feet long and the other piece should be about 18 inches long. Tie one end of each string around one side of the mirror’s frame, making sure that both strings are at equal lengths from either side of the frame.
Tie each string around a nail in the wall and then tie them together on either side of that nail so that they form an “X” shape at either end. Then use another nail
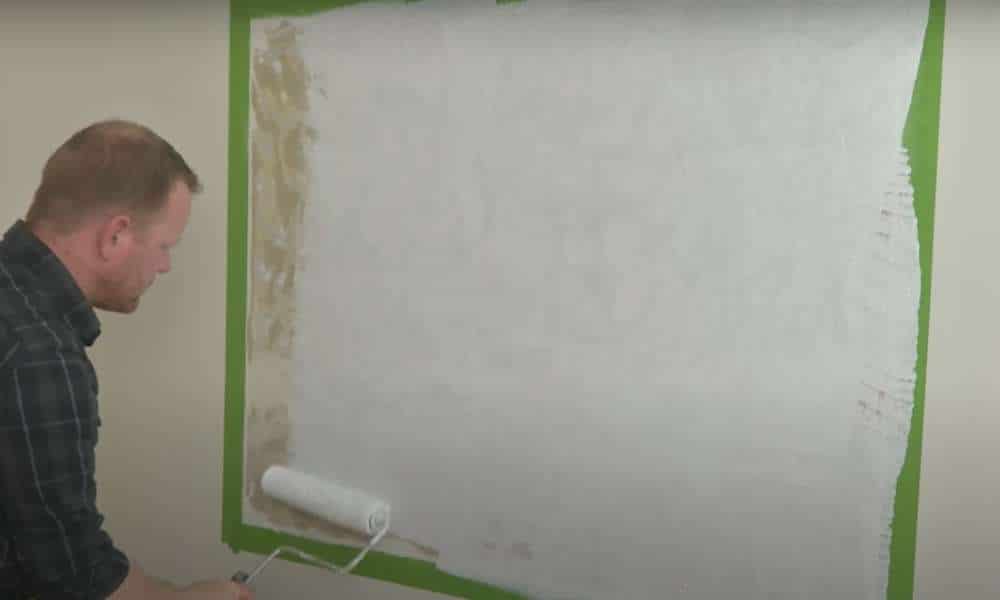
Step 2: Sanding and Priming
To hang a frameless mirror, you will need to decide where you want it to go and then measure its height and width of it. Then, you will need to find a stud on that wall. If there is no stud, then use an anchor or molly bolt for the installation.
Step 3: Wooden Brace for Support
Hanging a frameless glass is not as difficult as it seems. It can be done with a wooden brace for support.
A frameless mirror is a type that does not have the metal frame or backing that usually surrounds traditional things. You can hang this type of it on the wall using hooks, nails, screws, or brackets.
Step 4: Apply The Adhesive
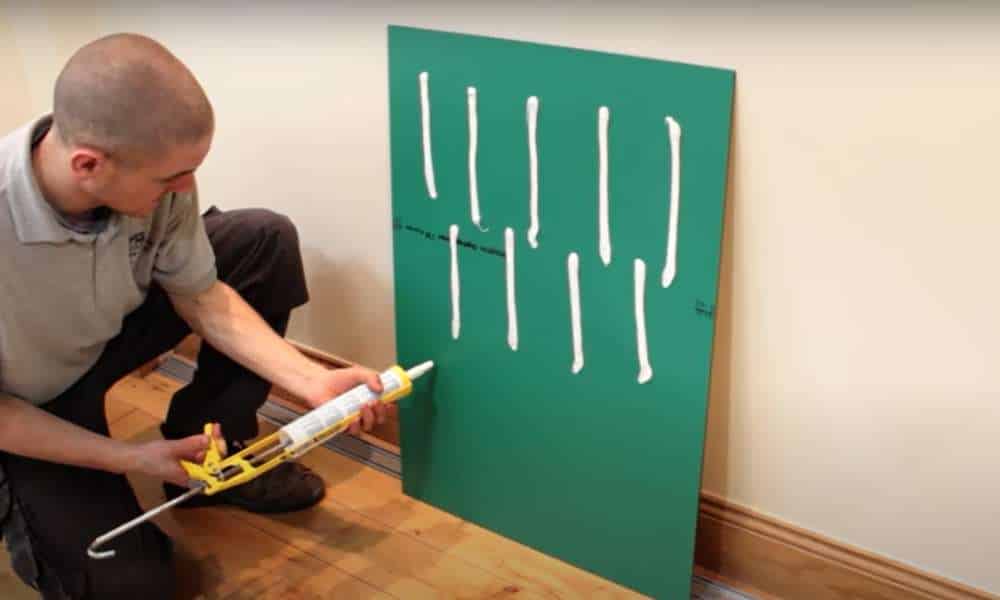
Hanging a frameless mirror on the wall can be challenging. You need to measure, mark and then carefully apply the adhesive in the right place.
Follow these steps to hang your frameless mirror:
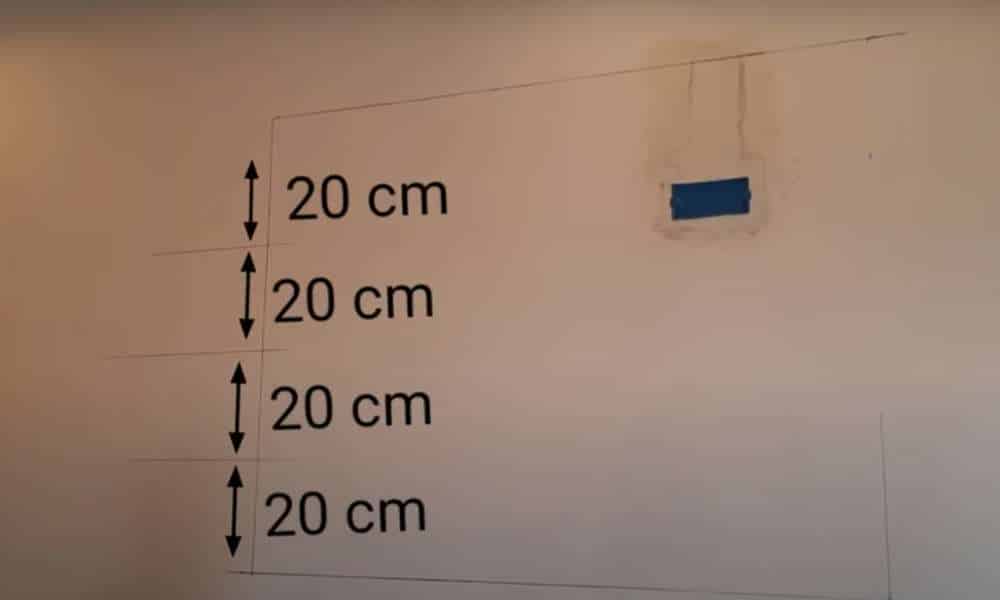
1) Measure the width of your and add 1/4 inch to each side. Mark this width on two opposing walls and draw a level line between them.
2) Using a ruler, measure from the top of one side of your glass, down to the level line you drew on one wall, then across to the other wall and up to that level line. Repeat this process for all four corners of your things.
3) Lay out a bead of adhesive (about 3/4 inch wide) along one edge of your mirror’s back frame at each corner where you measured from step 2 above; make sure it is even with both sides of your frame. Apply pressure for 30 seconds or until it is set firmly in place.
Step 5: Your Final Step for Installation
The first step is to measure the space where you want the glass to go. You will need at least an inch of clearance on each side of it for installation, so make sure you have this before moving on.
Next, decide how high you want your mirror to hang from the wall. This will depend on your needs and height preference.
Finally, use a level or plumb line to mark where you want the mirror nails or hooks installed on your wall.
1. What Kind of Mirror Do I Need?
Mirrors (also known as reflective surfaces) are ideal for displaying plants indoors. They provide great light for your plant’s roots while reflecting the sun’s rays onto the surface of your plant’s leaves. It is better to use frameless items rather than framed mirrors as framed blocks block a lot of light.
Frames are not recommended for indoor plants. A frameless is usually flat, and rectangular and comes with a black backing to prevent glass reflections. If you’re looking for something larger, you’ll want to consider a sheet of glass instead.
2. Where Should I Put My Mirror?
Place your mirror in a low-light area. You don’t want direct sunlight shining directly on your plants, otherwise, they won’t get enough exposure. Choose a location that isn’t too noisy, as you don’t want the sound of water splashing off the edge of the to disturb your plants.
3. How Do I Mount My Mirror?
If you are using adhesive mounting tape, simply peel off the backing and stick the mirror to the wall. Make sure not to leave any sticky residue behind. Be sure to remove the excess tape before putting it down, because you don’t want it stuck to anything else!
If you plan to hang your things from screws, make sure to tighten them securely and avoid over-tightening. Remember, if you screw in too many screws, they may break and fall down, causing damage to your plant.
4. Is it Safe to Hang My Mirror By Myself?
Yes, but only if you have some experience. Make sure you follow these guidelines:
- Use the right tools—The right tools make everything easier.
- Start slowly. Start by gently pulling the screws out of the wall instead of jerking them.
- Correctly follow instructions.
- Keep your hands clean.
- Do not damage the wall.
- Advice For How to Hang a Frameless Mirror
To make sure the glass does not move, use a screwdriver to tighten the screws until the screws are tight. If the screws don’t hold, try using nails. Just be careful not to scratch its surface.
Be careful not to touch the glass surface when attaching it.
Don’t panic if you have trouble finding where the screws go, just use a hammer and nails instead!
Final Words
Make sure your wall is moist, smooth, and free of termites. Use a stud finder to locate wood framing inside your walls. If you have existing drywall or plaster that needs to be removed, use a wet towel to soften the surface first. Then use a utility knife to scrape away the old material. Again using the stud finder, measure where you want your new studs to go. I measured along the top edge of my frame.
Once you have your measurements, mark the location of your studs. Remove any paint or paper covering the studs, then drill holes along your marks. To prevent your glass frame from moving around, insert a wooden dowel between each stud. Be sure to keep them parallel to your wall. Screw each dowel in place. Hope you understand how to hang a frameless mirror.