Baking bread in a Dutch oven creates the perfect crispy crust and soft interior, making it a favorite method among home bakers. However, after enjoying your freshly baked loaf, knowing how to clean a Dutch oven after baking bread is essential to maintain its longevity and performance. Residual crumbs, baked-on dough, and stains can accumulate if not properly cleaned. In this guide, you’ll discover effective and simple cleaning techniques that will keep your Dutch oven in pristine condition, ensuring it’s ready for your next delicious creation.
Why Proper Cleaning Is Key to Dutch Oven Longevity
After your bread bakes to perfection, remnants—crumbs, bits of dough—have a tendency to collect inside the nooks and crannies of your Dutch oven. These bits, if now not eliminated, will negatively have an effect on future cooking reviews. They can burn, causing unpleasant flavors and odors to infuse into your subsequent dish. For the ones using a cast-iron Dutch stove, the stakes are higher. Poor cleaning can cause rust, jeopardizing the pot’s durability. Therefore, a thorough cleaning ritual is important to hold both performance and durability intact.
Evaluating the Dutch Oven Post-Bake
Once your golden loaf is cooling on the rack, take a moment to inspect the Dutch oven. Is there just a light dusting of crumbs? Or, are there stubborn patches of baked-on dough clinging to the surface? Perhaps there’s even a hint of discoloration or residue. This visual check will help you determine the level of effort needed to clean the pot. If it’s minor crumbs, you’re in for a quick task. But tougher stains? They’ll need a bit more elbow grease.
Let It Cool Before You Clean
Resist the temptation to rush into cleaning while the pot is hot. One of the cardinal rules for Dutch stove care is allowing it to cool completely before washing. Rapid cooling can cause thermal shock, cracking the enamel or even the pot itself. Patience is your best friend here—simply place the pot on a heat-resistant surface and wait it out. Avoid drastic measures like dousing it with cold water, as the sudden change in temperature could be catastrophic.
Tools of the Trade for Cleaning
You wouldn’t use a sledgehammer to crack a nut, so why use harsh tools on your Dutch oven? For this delicate task, reach for soft sponges, plastic scrapers, or non-abrasive scrubbers. Tools like steel wool are a definite no, as they could scratch the enamel or ruin the seasoning on a cast iron. Gently does it—these soft tools will help you remove any residue without causing harm.
Tackling Loose Crumbs and Residue
First matters first: sweep out any loose crumbs or mild residue with a gentle fabric or paper towel. For spots in which dough has stubbornly clung to the floor, use a plastic scraper to softly dislodge it. Be cautious together with your strain—an excessive amount of force ought to damage the pot’s finish.
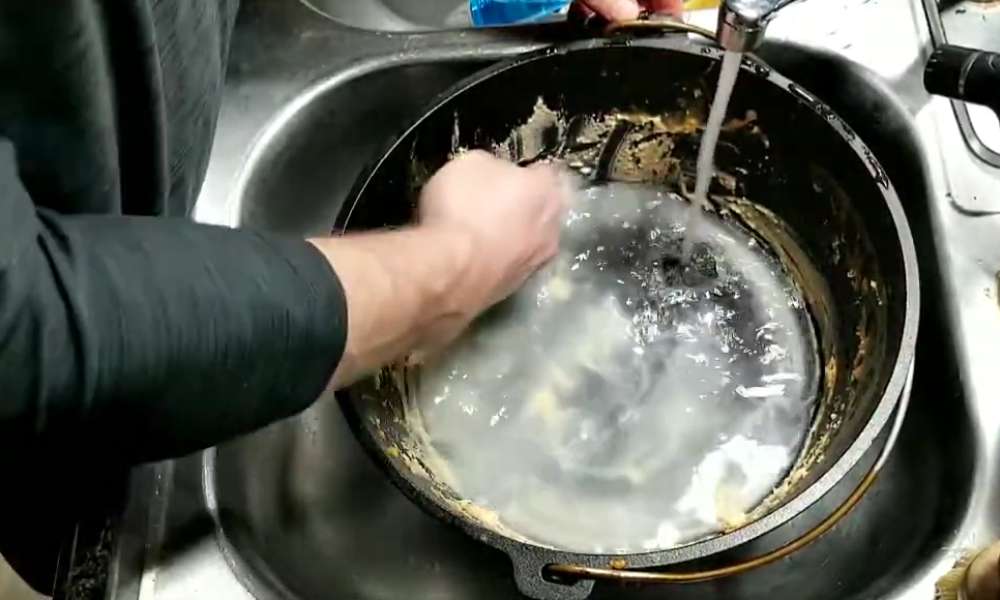
Handling Stubborn, Baked-On Dough
If baked-on residue is being particularly defiant, it’s time to hire the energy of warm water. Fill the Dutch stove with heat (not boiling) water and allow it sit for 15 mins. This softens the residue, making it a good deal less difficult to clean off with a smooth sponge. If you’re nevertheless struggling, supply it some other soak—patience will pay off.
Baking Soda: The Secret Weapon
When warm water isn’t sufficient, baking soda comes to the rescue. A gentle yet powerful cleaner, baking soda will assist put off tough stains with out detrimental the Dutch oven’s surface. Make a paste through mixing a small amount of water with baking soda, and use it on the stubborn spots. After letting it sit for a couple of minutes, scrub with a tender sponge, and watch the dust disappear. Its moderate abrasiveness makes it a cross-to answer with out the danger of harm.
Avoid Harsh Chemicals
Though it may be tempting to grab the strongest cleaner in your cupboard, resist the urge. Harsh detergents can strip away the Dutch oven’s seasoning or damage its enamel coating. Instead, opt for mild, natural cleaning agents. Dish soap is generally fine, but in moderation. Always steer clear of anything too aggressive.
Addressing Rust Issues
Rust can appear, especially if the Dutch oven wasn’t dried properly or stored in a damp area. Don’t panic! Rust doesn’t mean the end for your cookware. To remove rust, create a paste from equal parts baking soda and water. Apply the mixture to the rust spots, let it sit for a bit, then scrub gently with a non-abrasive scrubber. Once the rust is gone, be sure to season the Dutch oven to prevent future rusting.
Don’t Forget The Lid!
It’s easy to forget about the lid, but it needs just as much attention. Bread baking often causes condensation to collect, leading to residue buildup. Clean the lid with warm water and a soft sponge, paying close attention to grooves and handles where crumbs can hide.
Drying Is Essential
After a thorough cleaning, it’s crucial to dry your Dutch oven properly. Use a soft towel to dry every part of the pot, including the lid and handles. To ensure no moisture lingers, let the Dutch stove air-dry for a little longer. Remember, moisture is the enemy of a well-seasoned cast iron.
Seasoning For Long-Lasting Performance
Seasoning isn’t just for cast iron skillets; your Dutch oven will also benefit. Apply a thin layer of vegetable oil inside the pot, and heat it in the oven for about an hour at a low temperature. This process creates a protective, non-stick layer that improves over time. Regular seasoning will keep your Dutch stove functioning like new for years to come.
Proper Storage for Longevity
How you store your Dutch oven matters. Ensure it’s completely dry before storage. Store it in a dry place with the lid slightly ajar, allowing airflow to prevent moisture buildup. You can also place a paper towel between the pot and the lid to absorb any residual moisture.
Prevent Future Residue Build-Up
If you need to make destiny cleaning less difficult, remember the use of parchment paper while baking bread. This can prevent dough from sticking to the pot and reduce the probabilities of baked-on residue. Regular mild cleansing after each use also allows maintain the pot’s fine.
Conclusion
Your Dutch stove isn’t just a cooking vessel—it’s a kitchen accomplice. So, By worrying for it nicely, you assure its lengthy-lasting performance, allowing you to revel in many extra pleasant baking sessions. With the cleansing techniques mentioned here, you can now awareness on savoring the joy of baking without the strain of difficult cleanup later on. Try those techniques after your subsequent bake, and savour the ease of having a superbly wiped clean pot, ready to your subsequent culinary adventure!