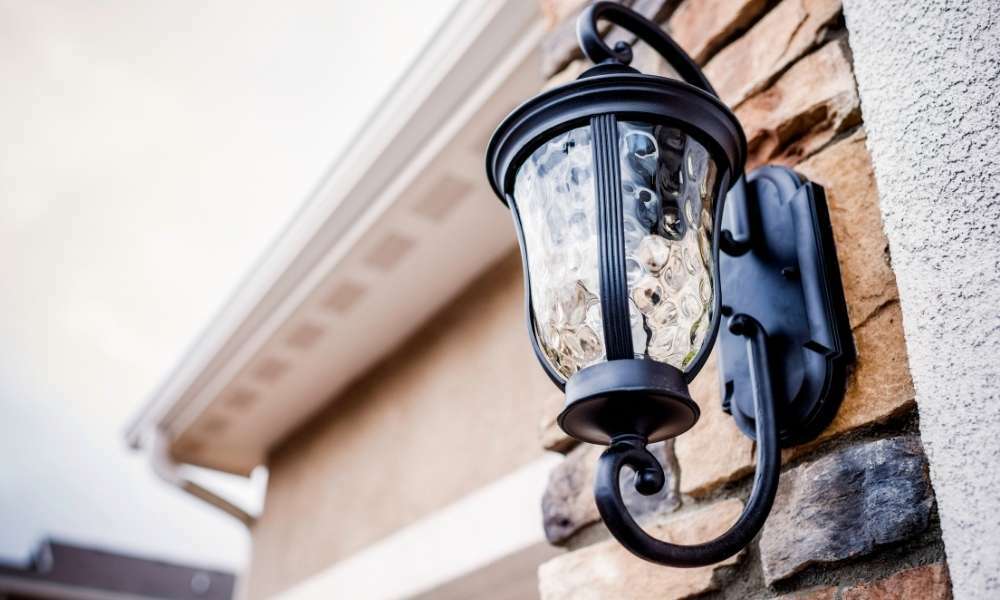
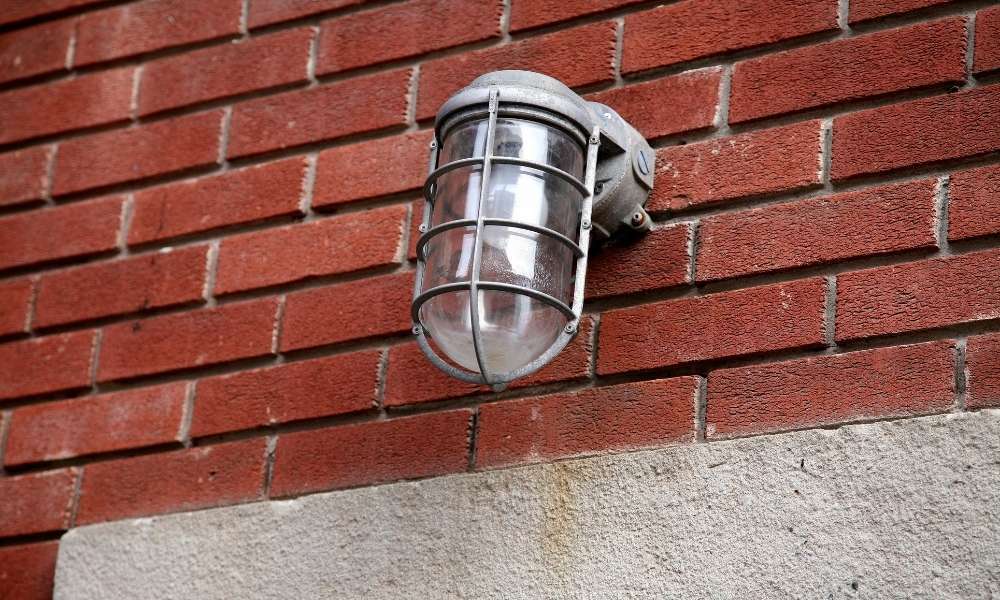
Outdoor lights come in different shapes and sizes. You can change the outdoor light fixture to create a different outlook or make it more innovative. If you know how to change outdoor light fixture, you can change the outlook whenever you want.
Sometimes you may like a rustic outlook or sometimes changing the style of the light keeps you updated. It is easy to change a light but you should know the basic ideas about wiring and connecting cables.
If you are afraid of changing the light yourself, you can hire a professional. But it can be costly if you keep changing the lights frequently with a professional electrician.
Decide The New Fixture
To change the outdoor light fixture, you have to decide which type of light fixture you want to attach as a new one.
If your light fixture is defective and you want to change it, you can buy the same model or you can change the model and buy a new light of another shape and design.
You can mount a larger-sized light than the previous one. Choose a quality product from a known brand and choose the design and shape for the light according to your planned outlook.
One thing you need to keep in mind while buying the light is, that the light should be waterproof and designed for outdoor use.
Turn Off The Power Circuit
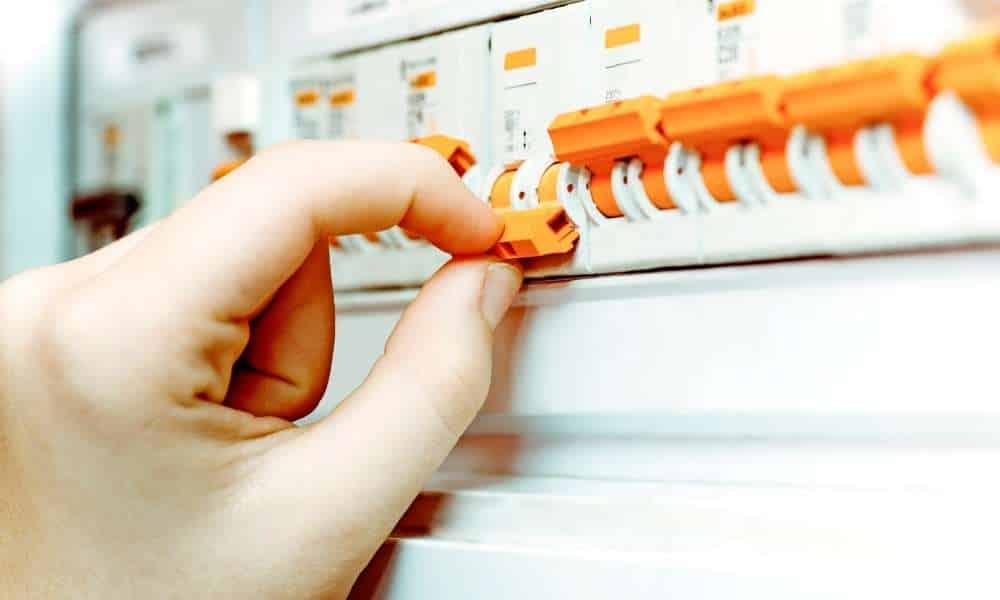
Before you attempt any electrical work or cable-related work, you have to turn off the power circuit first. Don’t just turn off the subline. You have to turn off the power from the main line of the house.
After turning off the power, you have to check if there is any electrical effect by using a testing screw. If there is any leakage, then the light on the top of the power testing screw will turn on as the screw is made of metal and the handle is made of plastic. So you will not get any shock while testing.
Just be sure that there is no electric flow in the line and start working. The cables and mounting line should be dry. Otherwise, it will be risky.
Unscrew The Old Mounting Bracket
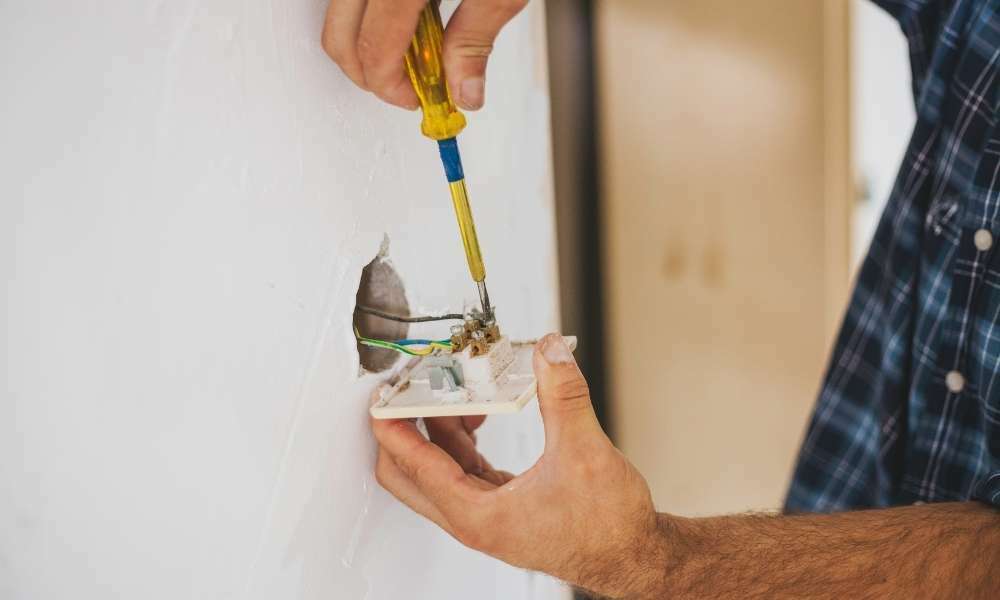
To learn how to change outdoor light fixture, you need to follow the processes step by step. After turning the power off, you need to detach the old mounting bracket.
Hold the bracket tightly and unscrew the screws one by one. After the unscrewing session is done, grab the mounting bracket and remove it.
Sometimes you may get confused while finding the screws. The screws are not always visible outside. Sometimes it can be under a design or inside the mounting bracket.
Find all the screws first and unscrew them all. Now remove the bracket and you will see the wires of different colors.
Detach The Wires
After removing the old mounting bracket, you need to detach the fixture wire from the wires on the wall. Now the old mounting bracket is completely removed.
Untwist the wires before removing them. Because if you try to remove it strongly, the wire can be torn from the wall wire and there can be a lack of exposed wire when you attach a new one.
You should remove the wire connectors and wire tapes from the wall wires. Detach the ground wire from the previous one by losing the ground bolt and you should detach the wires one by one while detaching.
To know more about how to change outdoor light fixture, keep reading the article.
Attach The New Bracket
After disconnecting the old mounting bracket of the light fixture, now you need to attach a new bracket. The new bracket should be strong and long-lasting. To mount a new bracket, first of all, you need to hold the new bracket and attach the screws.
If you are attaching the same model of light as a replacement, then you can push the new screws on the old holes while mounting. Sometimes people choose to replace only the light while keeping the old mounting bracket. But if you are using a new mounting bracket that comes with the new light fixture, then you need to attach the new screws properly to secure the light.
If you have chosen a new model of light and the screws are different sizes, then you may find difficulties while attaching them. Sometimes the screws of the mounting bracket can be smaller or bigger than the previous screws.
So maybe you need to drill the hole a little bit deeper than the previous hole or you can enhance the depth of the previous screw holes to secure the new screws on the new mounting bracket
You can buy the lights which fit in the universal mounting bracket. This will make you tension-free no matter which light fixture you choose to mount.
You can even drill new holes for the screws. By drilling new holes you can make the screws more secure and there will be no old holes visible outside as the old holes will be behind the mounting bracket.
Consider The Instructions
Before attaching the new fixture, in fact before drilling holes, you should take the permission of the local authority or the authority of the building. Some buildings may not have permission to drill and make any holes.
Another thing that you should consider before installation of the new light is to read the manufacturer’s instructions properly. In the new fixture, the wire color can be different or the process of installation can be different. Just read once or twice and start installing the new light keeping the instructions in your mind.
Recognize The Wires
This is the vital and most important thing to focus on when you are learning how to change outdoor light fixture. If you don’t have any previous experience in electrical work, you have to be very careful or you can leave the work to an expert.
But if you want to do it yourself, you must maintain safety. Don’t connect the wrong wires which means if you connect a hot wire with a neutral wire, then the entire system can be damaged and the light fixture will not work.
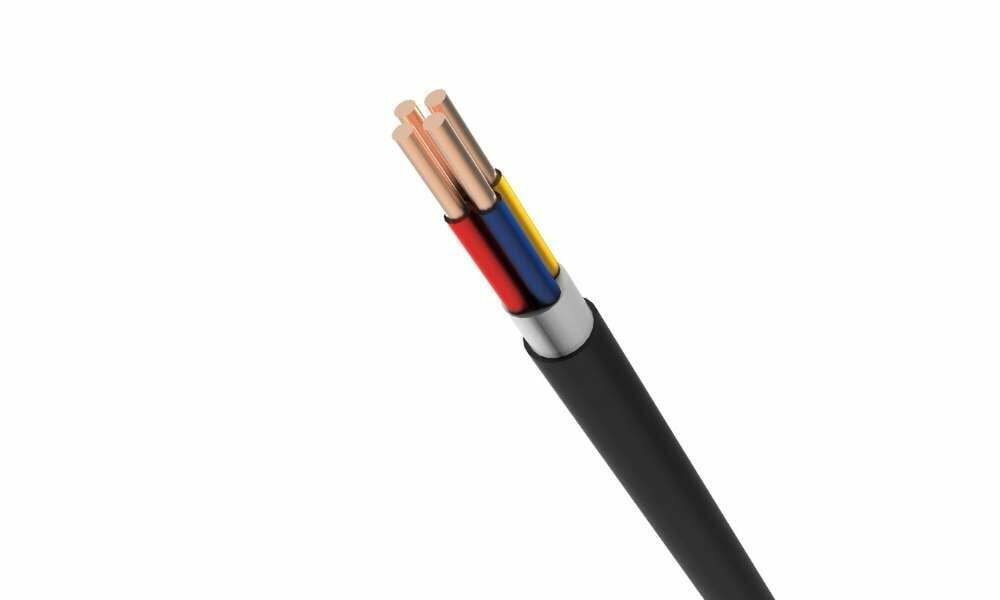
The maximum light fixture comes with three wires which you need to connect to the wall wires. The hot wire usually comes in red color. In some fixtures, the hot wire color is black.
Another wire which is called the neutral wire comes in white color or gray sometimes. The ground wire is usually in green color. But it can be seen only as bare copper wires without a plastic cover.
If you mix the colors or can not recognize the wires on a color basis, then there can be a risk issue and the circuit can be blown away. So you have to recognize the hot wire, the neutral wire, and the ground wire.
Connect The Wires
Once you have recognized the wires, now it is time to connect them properly. You should connect them one by one and there is no hurry. So you can take your time and do the work with patience.
First of all, connect the hot wire. It is usually red or black in color. Connect the Red wire to the Red wire if it is black, then connect the Black wire to the Black wall wire. Twist the bare ends of two hot wires and don’t pressurize the wires too hard while twisting. Otherwise, the tiny wires can be broken.
After twisting the hot wires, connect the neutral wires. The neutral wire generally is white in color. It can be gray in some fixtures. Grab the neutral wires together and twist. You can twist the wires using a plier or you can do it easily with your fingers too.
Now it is time to connect the ground wires. Twist the ground wires and wrap the ground wire around the bolt. After that, tighten the nut with a plier or screwdriver.
After connecting the wires, check the connections carefully if there is any wrong connection or not. This checking ensures that you have connected the wires with accuracy.
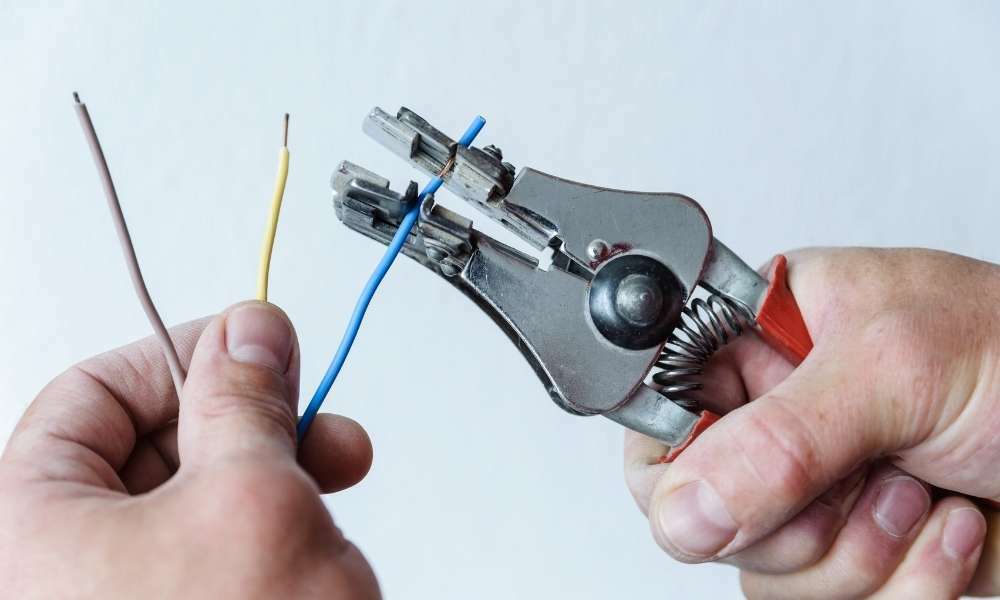
If you find no bare end in one or two of the wires, don’t worry. Use a wire cutter and remove the plastic cover of about 1 inch of the wire from the end so that the raw wires come out and you can twist them and connect them.
Secure The Safety
You need to secure the safety after connecting the wires. The twisting points are bare and there is no plastic cover there. So you need to attach wire connectors to the bare points of the wires.
While using wire connectors, you should secure them properly. If the connectors are loose and do not secure the bare wires properly, then they will not protect the wires.
You can optimize another option to secure the wires. Use electrical tape to cover the bare areas. Wrap the tape properly in the required areas. Secure the tape tightly and your connections will be safe.
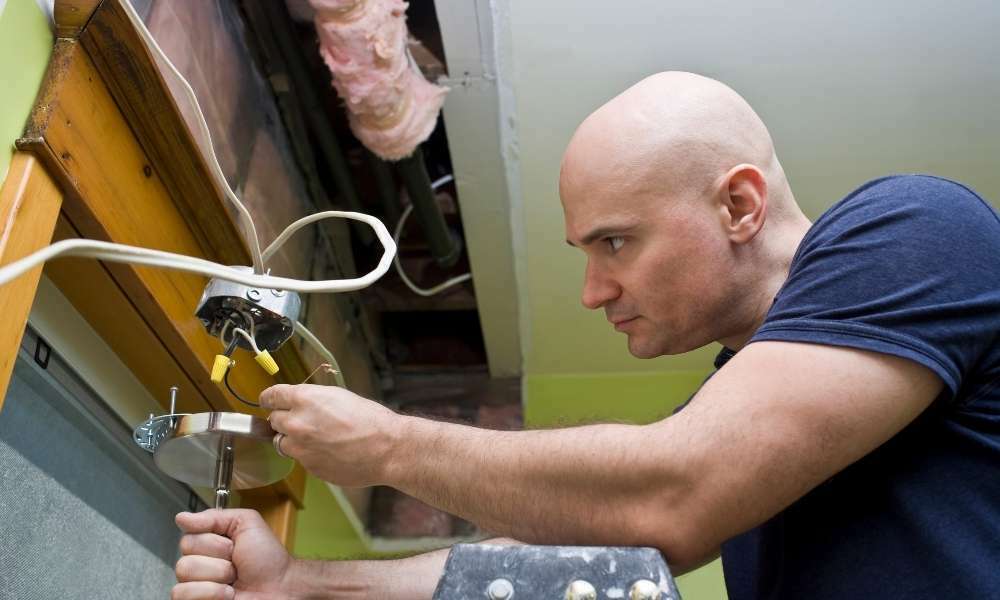
Install The Light
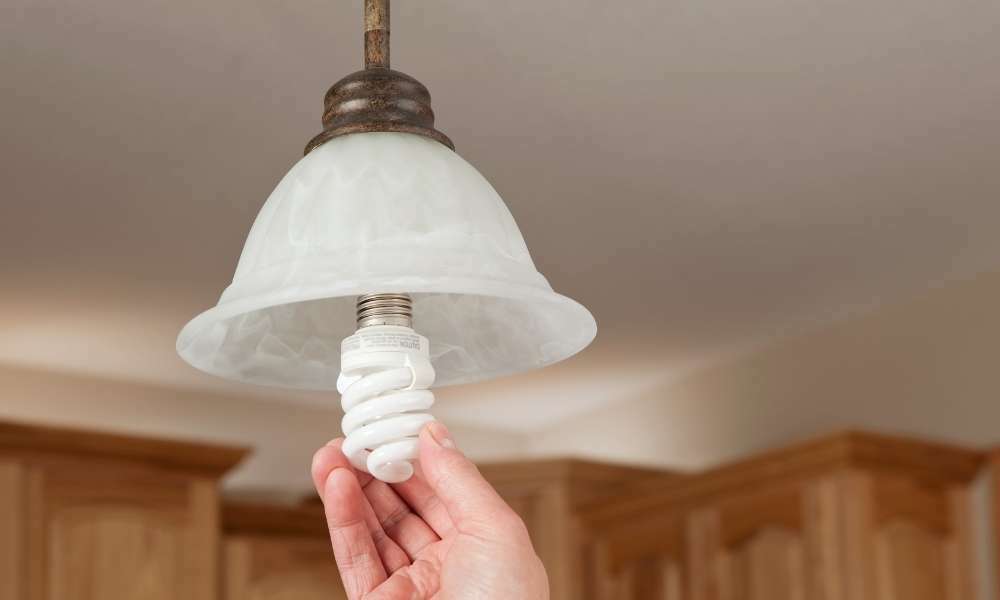
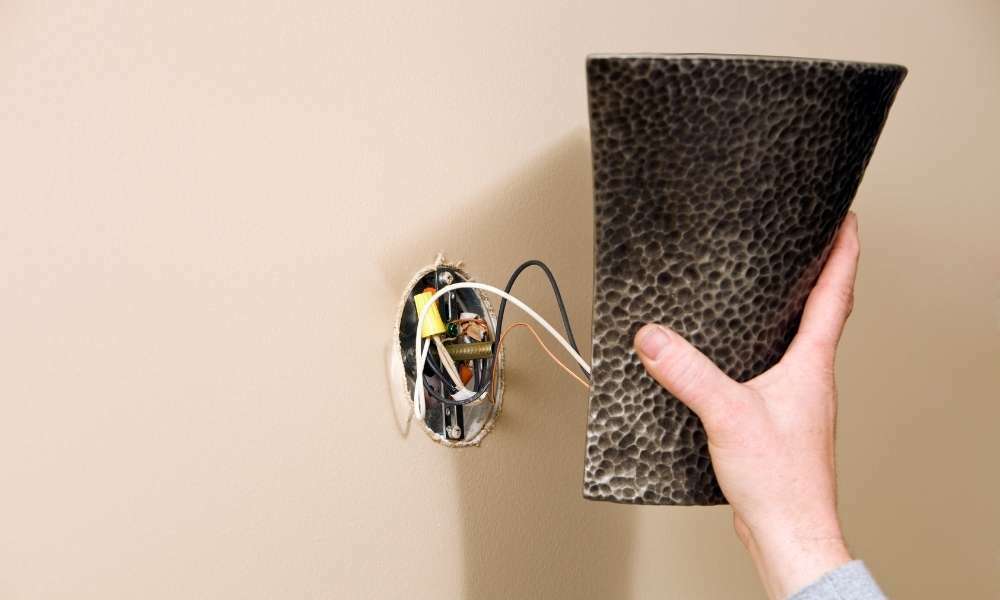
After securing the wires, you can install the light without any risk or issues. First of all, install the mounting fixture over the mounting bracket. There can be little screws or knobs on the fixture which you need to twist and attach to the bracket.
Once the fixture is attached, place the bulb properly. If there is any loose connection while installing the bulb, it can fall on the ground and the light will break. So securing the light is also an important task.
If you get confused, read the manufacturer’s instructions and follow the instructions as they can vary according to the light type and design. But placing the bulb is not that tough. So you can do it yourself with the help of the manufacturer’s instructions.
To know more about how to change outdoor light fixture, continue reading till the end.
Use Some Putting
This option secures safety and keeps the area beautiful. There can be cracks or little damaged portions. Even if you install a classy and designed light fixture, the wall will spoil the outlook.
Use silicone-based sealing products on the cracks. After that, paint it the same color as the wall. You should use silicon-based sealing products also on the mounting bracket and gaps so that no water can ever get inside it.
Don’t forget to wear gloves as the silicone-based sealing products are sticky and tough to remove.
Conclusion
Outdoor light fixtures represent your taste in style and creativity. It gives the guests a positive vibe and gives the first impression while entering the house.
By knowing how to change outdoor light fixture, you can change the outlook of the outdoors according to the season and you can keep changing the outlook which gives you an opportunity to experiment with different outlooks of the house and express your innovative thoughts.
By giving the outdoors an aesthetic outlook, you can increase the demand for the house. You can change light colors according to the season’s demand as well. For example, you can keep the light color warm white in winter and keep the light color ice-cool white in summer.
Exploring new lights also enhances your ideas and experience. Hope you have liked this article. Don’t forget to comment below and let us know your opinions and share your ideas too. Enjoy!