A Vitamix blender is not just a kitchen appliance; it’s an investment in your culinary adventures. But let’s be honest—unboxing this powerful gadget can feel both exhilarating and a little daunting. If you’ve just acquired one of these high-performance blenders and are wondering where to begin, you’re not alone. From smoothies and soups to nut butters and doughs, the Vitamix is designed to handle it all. However, learning how to start a Vitamix blender correctly is the first step toward unlocking its full potential. Let’s dive into the essentials.
1. Understanding Your Vitamix Blender

Before you dive into using your blender, it’s helpful to know the basic parts and how they work. Vitamix blenders might look a little different depending on the model, but they all have the same core components:
- The Base: This is the heavy part that houses the motor. It’s what powers your blender.
- The Blender Jar: This is the container where you put all your ingredients. It comes in different sizes, depending on your blender model.
- The Blades: These are fixed at the bottom of the jar. They’re super sharp and do all the blending work.
- The Lid: It seals the jar and prevents spills. Most lids have a removable cap in the center so you can add ingredients while blending.
- The Tamper: This handy tool lets you push down stubborn ingredients without stopping the blender.
Tip: Check your Vitamix user manual. Every model is slightly different, and your manual will explain any special features your blender has.
2. Step-by-Step Guide to Starting a Vitamix Blender
Now that you’re familiar with the components, let’s dive into how to start your Vitamix blender. Whether it’s your first time or you need a refresher, these steps will guide you through the process.
Step 1: Assemble Your Blender
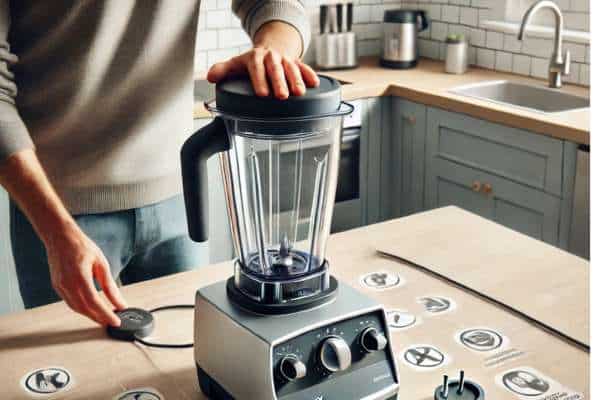
Start by placing the blender jar on the base. Make sure it’s seated properly. A misaligned jar can stop the mixer from working. Next, secure the lid tightly on the jar. If you’re blending something thick, like frozen fruit or peanut butter, insert the tamper through the lid’s center hole.
Step 2: Plug It In and Power It On
Place your blender on a flat, stable surface near a power outlet. Plug it in, and locate the power switch. On most models, the power switch is at the side or front of the base. Flip the switch to turn it on.
Step 3: Add Ingredients
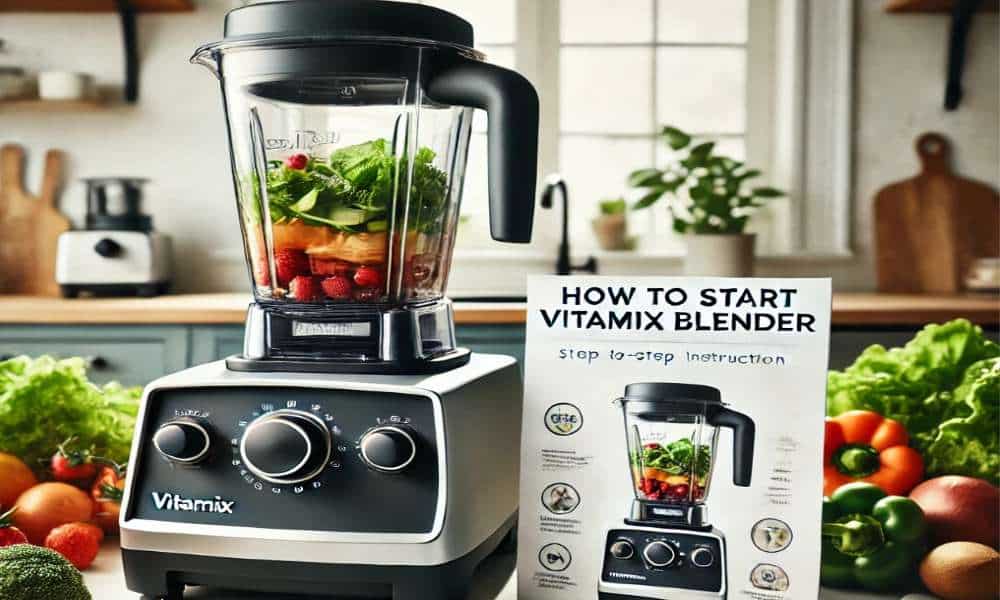
For the best blending results, layer your ingredients in the right order:
- Liquids (water, juice, milk) go in first.
- Soft Ingredients (yogurt, bananas, spinach) come next.
- Hard Ingredients (frozen fruit, nuts, ice) go on top.
This order helps the blades move smoothly and prevents jams.
Step 4: Choose Your Settings
If your blender has manual controls, start at the lowest speed and gradually turn the dial to a higher speed. Some advanced models have preset programs for things like smoothies, hot soups, or frozen desserts. Select the program that matches your recipe.
Step 5: Start Blending
Flip the start switch or press the start button. If you’re blending manually, increase the speed slowly until everything is smooth. Stop the blender before removing the lid or adding more ingredients. Once done, turn it off and unplug.
3. Tips for First-Time Vitamix Users
- Don’t Overfill: Never fill the jar past the “Max Fill” line. Overloading can make the motor work harder and lead to uneven blends.
- Clean Right Away: Cleaning is easiest if you do it immediately after blending. Add warm water and a drop of dish soap to the jar, then blend on high for 30 seconds. Rinse it out, and you’re done!
- Start Simple: If you’re new to blending, try easy recipes like fruit smoothies or milkshakes before tackling harder recipes like nut butters or soups.
4. Troubleshooting Tips
Despite its reputation for reliability, a Vitamix blender can encounter occasional issues. If your mixer won’t start, check that the jar is securely placed on the base and that the power cord is properly plugged in. Some models have a reset button that must be pressed if the motor overheats. If you hear strange noises or notice a burning smell, immediately turn off the mixer and unplug it. This could indicate an overloaded motor or insufficient liquid in the jar. For blades that seem stuck, turn off the mixer, remove the jar, and inspect the blades for food debris or large chunks blocking their movement.
5. Safety Precautions

Safety is paramount when using a powerful appliance like a Vitamix blender. Never insert your hands or utensils into the jar while the mixer is running. Always use the tamper, designed to safely push ingredients toward the blades. Make sure the mixer is placed on a flat, sturdy surface to prevent it from tipping over during use. Additionally, avoid placing the motor base near water, as this could lead to electrical hazards. Regularly inspect the power cord for any damage and unplug the mixer when it’s not in use.
6. Benefits of Learning the Basics
Understanding how to use your Vitamix blender correctly offers numerous benefits. First, it maximizes efficiency, allowing you to achieve perfect textures and consistent results with every blend. Second, proper use and maintenance prolong the mixer’s lifespan, protecting your investment for years to come. Finally, learning the basics gives you confidence to experiment with recipes, from everyday smoothies to gourmet sauces, without fear of making mistakes. With time, you’ll feel like a pro in the kitchen, ready to tackle any culinary challenge.
Conclusion
Getting start with your Vitamix blender is a straightforward process once you know the steps. From assembling the components to layering ingredients and selecting the correct speed, following these guidelines will ensure a seamless blending experience. Whether you’re preparing a quick breakfast smoothie or a hearty winter soup, your Vitamix is ready to elevate your kitchen game. So plug it in, experiment with recipes, and enjoy the endless possibilities.
