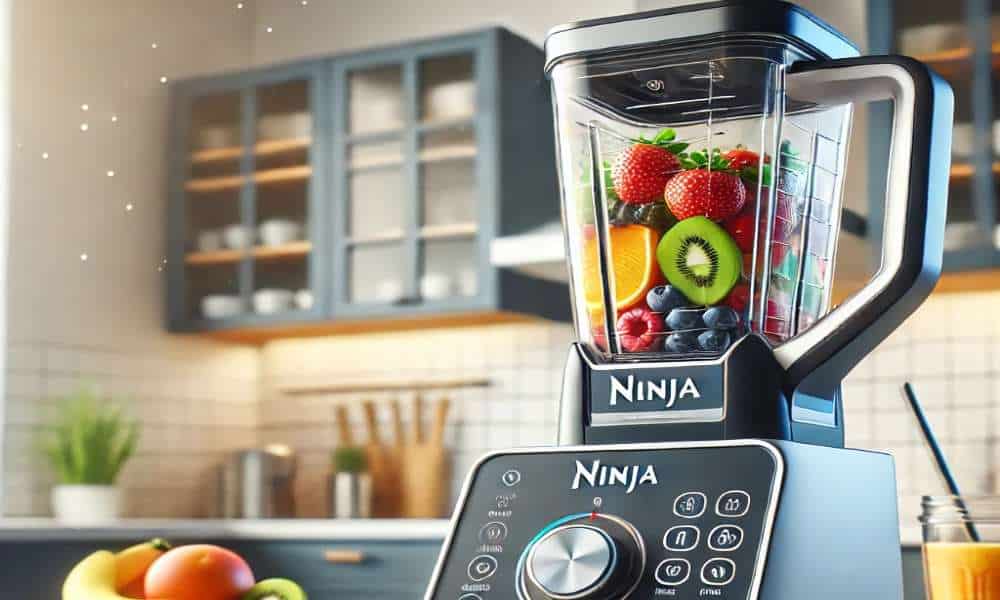
Ninja blenders are a powerhouse in modern kitchens, offering unmatched convenience and versatility. Whether you’re blending smoothies, crafting soups, or preparing sauces, knowing how to start a Ninja blender is the first step to unlocking its full potential. For beginners, starting this efficient yet intricate appliance might seem intimidating, but with the right guidance, it becomes effortless. From understanding its components to following essential safety measures, this guide will walk you through the process seamlessly. By the end, you’ll be blending like a pro, ready to tackle any recipe with confidence. Let’s get started!
1. Understanding Your Ninja Blender
Types of Ninja Blenders
Ninja offers a range of blender models designed to cater to diverse culinary needs. The Ninja Professional series is perfect for large households, offering substantial power for blending hefty ingredients. The Nutri Ninja, on the other hand, focuses on compact convenience, ideal for single servings and health-conscious individuals. Lastly, the Ninja Foodi blenders come with advanced Auto-iQ technology, which simplifies blending tasks with pre-programmed settings. Each model boasts unique features, from varying power outputs to specialized accessories, ensuring there’s a Ninja blender for everyone.
Key Components of a Ninja Blender
Every Ninja blender consists of fundamental components: the base unit, which houses the motor; the pitcher, where ingredients blend; the blade assembly, designed for precision cutting; and the lid, equipped with a spout and safety locks. Understanding these parts is crucial, as improper assembly or misuse can hinder functionality. Additionally, most models include intuitive buttons or touchpads for selecting blending speeds and modes, ensuring ease of use.
2. Pre-Use Preparation
Unboxing Your Blender
When unboxing your Ninja blender, ensure all components are present. Look for the pitcher, lid, blade assembly, base, and any additional accessories like cups or tamper tools. Inspect each part for damage or defects before first use.
Cleaning the Blender Before First Use
Before blending anything, wash all removable parts with warm, soapy water. Use a gentle sponge to clean the blade assembly to avoid accidents. Rinse thoroughly to remove any manufacturing residues.
Assembling the Blender
Secure the pitcher onto the base, ensuring it clicks into place. Insert the blade assembly carefully into the pitcher and align the lid properly. Engage all safety locks, as Ninja blenders are designed not to operate unless fully secured.
3. How to Start a Ninja Blender for the First Time
Plugging in the Blender Safely
Position the blender on a flat, dry surface to ensure stability. Plug it into a grounded outlet, keeping the cord away from water sources. Avoid using extension cords to maintain optimal power flow.
Choosing the Correct Settings
Familiarize yourself with the control panel. Basic models feature manual speed controls, while advanced versions include Auto-iQ programs for smoothies, frozen drinks, or purees. Select the appropriate setting based on your ingredients.
Testing with a Simple Recipe
Start with a simple smoothie recipe: combine a banana, a handful of spinach, half a cup of milk, and a few ice cubes. Secure the lid and press the designated button or program. Observe the blending process to ensure everything operates smoothly.
4. Troubleshooting Common Issues
If your blender fails to start, check the assembly. Ensure the pitcher is properly aligned with the base and the lid locks are engaged. Loose connections are a common culprit. Continuous blending for extended periods can overheat the motor. Allow the blender to cool for 10-15 minutes if it shuts off unexpectedly. Modern Ninja models may display error lights. These indicate issues like misalignment, overfilling, or power fluctuations. Refer to the user manual for specific resolutions.
5. Pro Tips
Best Practices for Long-Term Maintenance
Clean your blender after every use to prevent residue buildup. Store the blade assembly separately to avoid dulling.
Efficient Blending Techniques
Layer ingredients strategically: liquids first, followed by softer items, then harder ingredients. This ensures smooth blending without strain on the motor.
Accessories and Upgrades
Explore add-ons like smaller cups for single servings or tamper tools for thick blends. These can enhance your blending versatility.
6. Safety Tips While Operating a Ninja Blender
The blade assembly is razor-sharp. Always handle it with care, using a cloth for edges or grips. Make sure the lid is securely fastened and do not exceed the maximum fill line. This prevents messy overflows. And follow the mixing time recommended in the manual to prevent overuse. Most recipes only require 30-60 seconds of mixing.
7. Recipes to Try with Your Ninja Blender
Tropical Delight: Blend pineapple, mango, coconut water, and ice.
Green Detox: Combine kale, cucumber, green apple, and lemon juice.
Meal Prep: Prepare creamy soups like roasted tomato or puree sauces for pasta dishes.
Creative Uses: Make nut butter, frozen desserts, or even knead dough for pizza night.
8. Maintenance and Cleaning
Disassembling the Blender:Detach the pitcher, remove the blade assembly, and rinse each part individually.
Deep Cleaning: For stubborn stains, blend warm water with a few drops of dish soap, then rinse. Avoid submerging the base unit.
Regular Maintenance: Inspect the blade sharpness monthly and check for cracks in the pitcher. Replace worn-out parts promptly.
Conclusion
Starting a Ninja blender is a straightforward yet essential skill for anyone seeking to elevate their culinary adventures. By understanding its components, preparing it correctly, and following safety guidelines, you can ensure optimal performance and longevity. Whether you’re crafting a refreshing smoothie or experimenting with gourmet sauces, your Ninja blender is a reliable companion. So, plug it in, explore new recipes, and let the blending begin!
