There’s something undeniably special about a nicely-used forged iron Dutch oven. It’s extra than simply cookware; it’s a symbol of culinary culture, recognized for its durability and notable warmth retention. However, even the sturdiest cast iron can show signs of wear and tear over time, from stubborn rust spots to faded seasoning. If your beloved Dutch oven has visible higher days, don’t worry—recuperation is not most effective possible, however it is able to bring your kitchen vital back to life. In this guide on the way to restore a cast iron Dutch oven, we’ll stroll you via the method step by step, making sure your treasured pot is prepared to create scrumptious food for years to come.
Understanding Your Cast Iron Dutch Oven: Why Restoration Matters
Restoration isn’t just about aesthetics; it’s about maintaining the soul of your solid iron Dutch oven. The seasoning, that when-slick layer of polymerized oil, is extra than a glossy finish—it’s a protector. Over time, although, this armor degrades, leaving the naked metallic exposed to the relentless factors of moisture and oxygen. The end result? Rust, and lots of it. Plus, allow’s no longer neglect about the layers of accumulated meals residue and grease that slowly strangle the flavor and best of your dishes. By restoring your Dutch stove, you’re not simply improving its overall performance; you’re extending its lifespan, making sure it stays a steadfast accomplice on your culinary adventures.
The Importance of Proper Care: Benefits of Restoring Cast Iron
Proper care is extra than only a ritual; it’s a dedication to excellence inside the kitchen. Restoring the seasoning of your Dutch oven isn’t just about preventing rust—it’s approximately enhancing non-stick houses, ensuring even heat distribution, and keeping the integrity of your culinary creations. A properly-maintained Dutch stove is more than a device; it’s an embodiment of your culinary craftsmanship. Regular recuperation can flip a stupid, useless pot right into a sparkling beacon of kitchen efficiency, prepared to take on the maximum challenging of recipes.
Assessing the Condition: Evaluating Damage and Wear
Before you embark on the journey of restoration, a critical first step awaits—assessment. This is where you become a detective, meticulously examining your Dutch oven for the telltale signs of wear and tear. Rust, with its telltale reddish-brown spots, is the most obvious enemy, but don’t overlook flaking or worn seasoning. These dull, uneven patches or sticky residues are clues, each one telling a story of neglect. Accurately identifying these issues will guide you in choosing the appropriate restoration techniques, ensuring your efforts culminate in success.
Preparing Your Workspace: Tools and Supplies for Restoration
The key to a successful restoration lies not just in the techniques, but in the preparation. A well-organized workspace is your first line of defense. Arm yourself with the essential tools:
- A stiff-bristle brush or steel wool, your trusted scrubbing allies.
- Mild dish soap, gentle yet effective.
- Baking soda, the unsung hero of rust removal.
- High-quality cooking oil (flaxseed or vegetable oil), the cornerstone of seasoning.
- Aluminum foil or a baking sheet, essential for the oven phase.
Create a clean, well-ventilated space where you can work with precision and care.
Cleaning Basics: How To Remove Rust and Old Seasoning
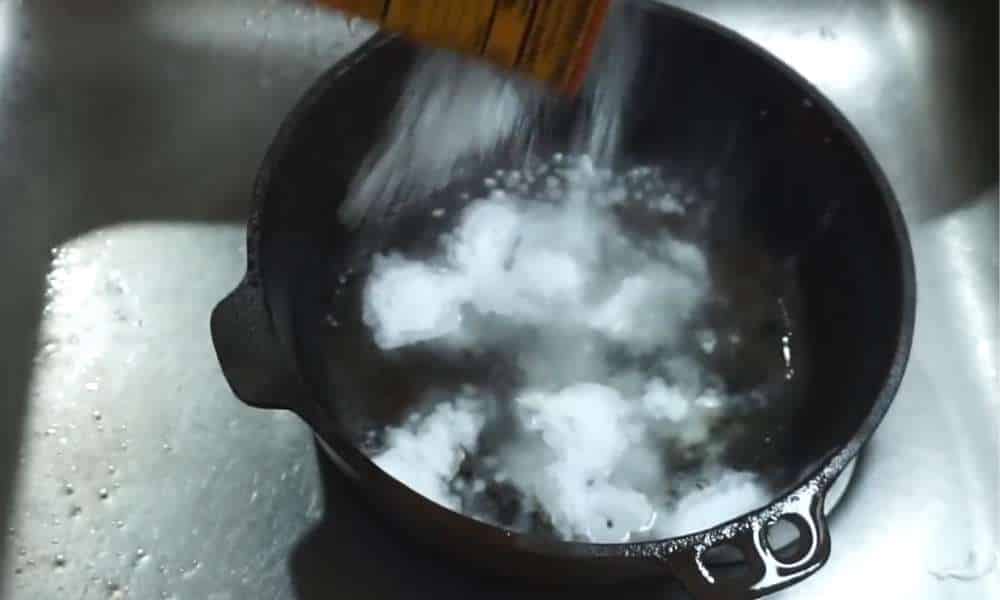
Cleaning is the unsung hero of restoration. It’s where the real magic begins. Start by attacking the loose rust and old seasoning with your stiff-bristle brush or steel wool. If the rust resists, don’t despair—create a paste with baking soda and water, apply it, and scrub gently. Rinse your Dutch stove thoroughly with warm water and a dash of mild dish soap, ensuring all grime is gone. But beware of harsh chemicals or abrasive tools; they’re the enemies of your cast iron.
Scrubbing Away: Using the Right Brush and Cleaning Agents
Choosing the right brush is akin to choosing the right weapon in battle—essential for victory. A stiff-bristle brush or steel wool will strip away rust and old seasoning without harming the metal. Mild dish soap and baking soda are your go-to cleaning agents, gentle yet effective. For the stubborn spots, consider a vinegar and water mix—it’s the secret weapon in your arsenal. But always remember: rinse thoroughly to banish any lingering residues that could sabotage your seasoning.
Dealing with Stubborn Rust: Effective Methods to Restore Your Dutch Oven
Stubborn rust doesn’t stand a chance with the right approach. Start with a baking soda paste—let it sit on the rusted spots for about 30 minutes, then scrub away. If the rust still clings on, escalate to a vinegar and water mixture, applying it to the rusted areas and scrubbing with all the vigor you can muster. Rinse thoroughly and repeat as needed. Victory is yours when the rust is no more.
Removing Old Seasoning: Techniques for a Fresh Start
Sometimes, a fresh start is necessary. To remove old seasoning, employ a combination of scrubbing, soaking, and baking soda paste. Once the remnants of the old seasoning are gone, rinse your Dutch oven thoroughly, banishing every trace of residue. Dry completely before moving on—moisture is the enemy of iron, and the last thing you want is for rust to creep back in.
Deep Cleaning: Soaking and Scrubbing for a Thorough Clean
Deep cleaning is the heart of restoration. Soak your Dutch oven in warm, soapy water for a few hours—it’s the secret to loosening stubborn grime. Then, armed with your stiff-bristle brush or sponge, scrub every surface, inside and out. Rinse thoroughly, ensuring every last bit of grime is gone. Dry completely, either with a clean towel or by placing the Dutch stove in a low-heat oven. This is your moment of triumph—clean, pristine, ready for the next step.
Drying and Preparing: Ensuring Your Dutch Oven is Ready for the Next Step
Proper drying is the unsung hero of rust prevention. After cleaning, dry your Dutch oven meticulously with a clean towel. Then, to ensure absolute dryness, place it in a preheated oven at low temperature for 10-15 minutes. This final step not only banishes moisture but also prepares the surface for the all-important re-seasoning process.
Re-seasoning Your Dutch Oven: A Step-through-Step Guide
Re-seasoning is in which your Dutch oven is reborn. Begin via preheating your oven to 375°F (one hundred 90°C). Apply a skinny, even layer of brilliant cooking oil to every inch of your Dutch oven—inner and out. Be meticulous, wiping away any more oil to avoid sticky residues. Place your Dutch stove the wrong way up at the center rack of the oven, with a baking sheet or aluminum foil on the decrease rack to capture drips. Bake for one hour, then turn off the oven and allow it cool internal. This is in which the magic takes area—your Dutch stove emerges with a resilient, non-stick coating, ready for culinary adventures.
Choosing the Right Oil: Best Options for Seasoning Cast Iron
Choosing the right oil is critical—it’s the foundation of your seasoning. Flaxseed oil, with its high smoke issue, is a fave for proper reason—it polymerizes efficaciously, developing a long lasting, non-stick layer. Other options embody vegetable oil, canola oil, and grapeseed oil. Avoid oils with low smoke elements or the ones vulnerable to rancidity, like olive oil. Your desire of oil is a crucial step in making sure the sturdiness and regular everyday ordinary performance of your Dutch oven.
Applying the Seasoning: Techniques for a Smooth and Even Coating
The art of seasoning lies in the application. Use a paper towel or cloth to apply a thin, even layer of oil across the entire surface of your Dutch oven. Be thorough—no inch should go uncovered, including the handle and lid. Wipe away any excess oil to prevent a sticky finish. The goal is simple: a thin, even layer that, once baked, will form a durable, non-stick surface, the hallmark of a well-seasoned Dutch stove.
Baking the Seasoning: How To Properly Cure Your Dutch Oven
Baking is where your seasoning comes to life. With your oven preheated to 375°F (190°C), place your Dutch oven upside down on the middle rack, a baking sheet or aluminum foil on the lower rack to catch any drips. Bake for one hour—this is where the oil polymerizes, bonding with the cast iron to create a resilient, non-stick coating. Once the hour is up, turn off the oven and let your Dutch stove cool inside. The result? A Dutch stove ready to take on the most demanding of culinary challenges.
Maintaining Your Restored Dutch Oven: Tips for Longevity
Maintenance is the key to ensuring your Dutch oven’s longevity. After each use, clean your pot with warm water and a soft brush, avoiding soap to preserve the seasoning. Dry thoroughly to ward off rust. Periodically, reapply a thin layer of oil to maintain the seasoning and protect the surface. Store your Dutch stove in a dry place, safe from moisture. With proper care, your Dutch stove will continue to serve as the backbone of your kitchen adventures.
Troubleshooting Common Issues: What To Do If Problems Arise
Even the most diligent care can’t prevent every problem. If rust reappears, clean the affected areas and re-season as needed. For sticky or uneven seasoning, a gentle scrub and reapplication of oil may be required. If food begins to stick, ensure the seasoning is intact—sometimes, a light re-seasoning is all it takes. Addressing these issues promptly will keep your Dutch stove in peak condition, ready for the next culinary adventure.
Enjoying Your Restored Dutch Oven: Recipes and Tips for Use
A nicely-restored Dutch oven is a gateway to culinary opportunities. Use it to its full capacity—try hearty stews, braised meats, or rustic bread that make the most of its heat retention and even cooking. Experiment with special ingredients and techniques, embracing the flexibility of this stove. Each dish is a testomony to the care and interest you’ve invested in its healing, a praise in each bite.
Conclusion
Restoring a solid iron Dutch stove is extra than a undertaking—it’s a adventure that breathes new life right into a cherished kitchen device. With cautious cleaning, re-seasoning, and protection, this stove isn’t simply restored—it’s reborn, prepared to deliver wonderful overall performance and grow to be a cornerstone of your culinary exploits. Celebrate the renewed splendor and functionality of this oven, and have fun with the satisfaction of knowing you’ve preserved a piece of kitchen historical past for destiny generations.