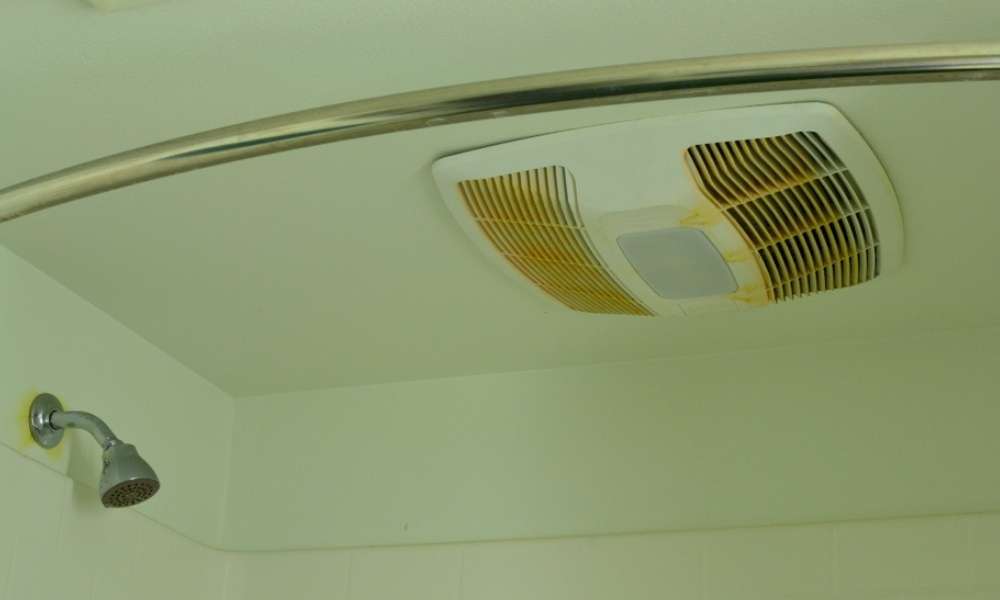
A bathroom fan light is probably a fixture that is easy to turn off because it is just above the sink in your bathroom. Whatever the feature, once a time packer, this fixture can start to look really ugly and not good at all. So, if you want to change the look of your bathroom, you need to replace some lights in the new bathroom. So you need to know how to remove old bathroom fan light.
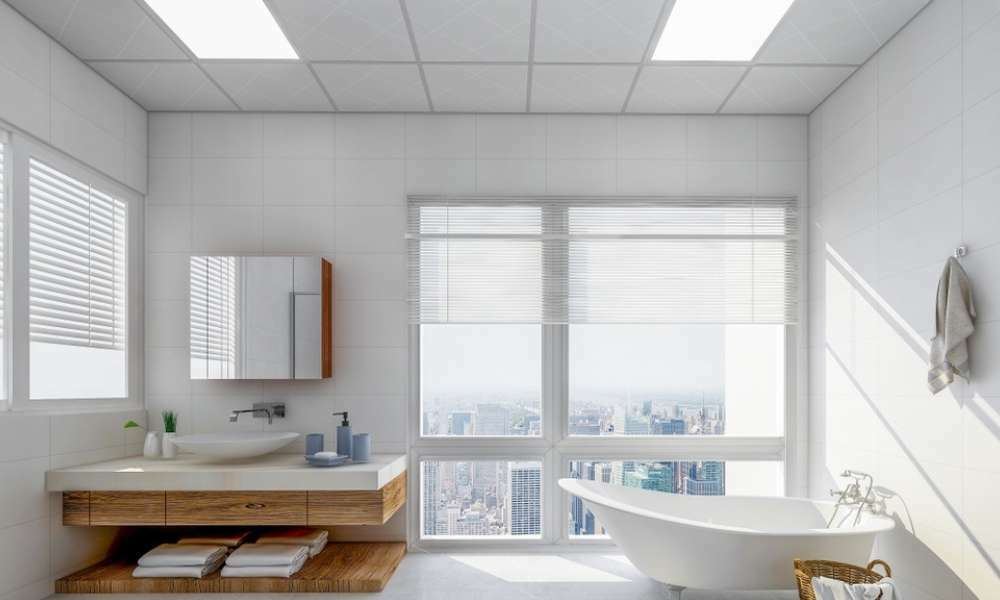
You can choose any type or style according to your choice. One thing you should keep in mind is that the lighting inside your bathroom will have a significant impact on the overall design and feel of your bathroom. To make your bathroom more beautiful, here are some tips to consider before replacing old bathroom fixtures.
If you want to get a beautiful bathroom, you need matching bathroom fan lighting. If you want to add a little contemporary touch to your bathroom, you can go for a glass-enclosed bathroom fan light.
They give a modern vibe to the space. These come in different shapes and sizes. Most importantly, they fit well in small spaces. Also, they can easily blend together with other features of your bathroom, especially sinks, mirrors, and toilets.
Check If A Permit Is Necessary
When planning to install a new fan light, you need to check if there are any permits issued for this fixture. If not, it will be easier for you to do. Also, be sure to buy a fan light that meets the code requirements.
There are three basic types of fixtures we can see. These include recessed lighting, track lighting, and flash ceiling fans. Recessed lighting uses a decorative cover plate to cover the electrical wiring. Track lighting consists of several fluorescent tubes mounted on steel tracks. It is moving to different parts of the room.
Flush ceiling fans have blades that stick to the wall surface. They usually use a motor that is built into the base of the fixture. Such ceilings are designed to provide ventilation without disturbing the appearance. Each type includes its own set of applicable regulations. Therefore, you need to make sure you get a permit before installing a new fixture in your home.
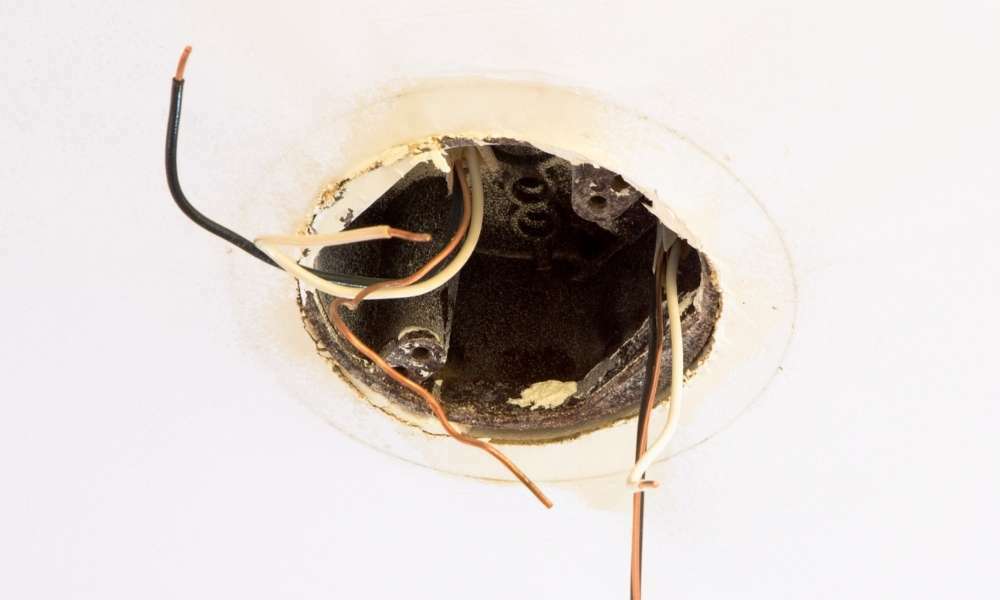
Double-check The Type Of Wire And Loose Connection
Step 1: Check The Wire
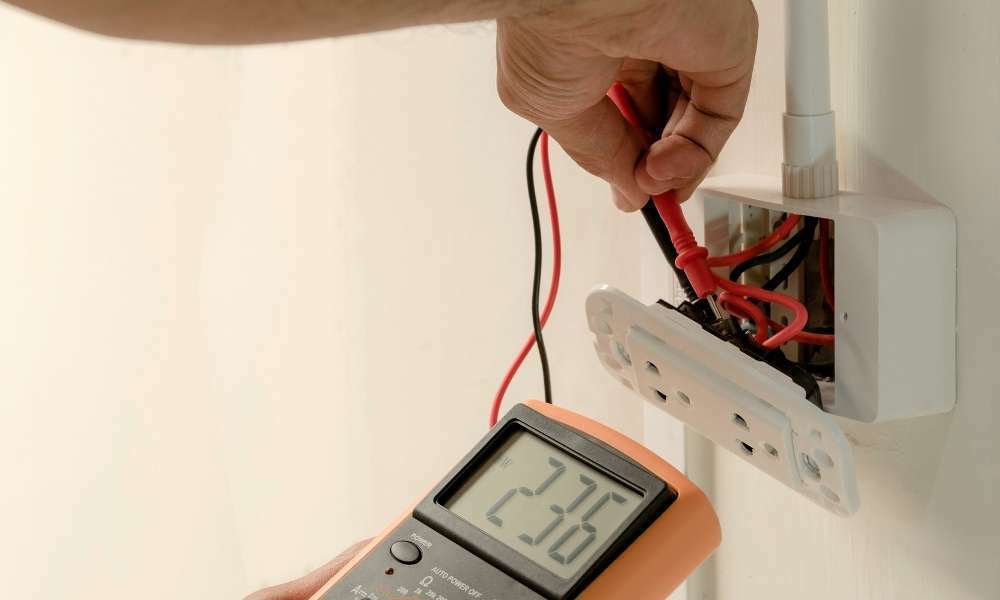
Surf off the kit breaker that powers your light, then evolve any exposed wires on the ceiling above our fan. Make sure this policy does not touch anything other than wall studs, air ducts, or electrical boxes.
If they are, cut any insulation around the wire and remove the screws from the nearest electrical box. Now you can pull the lid off the electric box and carefully inspect the back of the wire. Any blank copper wire should heat with black tape and the edges should be connected together using a wire connector.
Step 2: Watch For Loose Connections
Next, determine if the wires inside the electrical box are properly connected to the wires. So you will probably need to test one of the two circuits. Start by looking to the bottom left of the electric box.
The box should come with two white wires; Usually one will be warm and the other neutral. The hot wire goes straight down towards the metal blade of the fan, while the neutral comes back through the center hole. To the right of the box, you will see another pair of white wires going into the electric box. They should connect in the same way as the first pair.
Select Your New Fan
You need to choose a fan light that is much more efficient than traditional incandescent bulbs. It makes them a great choice for energy-saving purposes. They use less power with their longevity, which makes them ideal for replacing obsolete fixtures. Their sleek design allows them to blend seamlessly into any type of decor, providing excellent performance from top to bottom.
Gather Your Tools And Supplies
You need a few tools. Use these to figure out how to remove old bathroom fan light. The tools are given below
- Screwdriver
- Take off your clothes
- Drywall knife
- Circuit tester
- Drill and bit
- HVAC tape
- Wire connection
Lay Down A Drop Cloth
Spread a drop cloth on your bathroom sink, faucet, tub spout, and vanity area. This will prevent any water droplets from falling directly on the hard surface. Before placing the dropcloth, make sure that the floor around the sink, tub, and toilet is clean. Sweep any residue from the tile around the sink, tub, and vanity area. If possible, cover the vanity mirror with plastic wrap to keep moisture away.
Turn Off Power
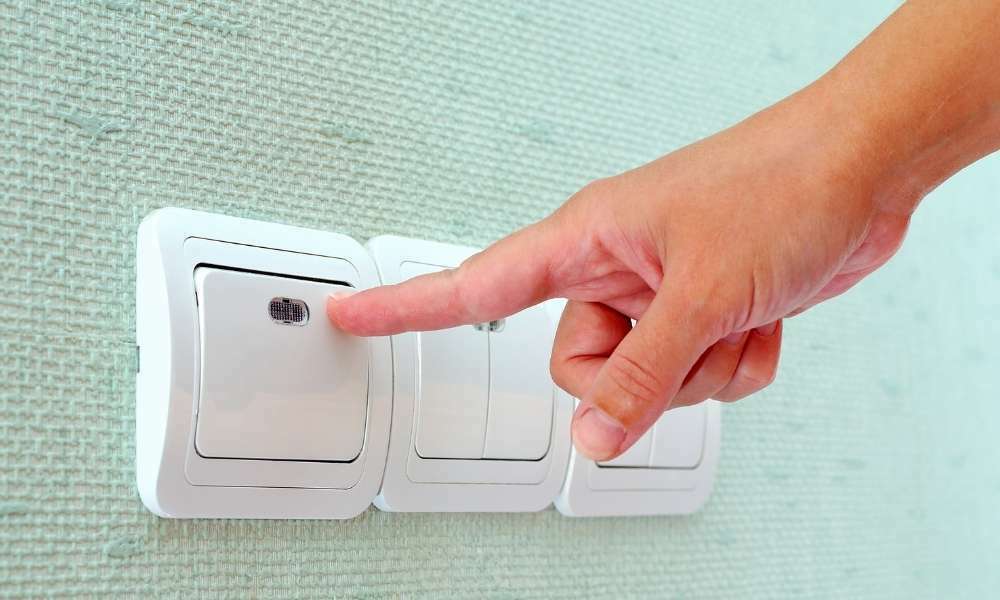
You will now need to disconnect any electrical wires connected to the fan outlet. Some fans have built-in cutouts but if not, you should use a disconnected transformer to disconnect these wires. A cable disconnector will serve the same purpose.
Once you disconnect these wires, you should disconnect the wires from the connected device. Do this using a multi-tap connector (not the traditional rounds).
Remove The Old Cover
Removing an old towel ring can help repair this problem without having to replace the entire fixture. You must first unscrew the mounting screw below the fixture. Then, unscrew the top fixture screws holding the cover plate. Once you have removed the cover plate screws, you can lift the cover plate from the fixture.
Disconnect The Fan’s Wiring
The first step is to disconnect the fan from the switch. You can sit down to stop the wire shoe and then you have to hold the shoe for as long as you can. It can sit loose enough so that you can stay on the sidewalk. Add undoing of the script without a link between them.
Once the screws are removed, remove the faceplate. Then unscrew the bottom of the fixture, and remove the cover. Next, slide the cover to one side so that it falls on top of the fan motor. Now, look inside the cover for any broken material. If the motor is ok, you will need to replace the ballast. But if you do damage, you may want to replace the entire fixture with the fan blades.
Disconnect The Vent Pipe

The first step in removing this fixture is to disconnect the vent pipe from the attic. Using a wrench and pliers. Then, cut the end of the pipe where the fixture does attach. Next, slide the pipe into a bucket of water until the fixture pops out. Now, move the fixture away from the wall. Remove the screws that hold the fixture to the ceiling.
Then, gently pull the fixture and remove it from the ceiling. When taking care to prevent damage to the ceiling, place the fixture on a table. Finally, open the nuts on top of the light fixture cover plate. After removing the plate, turn on the lights again to check for cracks or leaks.
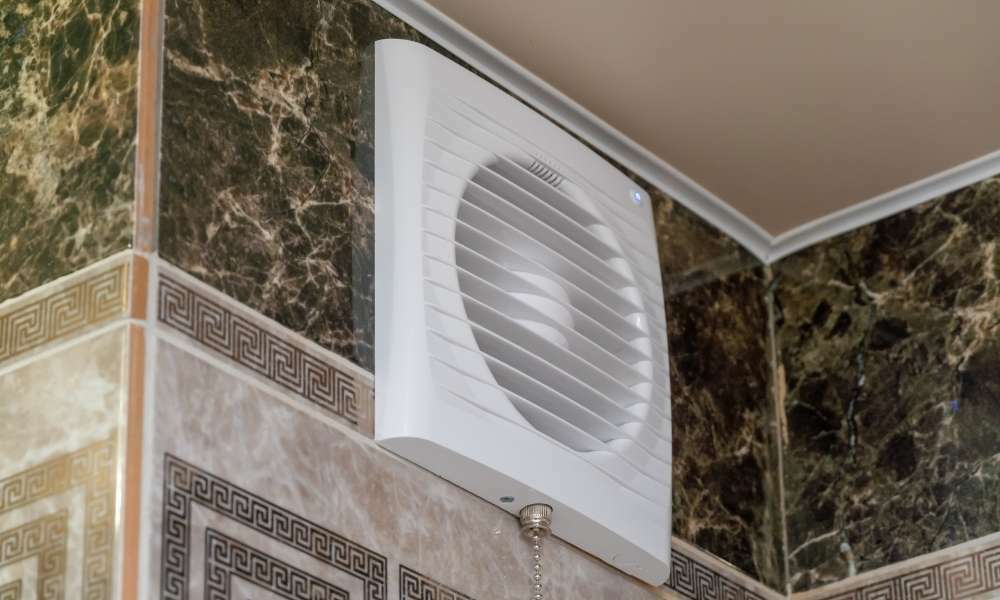
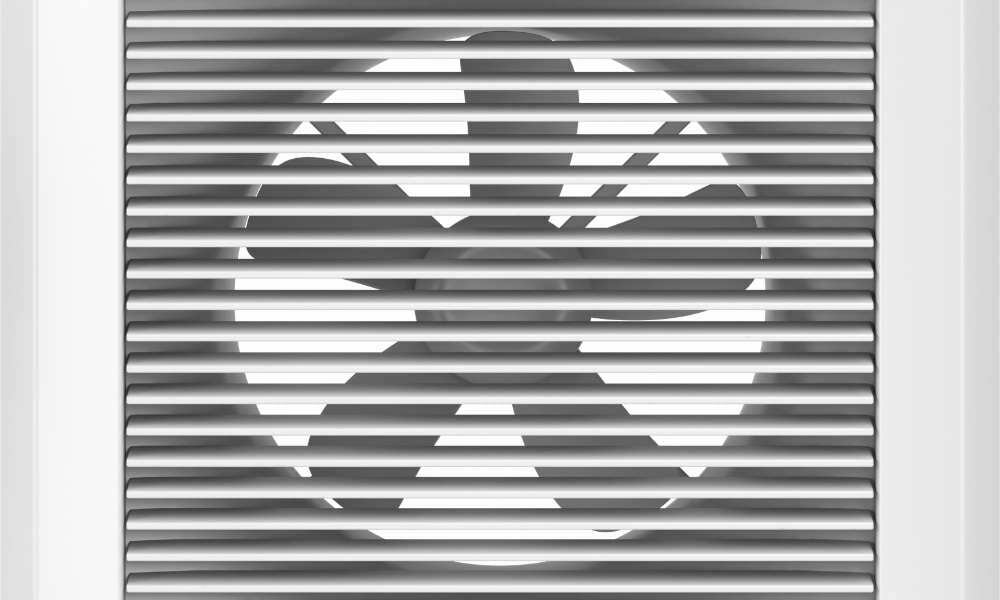
Remove The Vent Fan Housing
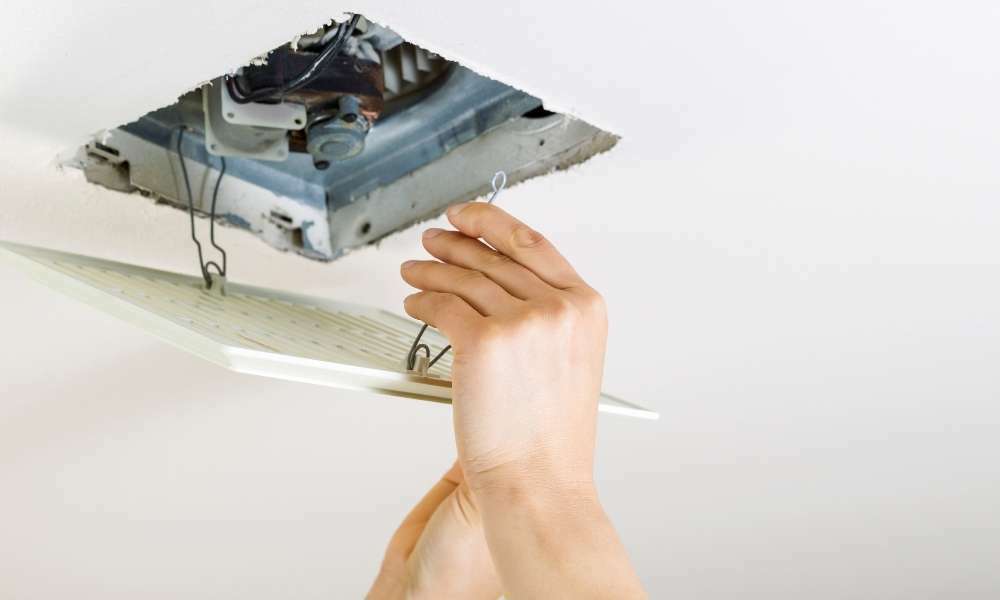
A. To remove the fan housing screw, switch off the fan motor and unscrew the four screws holding the cover on top of the fan motor. Make sure the screws are completely loose before removing the fan housing cover.
B. Once the fan housing screws are removed, loosen the four bolts holding the fan housing assembly together from the bottom of the air intake. Carefully remove the fan housing assembly from the frame.
C. Then remove the four screws holding the fan blade in the fan housing assembly.
Adjust The Ceiling Hole If Necessary
If your lights are too bright, they can burn your buds. It ends a few hours after the normal situation. When it is complete, the heat from the light bulb heats the air inside the chamber which in turn increases. As the elevation increases so does the normalization which controls the cooling of the room.
Featured, when you try to add more buds, the air gets warmer when the room. To keep the buds fresh and prevent your buds from burning, you will want to adjust the size of the hole. The larger the hole, the less light will enter the room. The smaller the hole, the more light will enter the room.
Attach The New Fan’s Housing
Screws are common tools used in many projects around the house. They save time and effort, and they also have a high success rate. A screw should always tighten until it is snug. But does not move away from the wood. Once properly connected, the screws should never remove until the damage is done.
An effective method of attaching a fan to a perforated structure in a ceiling joist. To ensure proper placement, drill at least 2 inches above where you plan to attach the fan. You may want to measure your ceiling before drilling holes.
Run The Vent Pipe
There are two reasons why it is important to run the vent pipe in the fan intake position. The first is that it helps ensure proper airflow and distributes air throughout the room. Second, the fan reception temperature will be cooler than the rest of the air circulating in the room. Thus ensuring proper cooling of the whole space.
Imagine having a ceiling fan in your bathroom. A drain comes out of the wall near the ceiling fan and is connected to it. The duct carries controlled air from the fan to the floor below. Now say there is a window on the opposite side of the bathroom. Since the bathroom has only one exhaust port, conditioned air from the fan circulates around the room and eventually comes out again from the same opening.
However, since the area near the fan reception is cooler than the rest of the room, the airflow in the room is not equal. Therefore, the air in the area closest to the fan reception is warmer than the rest of the room. By routing the vent pipe directly to the fan receiver, you prevent any obstruction in the air passage and therefore increase the efficiency of the ventilation system.
Connect The Electrical Wires
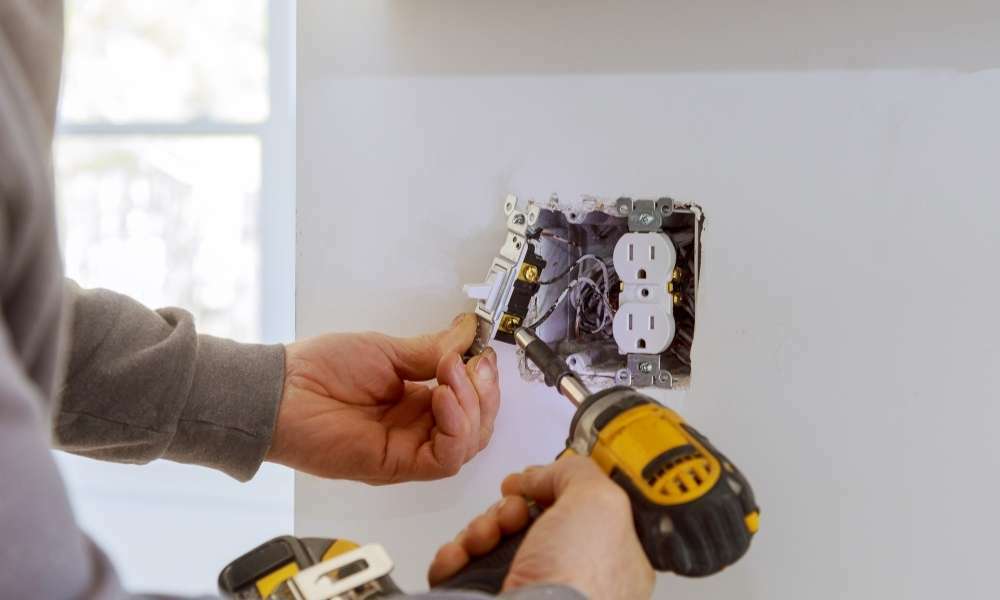
If you use a 120-volt motor, first connect the black wire from the transformer/rectifier to the negative terminal of the battery. Then connect the white wire to the positive terminal of the battery.
Next, connect the red wire from the transformer/rectifier to the positive terminal of this motor. Last but not least, click the green wire from the transformer/receptor to another positive terminal of this fan. This will give you enough power to run this machine smoothly.
Snap-On The Fan Cover
Sometimes old fixtures can be seen outside the interior of your home. Whether they were installed many years ago or recently replaced, you probably haven’t thought much about them yet. They should still work but sometimes they don’t fit into today’s modern bathroom. This particular fixture is only used to illuminate a small part of the bathroom. Removed before starting any renovation project.
Test The Fan
Ceiling fans usually have a single speed and last longer than their fans mounted on the wall. They need to be tested periodically to ensure proper operation. Wall fans are easy to install and maintain, but they may not be as durable as ceiling fans. Therefore, it is recommended that you check your fans once a month and check the blades for any irregularities.
The Final Thought
There are many ways to remove old bathroom fan lights. The best way to remove old bathroom fan lights is to use a screwdriver to hold the screws together. After loosening these, you can pull the two parts apart from each other to get the bulb. Some glue may remain after removing the bulbs, but if you rub your finger lightly on it, it will come off easily. You can then replace the bulbs in their respective fixtures with any type of bulb of your choice.
Use your time wisely. If you do not like to work in electrical things, you should find someone who specializes in electrical services. Hope you understand how to remove old bathroom fan light.