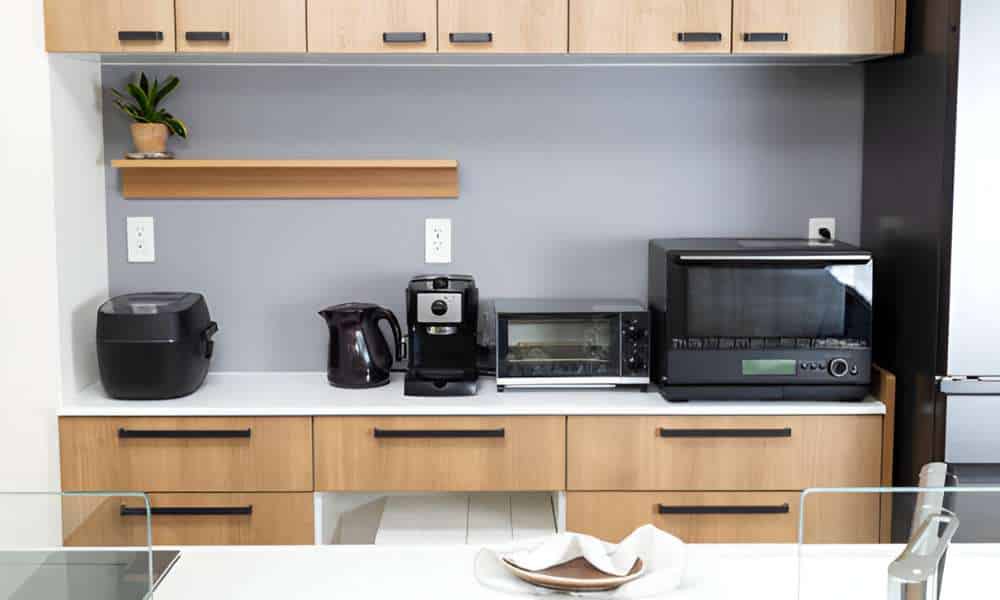
Keeping your kitchen tidy and functional often starts with a well-organized countertop, yet finding the perfect arrangement for everyday appliances can be challenging. Knowing how to organize kitchen appliances on countertop can transform clutter into a streamlined space that’s both visually appealing and efficient. With the right setup, you’ll maximize workspace, improve accessibility, and create a kitchen that feels open and easy to maintain. This guide offers practical tips to arrange your countertop appliances thoughtfully, blending style with convenience for a cleaner, more enjoyable kitchen experience.
1. Assess Your Kitchen Space & Needs
Every kitchen has its own layout and unique needs. To optimize your countertop space, begin with an assessment of your kitchen. Understand your work triangle—the main workspace between the stove, sink, and refrigerator—and identify areas that can best accommodate countertop appliances without disrupting movement.
Next, consider which appliances you use most frequently. High-traffic items like a coffee maker or a toaster may deserve prime counter space, while occasional-use appliances can find a spot in cupboards or other storage areas. To truly maximize space, it’s essential to prioritize, giving priority placement only to those devices that serve your daily needs.
2. Determine Priority Appliances and Daily Use Frequency
Consider how often you use each appliance before assigning it a place on the countertop. Appliances that see daily action, like coffee makers and blenders, can be kept within arm’s reach, while less frequently used items, such as food processors or stand mixers, might benefit from being stored away until needed. This method, often called “active-use organization,” enables easy access without overcrowding.
By setting up a storage system for rarely used appliances, you’ll free up valuable countertop real estate. Cabinets, pull-out shelves, or even pantry space can house occasional-use gadgets, keeping your main surface free of clutter and allowing for a tidier, more functional setup.
3. Use Zones to Organize Appliances by Function
Creating functional zones on your countertop can enhance the flow and efficiency of your kitchen tasks. For instance, establishing a dedicated “coffee station” with your coffee maker, grinder, and mugs in one area allows you to go through your morning routine seamlessly without rummaging through cabinets.
Other examples of zones include a prep area and a baking station:
- Coffee Zone: Keep your coffee maker, grinder, and cups together. If you have a drawer nearby, use it for sugar packets, spoons, or tea bags to create a compact yet complete beverage area.
- Prep Zone: Arrange cutting boards, knives, and a blender or food processor here to make chopping, blending, and slicing easier.
- Baking Zone: This zone can include a mixer, measuring cups, and any small tools like spatulas.
By dedicating areas to specific purposes, you reduce the need to shuffle appliances around, creating a smooth kitchen flow.
4. Invest in Space-Saving Solutions for a Cleaner Look
A clean, open countertop can make a kitchen feel instantly larger. One way to achieve this is through vertical storage solutions like wall-mounted racks or shelves, which can hold smaller appliances and free up valuable counter space. Even magnetic strips on the wall can keep items such as knives out of the way but accessible.
When purchasing appliances, consider compact or multi-functional models, like an appliance that can both toast and air-fry. These versatile tools serve multiple needs without adding bulk to your countertop, helping you maintain a streamlined and clutter-free appearance.
5. Organize with Aesthetics in Mind
Beyond functionality, aesthetics play a key role in creating an inviting kitchen. Choose appliances with finishes and colors that complement your kitchen’s overall look. Stainless steel pairs well with most kitchen designs, while matte black or pastel shades can add a modern or vintage touch, depending on your decor.
Group appliances on trays or mats to create visual boundaries, making them appear organized even when they’re not in use. Not only does this provide a more cohesive look, but it also simplifies cleanup. When it’s time to wipe down surfaces, simply move the tray aside rather than handling each appliance individually.
6. Keep Safety and Maintenance in Mind
Safety is paramount in the kitchen, especially with electrical appliances in close quarters. Arrange appliances so that their cords are not tangled or in hazardous positions. For example, using surge protectors or cord organizers can help reduce electrical risks, keeping your kitchen not only functional but safe.
Opt for easy-to-clean arrangements to simplify maintenance. Arranging appliances with a bit of space between them reduces the buildup of crumbs and grime, and using a damp cloth to clean the counter daily becomes a straightforward task.
7. Regularly Review and Refresh Your Setup
A well-organized kitchen is not a one-time accomplishment but an ongoing effort. As seasons change or new appliances come into the mix, take a moment to assess your layout. Certain appliances that you use in the summer, like juicers or smoothie makers, might benefit from accessible placement, while they can be stored away during winter.
Regular decluttering will also prevent your countertop from becoming a catch-all space. By making periodic adjustments and tidying up frequently, you’ll maintain a kitchen that is efficient, stylish, and clutter-free.
Conclusion
Organizing kitchen appliances on your countertop can elevate both functionality and style in your kitchen. By prioritizing frequently used items, creating purposeful zones, and adding space-saving solutions, you’ll enjoy a clutter-free and efficient workspace. Embrace these simple strategies to transform your countertop into a clean, accessible, and visually appealing area that makes daily tasks smoother and your kitchen more inviting.
