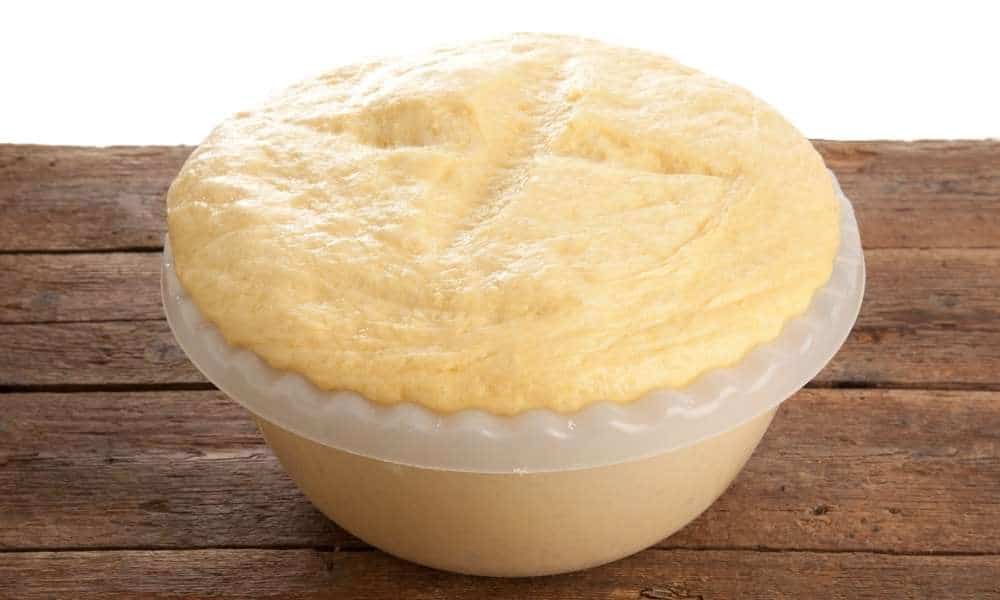
Making a bowl of flour can be a fun activity. This is something new that you can try at home with your family and friends. If you’ve ever cooked with a pizza cutter or any other tool, you know how to make dough bowls.
Making a bowl of flour is really easy, but it takes some time and effort. This can sometimes happen to some people, but for those who have the patience and desire to do so. so, you will be able to master the art of making dough bowls.
Dough bowls also known as flour scoops or flour spoons – are needed to make delicious desserts, baked goods, and more.
A great way to use fresh herbs from your garden is to make some homemade herbal balls or dough bowls! It’s great for using herbs that aren’t dried (or preserved) as well as to add flavor to any food. I’m going to cover different ways to do this and show you how easy they can be!
What Is A Bowl?

The best way I have discovered so far is to store and transport your newly pressed hash oil. This method allows easy access while maintaining the freshness of the product. To start creating your own, follow these simple steps. A little bit of planning can go a long way and make sure you have enough space to fit all these tools.
Step 1
Start with two pots, one slightly smaller than the other and both at least 2 inches longer than their width. If you want to keep the bowl intact and not split any air bubbles, make sure the weight of both is about half the weight you want to keep inside. If you are not sure how much weight you should use, try using a pot first to get a feel for it.
Step 2
You will need a plastic scraper (make sure it is a stiff piece) and a knife/scissors. Cut a small hole in the bottom of each pot and invert the larger pot over the smaller one. Place your plastic scraper in a large container and cut off the excess material until a small amount. Don’t mind
Create A Slab
First, you need to create a good straight edge in a log. Note that this log looks larger than necessary.
Half vertically cut the login, then cut each half in 8 ”according to the cross. Cut these pieces into four equal small pieces.
Two equal parts cut each piece, making a total of eight pieces. Then cut the small pieces in half into sixteen pieces.
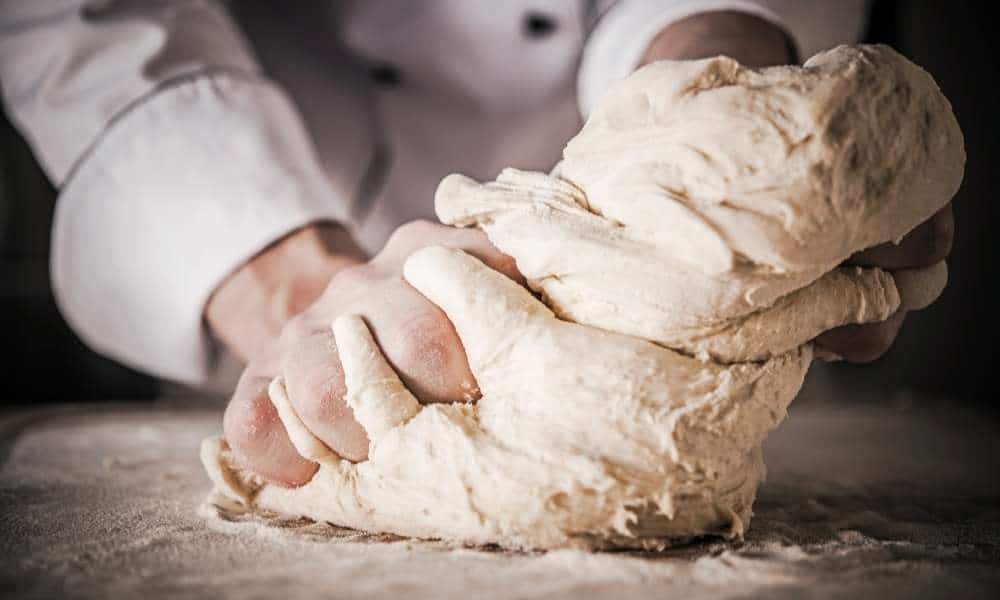
Then take the two largest of the large pieces and flatten them on top of one. Now make three big squares and divide them into three parts. Now use your hands to flatten the square edges. You want to create a bowl shape. This can do by pressing on the side. When finished, spray it with a little water and let it dry overnight.
Take the remaining six slices. Use the bowls and press them outwards to form a slab. Pressing the side down first creates a flat surface that will bake evenly. Spray with water again. Let them air dry completely before baking. Now invert and repeat for the other side.
After cooling, cut in the middle of the slab and it will separate into two bowls. Use a wooden spatula or butter knife to score lines around the bowl.
Mark The Outline Of The Flour Bowl
Wooden utensils have been used throughout history. These are durable, easy to clean and make great pots for your marijuana. You can use an already-owned wooden cutting board or you can get any type of wooden box (as long as it is large enough). Wooden boxes are easy to find at craft stores and hardware stores.
The wooden planks are cut into 2-inch squares. To make the marks, lightly draw around each piece of wood using a pencil. Make sure your lines are parallel and evenly spaced across the board. Once you cover half of the board, flip to the other side and repeat the same steps. Continue until all the pieces are identified.
Place the bowl in front of you about ten inches away from your body (the distance you held a pencil) and keep the rest of your body out of the way. Look straight ahead and start moving your arms and hands back towards each other in a circular motion extending across the width of the bowl.
You should feel like you are drawing a circle with your hands. Don’t let them get too close together, but make sure they’re moving fast enough to create a solid line without looking down. When you finish drawing the shape, don’t try to see it until I say “stop”.
Use A Chainsaw And Cut A Wooden Bowl
You will then need to remove the sides. While not entirely accurate, you should aim for a 50 to 60-degree slope in all directions.
Pull the lid from the base of the wooden flour box. You should now have a flat surface for cutting. If not, replace the lid and screw it back on.
Turn over the lid again and remove another set of four screws. This time pull the lid from the wooden base. It will be easier for you to use a chainsaw properly to know how to make dough bowls.
After removing the lid, make a saw cut along the edges of the upper and lower parts of the wood. Make sure the blade is pointing toward the workbench.
Inspired by a conversation I had with my friend Kyle from the “Cannabis Corner” show about how some farmers use a mason jar instead of a wooden flour bowl. We agreed that this idea would work well on a small scale (like me) but if your goal is not to make a big batch of butter.
Begin Working On The Inside
If you use any type of wood as a starter material, remove any bark and make sure it is not dry. Also, make sure you get enough light exposure.
I always use a chainsaw to make relief cuts. A small chainsaw is much needed now.
Keep adding layers as you make your dough bowl until you reach a depth of about 5-6 inches. Here you want to add the first layer of your starter. You can go ahead and put your compost here right now.
After you mix everything well, now you are ready to put it in your bowl. Try to start slowly and try to increase the speed over time. Always remember to stay hydrated.
Finally, I used something else to work the inside of the bowl. I used a curved edge to remove it.
Finishing Shaping The Outside And Inside

If you do not have the necessary equipment at home, you can take it to the store to do this work. I took the bowl inside the shop. I used a tungsten carbide-shaped plate to round it from the outside.
The first step in making a bowl is to make the mixture in your pot. Do use two methods: wet or dry method. Because if you use these, you have to prevent cracks. He will need to apply an end-grain sealer. When choosing between the two, it’s really a matter of choice; however, I tend to use the dry method because I feel that the wet method is too messy and not practical to use.
When your outdoor work is done you can use carbide-shaping dishes to finish the inside. Anyone can occasionally use something else to achieve consistent wall thickness. I use a caliper to help it.
Sand Inside And Out
The best way to take care of your growing equipment is to keep it clean at all times. Cleaning them regularly keeps away bacteria and fungi that can cause disease or otherwise damage your plants. There are many ways to clean your indoor garden tools. But sanding should never neglect.
Sanding wood helps maintain its integrity and prevents warping and cracking. If you don’t have any sandpaper, you can use emery paper or a piece of raw leather. Sanding should do after each oil change and before applying fresh oil.
You can always add some wax to protect your equipment from moisture and wear. When using these tools, you need to be careful about where you place them and what kind of surface you are working on. Equipment left out in the rain or moisture will eventually break or become dirty. These tools should only be used outside. These are also meant for use in a controlled environment without direct contact with the components.
When using these tools, you should first sand the pieces of wood so that they are smooth and even. Then, you want to sand the edges of the pieces of wood until they are thin enough to scrape.
Take a few weeks to dry and after that, and inside using an electric drill.
Finishing Your Dough Bowls
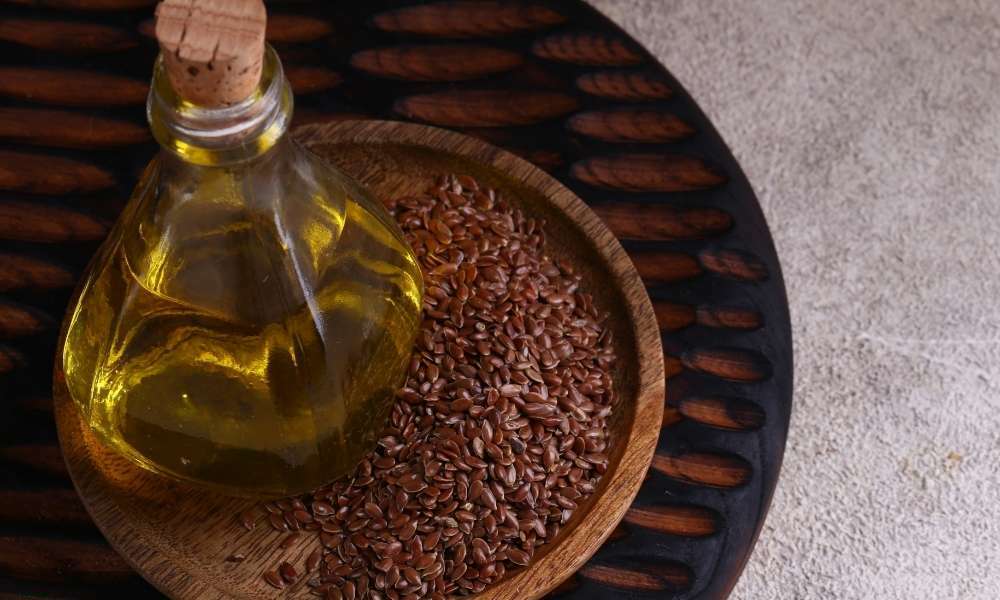
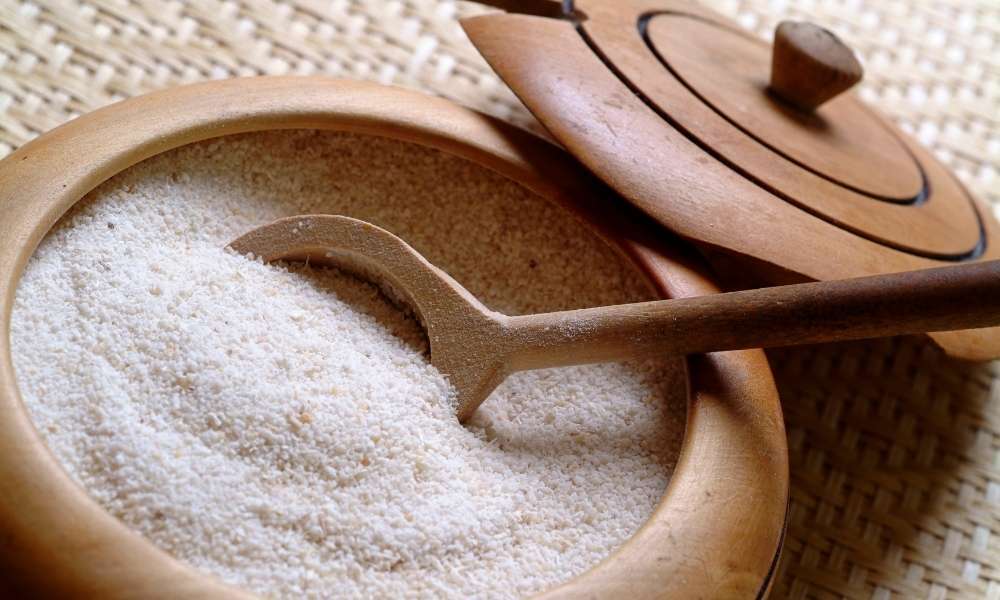
There is a type of oil called linseed oil. Finish the flour bowl using this oil. Now it’s time to sort the finished flour bowl. Spread the flour as per your requirement in the finished bowl.
Rough Bag Trim
Bag trimming is used to make a type of soil called ‘flour’. Turn it into a bowl using the traditional method. A clay bowl is used to hold water while cooking and cooking. The clay pot is usually placed on top of the fire until the contents inside are heated enough.
This allows you to cook your meals without using oils or other fats. You can use these pots for everything from storing grains, dried fruits, and vegetables to storing water for tea.
Rough bag trimming is similar to rough cutting where you remove the edges of your bag, leaving the center intact. Often this material can be discarded if it is too dirty. However, some people prefer to keep the end of their bag for another purpose.
These edges are cut and shaped into anything you want. One way I’ve seen it done is to make a bread pan. Some people prefer to use pieces of wood to trim their bags instead of metal. Works great in any way!
The Final Thought
Make sure your mold is dry before baking! If they have some water left over from the last time, it can cause cracks in them. I use this method to prevent cracking. Also, don’t mix too much of your flour. When you bake your bowl, the goal is to get good color across the entire surface.
I prefer to make my own clay bake instead of using store-bought mixes. This gives you better control over what kind of chemical additives. Also, if you make your own, you know how many ingredients go into each bowl. If you know how to make dough bowls yourself then you are not paying extra for those little things.
Another thing about these clay dough bowls – they come out perfect every single time. My favorite way to bake is at 400 degrees for 15 minutes, then lower the oven to 350 degrees. Let them bake for another 30 minutes.
If you prefer a crunchy top, bake at 450 degrees for 20 minutes. And although the temperature of the oven may change during baking, the quality of the product is never the same. It should be performed perfectly until the clay has already dried properly.