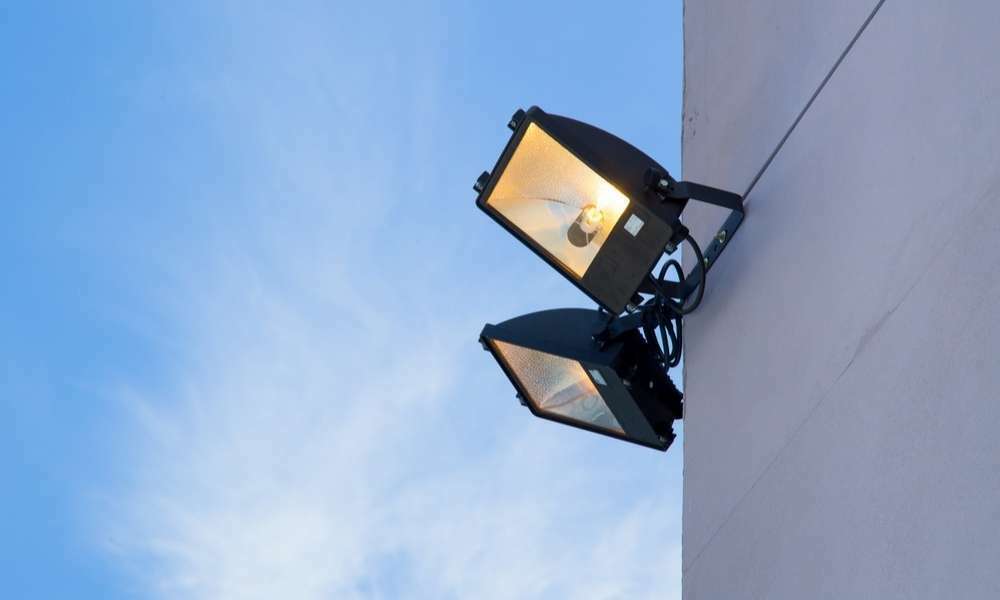
Outdoor lighting creates an outstanding look in front of your house and surrounding. It gives you a secure feeling and keeps your walkway enlightened. You should learn how to install outdoor lighting if you want to keep your house secured and beautiful.
To install outdoor lighting you don’t need high voltage power. So you can easily do it on your own. You just need to know the process of how to install outdoor lighting and then you can start the procedures.
Some tools and equipment will be needed while installing outdoor lighting. The main things are lighting fixtures, low voltage cables, connectors, and transformers. You need to choose the right transformer that you need according to your local electrical code.
Know the procedures to bury the cables under the ground. You will need a power outlet near the outside of the house as well. The main power will flow to the transformer and will reduce the 120-volt power to 12-volt which will flow to the light fixtures.
You need to assemble the light fixture and the mounting option before placing them. There are many mounting options but you need to predrill a hole on the ground before mounting.
Buy enough cable so that you can run them through the entire walkway. The transformer should be able to hold the wattage of the light fixtures and the capacity of the transformer should be more than enough so that you can add more light fixtures using the same connection.
Measure The Area
First of all, you need to measure the area in front of the entrance and the surroundings to determine the length of the cable you need. You have to buy more than the measurement so that the connection points with the fixtures are not so tight and you can easily bury the cables.
To measure the area, you will need a measuring tape then run it throughout the place you want to run the cable. Before you buy any cable, this is the necessary option otherwise the cable may run short and you may suffer complications.
Get Required Permission
Before you install any lighting, you need to get permission from the local building inspections department.
You should go through the local code or get help from an expert that the wattage of the light fixtures and transformer capacity is perfect according to the code and regulations.
As you are learning how to install outdoor lighting, you should know these steps so that you don’t face such problems.
Plan A Layout

There are many ways and patterns that you can choose to position your spotlights outside. But you need to choose a layout of your own.
In most houses, the light fixtures are closely set beside the walkway. But you need to ensure that any of the lights does not bump into the walkway. Keep minimum space.
You can draw a sketch of the entire walkway and surroundings. Then you will easily be able to choose where you want to place the spotlights.
To draw this, you don’t need to be a professional artist. Just draw the outlines and spaces with a pencil so that you can determine your chosen areas for the lights.
Don’t put the light on like airport runways. Don’t put it just a parallel way. Keep more 2-3 inches than the parallel way needs and the pattern will not be parallel like airport runways anymore. You can set them at an oblique angle too.
To be sure about the pattern, you can just lay the lights before mounting them and have a look at the pattern. You can mark the areas where you want to dig holes to mount the light fixtures.
Planning a layout before mounting is a necessary step to perfectly create an outstanding outlook by lighting.
Inspect Underground Utility Lines

To know how to install outdoor lighting, you should know the necessary steps before mounting the lights and considering issues.
The walkway is no offense the perfect place to mount lights but you need to know if there are any utility lines like water lines or gas lines under the walkway. You can’t be able to know it by digging. So you have to know it from the local utility suppliers and be sure about it.
If there are any utility lines below or surrounding the area, mark the area with the help of a supplier so that you can avoid digging into the exact place of the utility lines while installing outdoor lighting.
Equipment You Need
To install outdoor lighting, you will need some tools and equipment. The voltage is low. So you can easily install the lighting on your own with some equipment.
- Spotlights
- Low Voltage Cables
- Flat blade shovel/ spade
- Connectors
- Electrical Tape
- Transformer
- Wirecutter
- Siding clips
- Steel punch
- Screwdriver
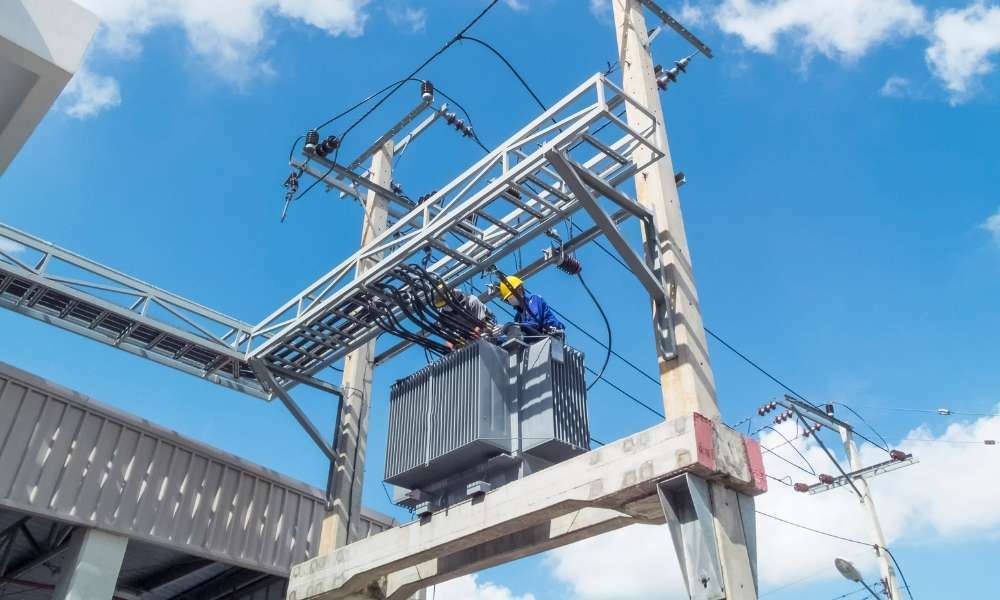
Buy The Perfect Transformer
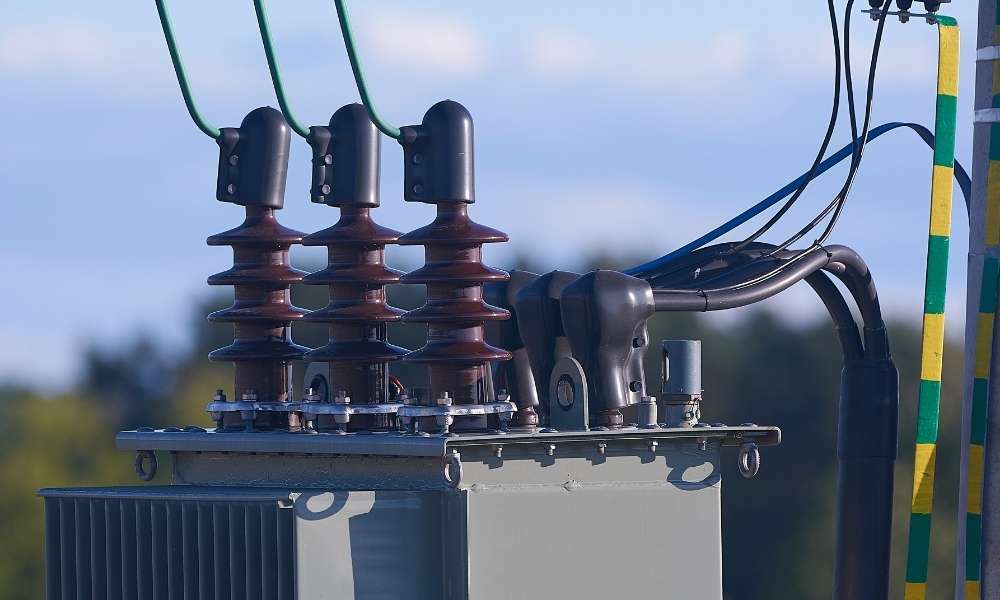
There are many brands of transformers which can make you confused about choosing one of them. You need to keep in mind some consideration issues while buying a transformer. Sometimes you may need to buy more than one transformer.
Transformers are costly but try to buy the best transformer which will give you a long-lasting service. The transformer reduces the 120 volts to 12 volts and makes it safe for use. Buy a transformer that has a safety cover. You need to adjust it in a convenient place outside the house near the cables.
Keep in mind that there should be no water features near the transformer. You can attach the transformer with the siding clips on the wall.
The transformers come with different watt capacities. You can choose your required one from them. Just choose a transformer of a well-known brand and inspect the features of the transformer.
The transformer which is from a well-known brand and if it is weatherproof and has a timer setting option can be a great one. If your transformer has a photosensor, then it will be automatically turned on when it is dark outside. The capacity and features of the transformer will make things easy for you.
To know more about how to install outdoor lighting, keep reading.
Buy Required Connectors
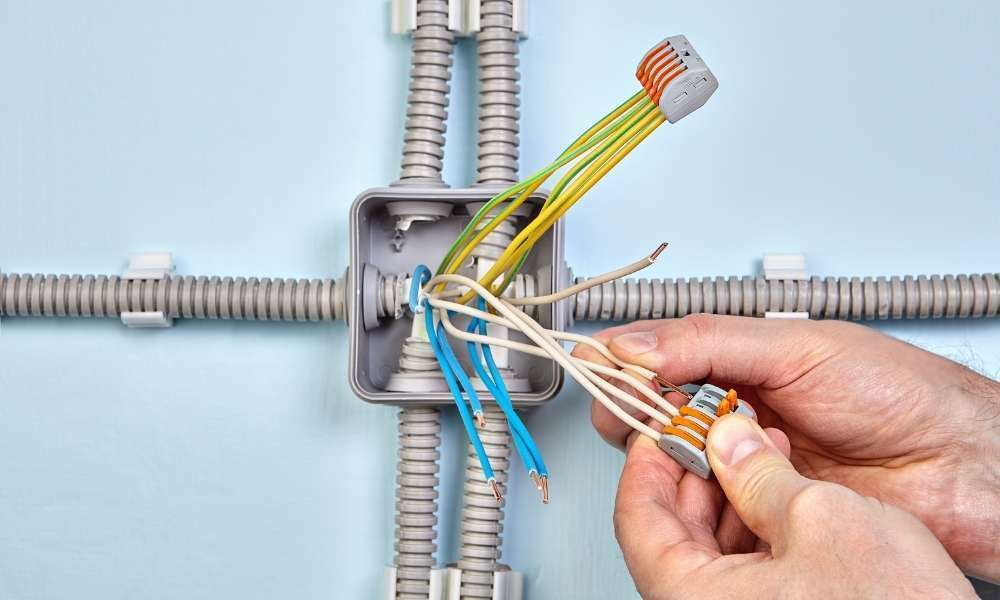
You need to use connectors when you connect the cables of the light fixtures with the main cable. Connectors keep them together and protected them from corrosion.
There are many types of connectors. They can be small or a little larger than that. If you use small connectors, you will need 2-3 connectors on each fixture.
But if you use large connectors, you will need only one of them for each light fixture. Bigger connectors are better as they are strong enough but you need to connect them properly.
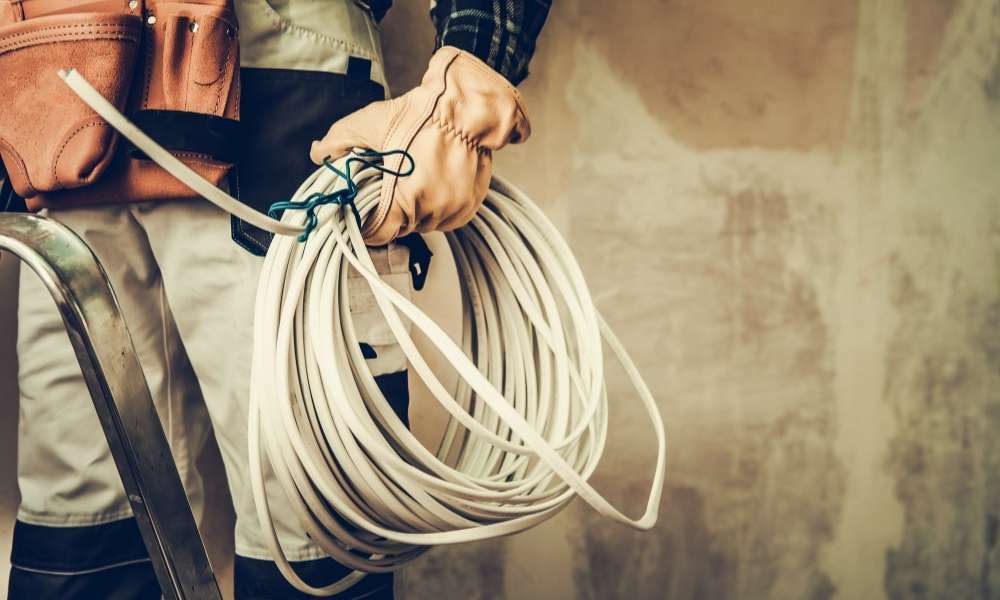
Buy Enough Cables
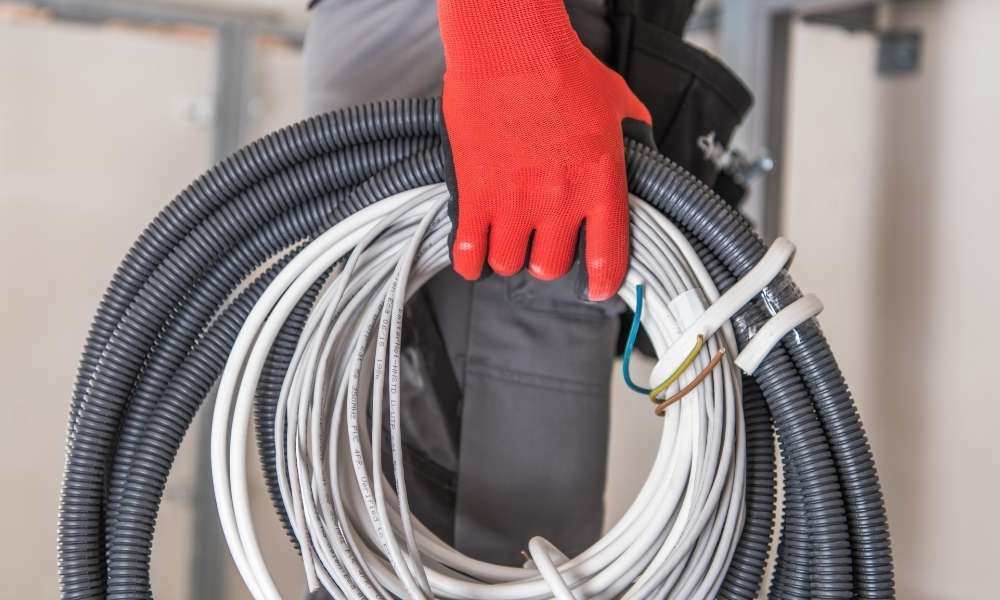
You need to buy low-voltage cables and the length should be more than enough to install outdoor lighting.
If your cable is short or too tight, then it will be a problem. But if you buy a lengthy cable than the requirement, you can cut it off with a wire cutter or you can keep it to allow more room for adding more lights.
There are 12/2 or 14/2 cables that are usually used to enlighten the spotlights. The first number 12 or 14 indicates the gauge number and the second number 2 is indicating the strand number of the cable.
14 gauge cables are used if your lights have almost 200 watts or less. But if they are more than 200 watts, then you need to use 12 gauge cables. Approximately 100 feet of cable should be enough to install outdoor lighting.
The cables come with two strands.12 gauge cables are thick enough than 14 gauge cables. You can run the cables through the conduit or you can avoid using the conduit as the wire has no polarity.
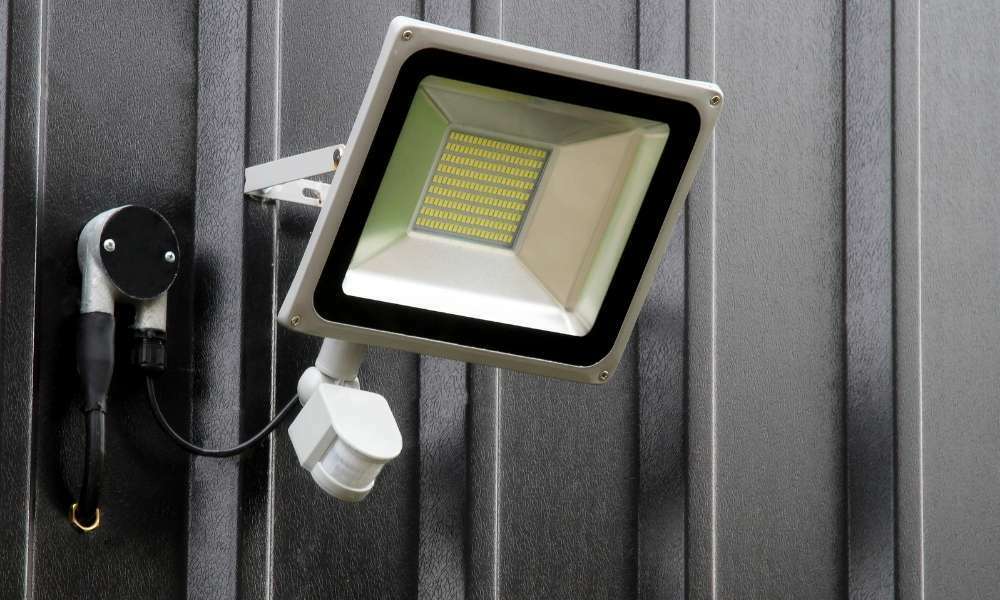
Choose Well-Featured Lights
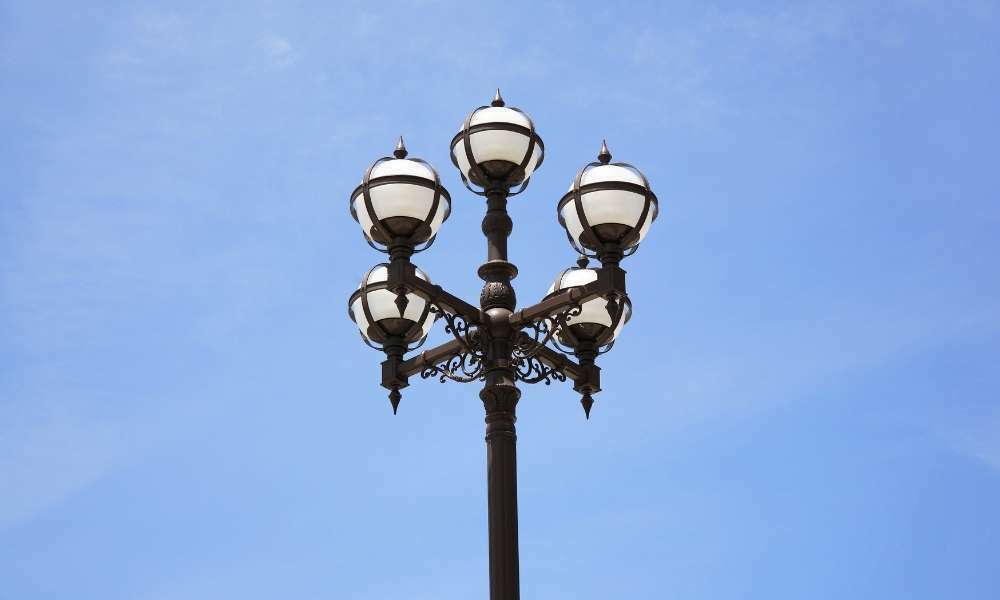
There are many types of lights. Some people may choose floodlights but they create an overwhelming look that spoils the beauty of the lighting. Rather you should choose spotlights that are bright and do not create any busy look.
Earlier, people used to use halogen lights for outdoor lighting but now they use LED lights. There are many benefits of LED lights. The LED lights save energy and are long-lasting. Moreover, they are brighter than halogen lights.
Now you can choose color temperatures for your LED lights and can match them with the porch lights as well. Check out the features of your LED lights before buying them.
Buy sturdy, strong lights which have strong stakes and an adjustable handle to move in each direction you want. The body and handle should be made of metal and the black colored body of the lights looks amazing.
Start The Procedures
Once you are done buying all the items you need, now it’s time to start the procedures of installation.
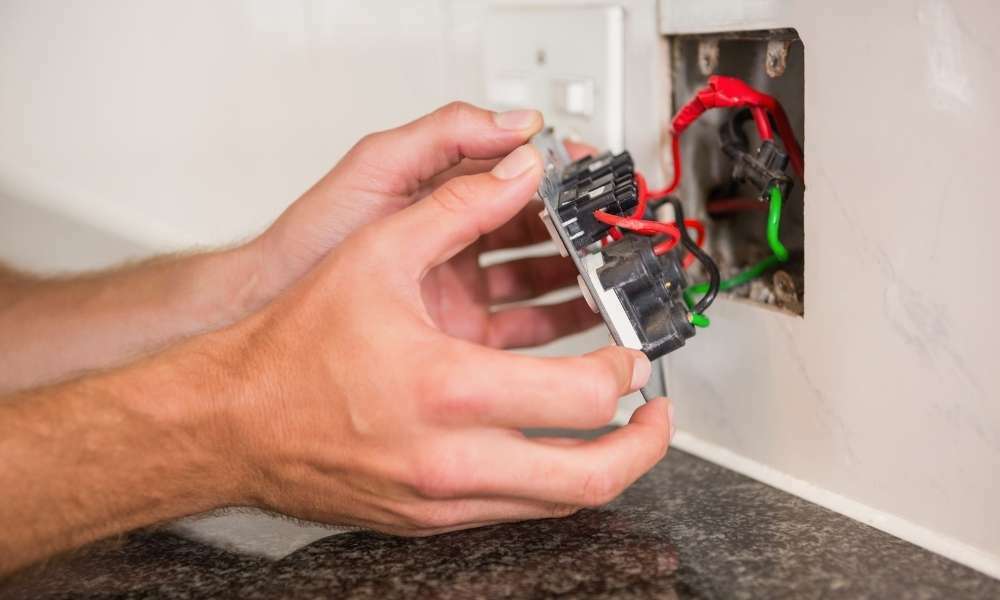
Search For An Outlet Outside
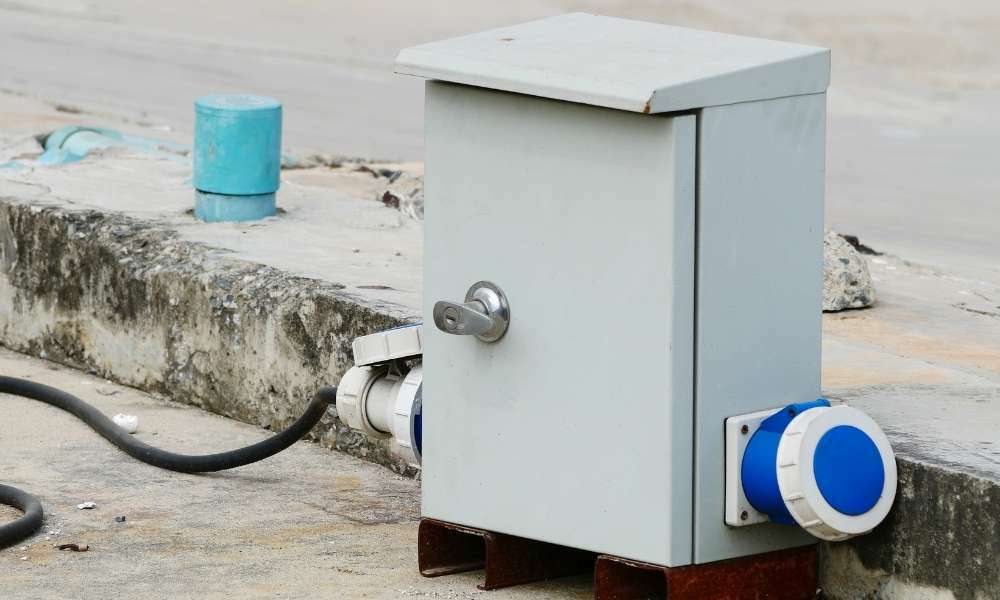
You will need a power outlet that is GFCI protected. The Outlet should be near the walkway so that you can connect the transformer easily to it.
The outlet should be covered in a “while in use” cover and kept in a big plastic box. The main power line is the outlet which is connected to the transformer.
Assemble The Lights

You need to assemble the light fixtures one by one and lay them in the targeted place.
First of all, put everything out of the box and assemble the lights and mounting stakes according to the manufacturer’s instructions.
Attach The Cable With Transformer
First of all, remove the plastic cover from the edges of the cable and start twisting the bunches of thin wires together and push it through the transformer.
There is no positive pole or negative pole. So you can attach the wire without any confusion. It will not give you any shock as the voltage is low. Take the screwdriver and attach the wire to the transformer easily.
Place The Transformer In A Convenient Place

You can hang the transformer but if the wall is made of brick, there can be an issue. To solve this problem, you can use siding clips.
It may seem a lightweight thing but a siding clip can hold heavy things like a transformer and there will be no risk. So use siding clips to hang the transformer 3-4 inches up from the ground.
Make sure there are no water features nearby and the background is capable enough to tolerate the heat it will create.
Run The Cables
Now you need to run the cables through the walkway. Take a flat-blade shovel or a spade to start losing the soil and make the space to bury the cables.
You don’t need to dig much. The depth should be 6-8 inches and the width should be 2-3 inches. Keep digging in this measurement and keep the grasses on the side.
Attach The Fixtures With Main Cable
There are wires below the light fixtures. Put them out and cut the plastic cover with a wire stripper. Now twist the wire and attach it to the main cable using a connector.
Attach the main cable to the connector properly. Now tighten the knob of the connector. Pinch the strands of the fixture wire with the mainline until you hear a click sound. The sharp prong of the connector pierces the cable and connects to the wire directly.
Once all the fixture wires are attached to the mainline, use electrical tape to the connecting point to secure it strongly. Although the connector is strong enough to secure the connection, the electrical tape is for additional safety and it will save the connection from corrosion and moisture.
Bury The Cables
Once all the connections are done, now put the cables on the digging line and bury them by putting the soil over them. Put all the grasses and soil that you kept on the side while digging.
Dig Holes For Lights

Now it is time to dig holes to mount the spotlights. Dig at least 3 feet deeper so that it stays strong and use the eyeball so that it remains straight to the point.
Once you are done digging the holes, push the light stakes through the holes with your hands toward the ground. Don’t use a hammer to put it on the ground.
When the lights are strongly fixed in the ground, tap the upper side and spread some soil to secure it.
Check The Connection
Once you are done with all the connections and everything is fixed, turn on the transformer and check if all lights have gotten power or not.
If all the lights are glowing in the perfect way, it is time to set the timer on the lights.
Set The Timer
Even if your lights have a photosensor, the timer setting is the best option. The photosensor takes time to light one light about 5-10 minutes after the previous light. So a timer is the best option for you.
You will ensure the time by setting the timer for when the light will be enlightened and when it will be turned off.
Are Solar Lights Good Enough?
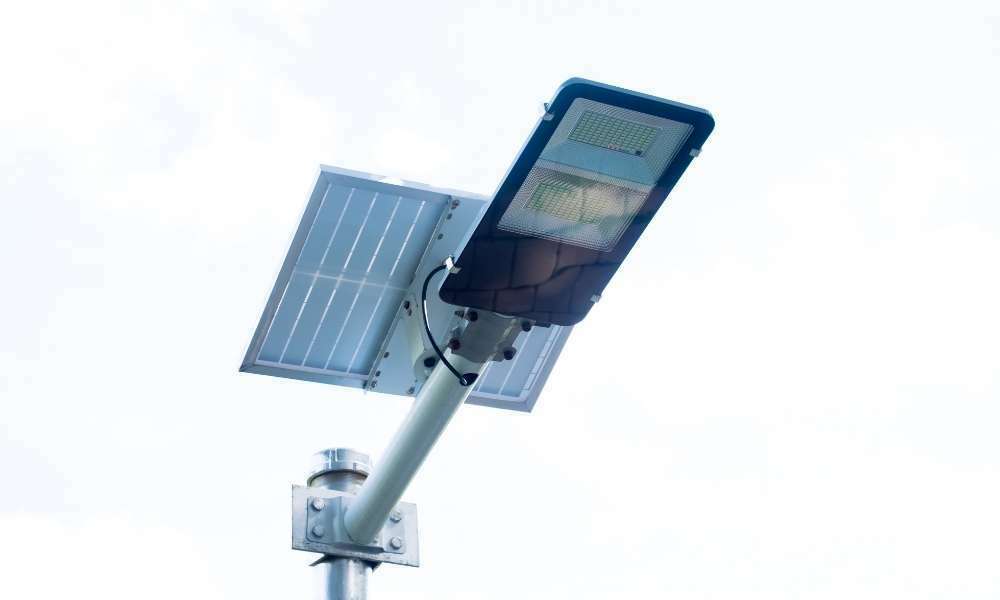
Some people may think of using solar lights instead of LED or Halogen lights. Solar lights are free from all the settings and power up as they get energy from the sunlight.
But solar lights are not as bright as LED or Halogen lights. So it would not be a good idea to go for solar lights.
Conclusion
By now you have learned how to install outdoor lighting from this article. Outdoor lighting gives your house a positive vibe and creates an amazing outlook.
Due to low voltage, you can easily set them without the help of any professional electrician. Try installing outdoor lighting as you know how to install outdoor lighting now. Hope you have liked this article. Let us know through your comments. Have a good day!