Maintaining the pristine condition of your Vitamix blender is paramount for both hygiene and optimal performance. A clean blender not only ensures the longevity of your appliance but also guarantees that every blend is smooth and free from unwanted residues. This comprehensive guide delves into the intricacies of how to clean your Vitamix blender effectively, offering expert tips that blend convenience with meticulous care.
Why Cleaning Your Vitamix Blender Matters
Neglecting to clean your Vitamix blender can lead to a host of issues that compromise both functionality and safety. Accumulated residues can harbor bacteria and unpleasant odors, turning your once-fresh appliance into a breeding ground for germs. Moreover, leftover particles can impede the blending efficiency, resulting in inconsistent textures and diminished performance. Regular maintenance not only preserves the aesthetic appeal of your Vitamix but also extends its operational lifespan, ensuring that it remains a reliable kitchen companion for years to come.
Tools and Materials You’ll Need
Embarking on the cleaning process requires a few basic tools and materials to ensure thoroughness and efficiency:
- Dish Soap: A mild detergent is ideal for breaking down grease and food residues without damaging the blender’s surfaces.
- Warm Water: Facilitates the dissolution of stubborn particles and enhances the cleaning process.
- Baking Soda: Acts as a gentle abrasive to remove tough stains and neutralize odors.
- White Vinegar: Effective in eliminating mineral deposits and disinfecting surfaces.
- Scrubbing Brush or Sponge: Essential for reaching into crevices and ensuring all areas are meticulously cleaned.
- Microfiber Cloth: Perfect for drying and polishing surfaces without leaving lint behind.
- Optional: Specialized Vitamix cleaning tools, such as a bottle brush or dedicated cleaning tablets, can provide additional convenience and effectiveness.
Step-by-Step Guide: How to Clean Your Vitamix Blender
Self-Cleaning Method

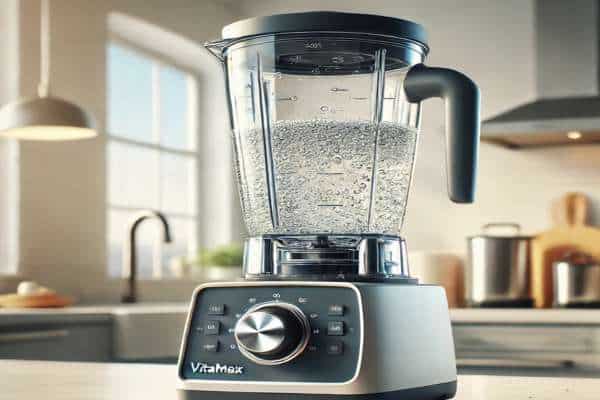
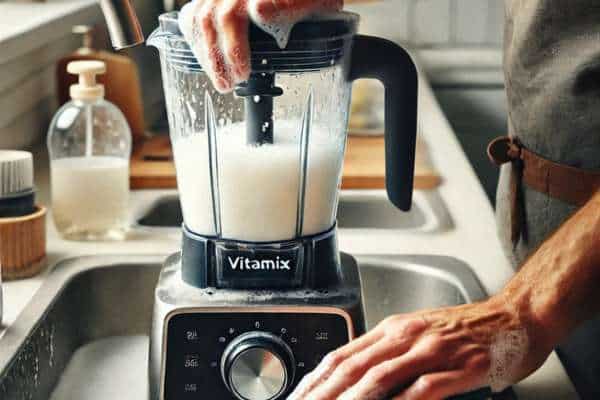
The self-cleaning method is the easiest and quickest way to maintain your Vitamix blender. Start by filling the container halfway with warm water and adding a few drops of dish soap. Secure the lid and run the blender on its highest speed setting for 30 to 60 seconds. This action creates a powerful whirlpool that removes food particles and grease. Once finished, empty the soapy mixture, rinse the container thoroughly with warm water, and dry it using a microfiber cloth.
Deep Cleaning for Tough Stains

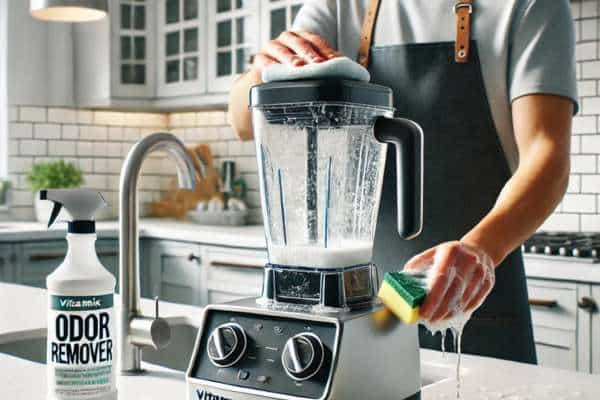
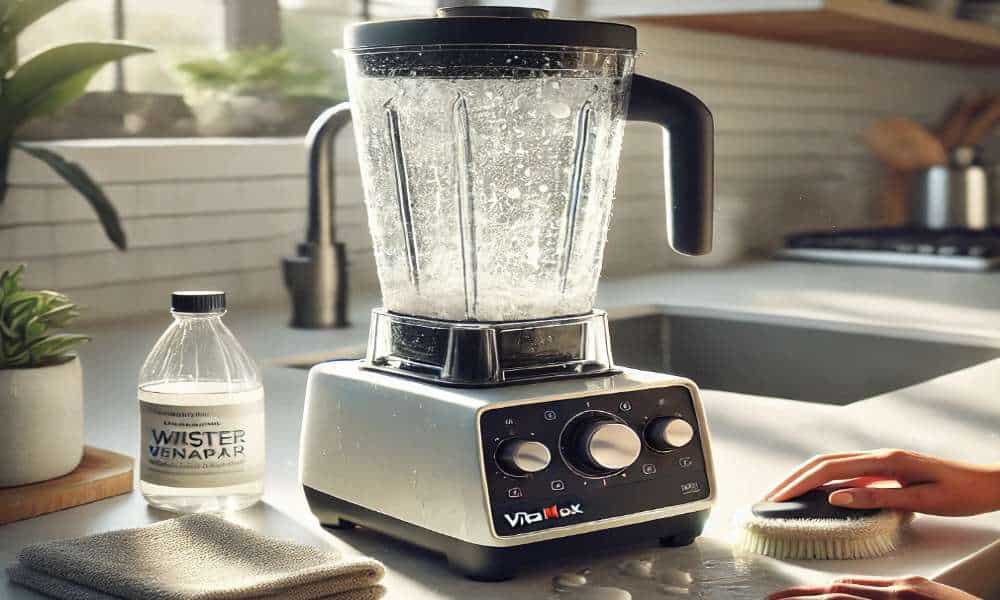
For tougher residues that the self-cleaning method can’t handle, use baking soda or white vinegar. Sprinkle a small amount of baking soda into the container or pour in a mix of vinegar and warm water. Let the solution sit for 10 to 15 minutes to loosen stains. Then, scrub the interior with a brush or sponge, paying close attention to any hard-to-reach areas. Rinse thoroughly and wipe down the container to remove any remaining residue.
Cleaning the Lid, Tamper, and Base
The lid and tamper often trap small particles that can be overlooked. Disassemble the lid to clean its rubber gasket, and use warm soapy water to scrub these parts gently. Avoid submerging the motor base in water; instead, wipe it down with a damp cloth, ensuring no liquid enters the electrical components.
Removing Odors

Persistent odors can be frustrating, especially after blending strong-smelling ingredients like garlic or onions. To eliminate these, fill the container with a solution of baking soda and warm water or white vinegar and water. Let it sit for 15 minutes before rinsing thoroughly. This method neutralizes odors without leaving a lingering smell of its own.
Cleaning After Blending Sticky or Staining Ingredients
Blending ingredients like turmeric, beets, or berries can leave stubborn stains. Rinse the container immediately after use to prevent these stains from setting. For more persistent marks, use a vinegar solution or a paste of baking soda and water to scrub the stained areas gently.
Dos and Don’ts of Cleaning a Vitamix Blender
Dos
- Clean Immediately After Use: Prompt cleaning prevents residues from drying and becoming more challenging to remove. It ensures that your blender remains ready for the next use without the hassle of intensive cleaning sessions.
- Use Non-Abrasive Cleaning Agents: Gentle detergents and natural cleaning solutions safeguard the blender’s surfaces from scratches and damage. Opting for mild cleaners preserves the integrity of the container and other components, ensuring long-term durability.
Don’ts
- Avoid Harsh Chemicals or Metal Brushes: These can erode the container’s integrity and compromise the blender’s performance. Harsh chemicals may degrade the plastic or glass, while metal brushes can scratch and harbor bacteria.
- Don’t Submerge the Motor Base: Water exposure can damage electrical components, leading to malfunction or safety hazards. Always ensure that only the designated parts are cleaned with water, keeping the motor base dry and secure.
Adhering to these guidelines ensures that your Vitamix blender remains in impeccable condition, free from damage and operational inefficiencies.
Tips for Maintaining Your Vitamix Blender
Maintenance goes beyond cleaning. Establish a routine to keep your blender in excellent condition. Schedule deep cleans weekly if you use your Vitamix frequently. Store the blender with the lid slightly ajar to allow airflow and prevent mold. Periodically inspect the blades and seals to ensure they remain sharp and functional. If you notice signs of dullness or wear, replace them promptly to avoid performance issues.
Troubleshooting Common Issues
If you encounter foggy residue or streaks, it’s often a sign of mineral deposits. Use a vinegar solution to restore the container’s clarity. Persistent odors may indicate trapped particles, which can be remedied by a thorough scrub with a baking soda paste. If your blender struggles to perform after cleaning, check for misaligned or damaged parts, and reassemble carefully.
Conclusion
A clean Vitamix blender is essential for maintaining both the appliance’s performance and your kitchen’s hygiene. By adhering to the expert tips outlined in this guide, you can ensure that your blender remains in impeccable condition, delivering flawless blends every time. Embrace these cleaning practices to extend the life of your Vitamix and enjoy the benefits of a spotless, efficient kitchen tool. Share your own cleaning hacks or questions to continue the conversation and enhance your blending experience.
