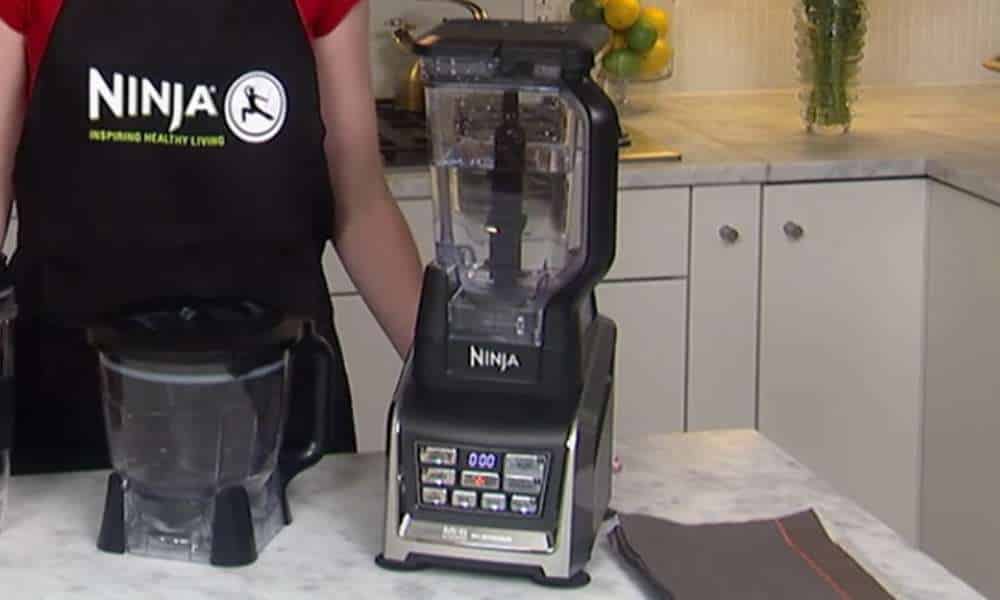
Ninja blenders are highly regarded for their power, Durability, And functionality. They are essential tools in many kitchens, Aiding in meal preparation by whipping up smoothies, Sauces, Soups, And more. However, As with any kitchen appliance, Ninja blenders require regular cleaning And maintenance to keep them operating optimally.
In this guide, We will cover detailed, Step-by-step instructions on how to clean your Ninja blender safely And efficiently. From disassembling the parts to washing them correctly, And even addressing tough stains or odors, We will leave no stone unturned. We will also share some tips on how to maintain the blender to extend its lifespan.
List of Necessary Cleaning Materials
- Soft sponge
- Dish soap
- Vinegar (optional)
- Baking soda (optional)
Safety Precautions to Consider Before Cleaning
Safety should be your priority. Always unplug your Ninja blender before cleaning it to prevent any potential electric shocks. The blades of your Ninja blender are sharp. Therefore, Handle them with caution to prevent accidental cuts or injuries.
Tips on Choosing Eco-Friendly and Non-Toxic Cleaning Materials
When selecting cleaning products, Opt for eco-friendly And non-toxic options such as vinegar And baking soda. Not only are they good for the environment, But they’re also safe to use And won’t harm your blender or your health.
Step-by-Step Instructions on Cleaning the Blender Jar and Lid
Start by rinsing the blender jar And lid with warm water to remove any residue. Fill the mixer jar with warm water And add A few drops of dish soap. Let it soak for about 10-15 minutes. This step will help to loosen any stubborn food particles. Use A soft sponge to scrub the interior And exterior of the mixer jar And the lid. Be gentle to avoid scratching the surface. Rinse the mixer jar And lid under warm running water until no soap remains. Allow them to air dry or pat them dry with A clean towel.
Special Attention to Cleaning the Lid and Its Seal
To clean the lid, Start by removing any leftover food or residue from the blender jar. Next, detach the lid from the jar And carefully separate the seal from it. Gently wash both pieces with warm soapy water using A sponge or cloth. Pay close attention to any nooks or crevices where dirt may accumulate. Rinse thoroughly And allow them to air dry before reassembling them back into the mixer jar.
Use a Vinegar or Baking Soda Solution for Deep Cleaning
If your blender has stains or odors, You can use vinegar or baking soda solution for A deep clean. Simply fill the mixer with warm water And add either 1 cup of vinegar or 2 tablespoons of baking soda. Let it sit for about an hour before scrubbing And rinsing.
Do Not Immerse the Blender Base and Power Cord in Water
When it comes to keeping your Ninja blender clean And in optimal working condition, there is one important rule to remember: do not immerse the mixer base And power cord in water. While the mixer pitcher And blades are designed to be dishwasher safe, The same cannot be said for the base And power cord. These parts contain electrical components that can be damaged by water.
Detailed Instructions for Cleaning the Base and Cord
Use A damp cloth to clean the exterior of the blender base And cord, Removing any dust, Food particles, Or liquid spills. After cleaning, Dry the mixer base And line completely to prevent moisture damage.
Step-by-Step Instructions for Cleaning the Blade Assembly
Remove the blade assembly from the blender jar And immerse it in warm soapy water for about 10 minutes. With A brush, Gently scrub the blade assembly, Paying close attention to areas between the blades. Rinse the blade assembly under running water to wash away soap And debris. Dry it thoroughly before reassembling it.
Detailed Guide on How to Reassemble the Blender
Ensure all the parts of your Ninja blender are thoroughly cleaned And dry before starting the reassembly process. Begin by locating the base unit And placing it on A flat surface. Next, Take the pitcher And align it with the base unit by matching up the arrows or indicators on both pieces. Once aligned, Gently push down until you hear A click, Indicating that they are securely connected. Moving on to the lid assembly, Locate the lid And place it on top of the pitcher.
Maintenance Tips to Keep Your Ninja Blender Clean
For A Ninja blender that stays in tip-top shape, Rinse it after every use to remove leftover ingredients. Perform A deep cleaning weekly or bi-weekly, Depending on usage. This will ensure your mixer operates efficiently And serves you well for years to come. When making slushies with your Blender, it’s important to remember certain cleaning techniques specific to this type of drink.
Conclusion
We hope you found our detailed guide on ‘How to Clean A Ninja Blender’ both informative And practical. By following these straightforward steps, You can ensure your Ninja mixer remains in top-notch condition, Ready to help you prepare your favorite recipes with ease.
Remember, Consistent And proper cleaning not only extends the life of your mixer But also ensures the quality And taste of the food you prepare with it remains high. Even if it seems like A hassle, Taking care of your Ninja mixer is A simple yet effective way of investing in your culinary experience.