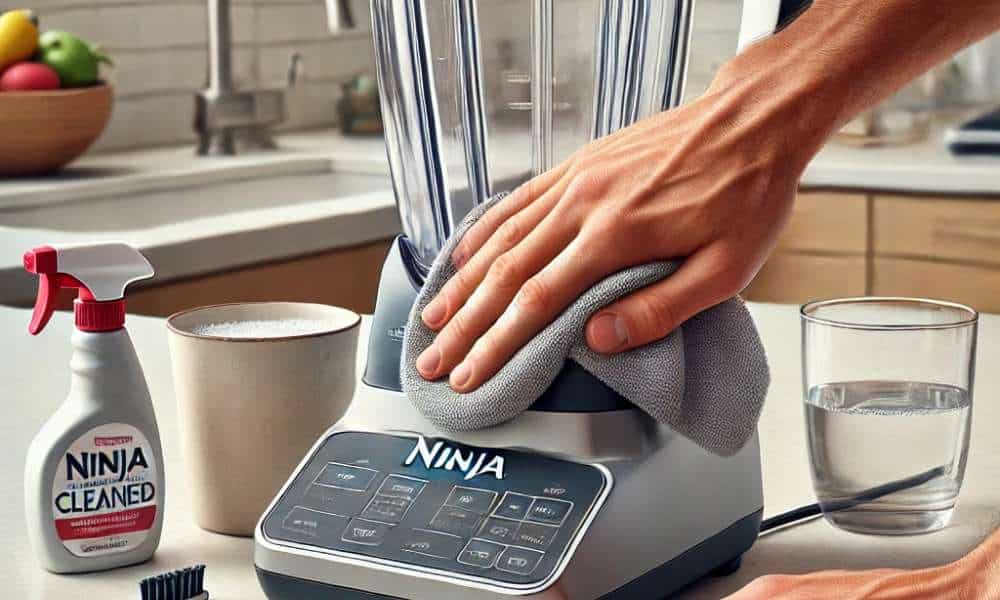
Keeping your Ninja blender clean is essential for maintaining its performance and longevity. While most people focus on washing the pitcher and blades, the blender base often gets overlooked. Over time, spills and splatters can accumulate, making it sticky, grimy, and less efficient. In this guide on how to clean Ninja blender base, we’ll explore easy and effective cleaning methods to tackle dirt and residue without damaging your appliance. From removing stubborn stains to maintaining its sleek appearance, these simple tips will keep your blender base spotless and in top condition for years to come.
1. Why It’s Important to Clean Your Ninja Blender Base
The base of your Ninja blender houses the motor, the beating heart of the appliance. Residues from spills or leaks can seep into crevices, hindering the motor’s functionality and shortening its lifespan. Furthermore, these remnants can create a breeding ground for bacteria, posing health risks if left unchecked.
Regular cleaning not only preserves the blender’s efficiency but also ensures the safety of your food preparation. By addressing this often-overlooked task, you safeguard both your investment and your household’s well-being.
2. Understanding the Ninja Blender Base
The blender base is more than just a sturdy foundation—it’s a hub of intricate components designed to power the blades with precision. Key parts include the control panel, motor vents, and external casing. The materials, typically high-quality plastics and metals, require specific cleaning techniques to avoid damage.
Signs that your blender base needs attention include sticky surfaces, lingering odors, or visible grime around buttons and vents. Recognizing these indicators early can save you from more intensive cleaning later.
3. Tools and Materials Needed
Having the right tools simplifies the cleaning process. Gather these essentials before you begin:
- Microfiber Cloth
- Mild Dish Soap or Vinegar Solution
- Small Brush or Toothbrush
- Cotton Swabs and Toothpicks
- Compressed Air (Optional)
With these items at hand, you’re ready to tackle even the toughest cleaning challenges.
4. Pre-Cleaning Preparation
Before diving into the cleaning process, safety comes first. Unplug the blender to eliminate the risk of electrical shock. Detach the jar, blades, and other removable components. Wipe away visible debris and spills to make the cleaning process smoother.
Taking these initial steps ensures a safer and more effective cleaning session.
5. How to Clean the Exterior of the Blender Base
To clean the outer surface:
- Dampen a microfiber cloth with a mild soap solution.
- Gently wipe the entire base, paying attention to any sticky spots.
- For stubborn stains, let the solution sit for a minute before scrubbing lightly.
- Dry the surface thoroughly with a clean cloth to prevent water from seeping into the vents.
This straightforward method keeps the exterior pristine and functional.
6. Cleaning the Control Panel
The control panel, often riddled with buttons and grooves, requires a delicate touch:
- Use a damp cloth to clean the panel without oversaturating it.
- Employ cotton swabs for intricate areas around buttons.
- Ensure the panel is completely dry to avoid electrical issues when reconnected.
Precision and patience are key when tackling this sensitive area.
7. Cleaning the Motor Vents
Dust and debris often collect in the motor vents, potentially impeding airflow. Use a small brush or compressed air to clear the vents without damaging internal components. Avoid liquid cleaners here, as they can harm the motor.
A clean vent system ensures optimal cooling and motor efficiency.
8. Deep Cleaning for Persistent Odors
Persistent odors can be tackled with natural solutions:
- Mix equal parts vinegar and water.
- Dab the solution onto a cloth and wipe around the base.
- Let it air dry in a well-ventilated area to eliminate lingering smells.
This eco-friendly approach neutralizes odors without harsh chemicals.
9. How to Clean Hard-to-Reach Areas
Narrow spaces and grooves require specialized attention. Use cotton swabs dipped in a cleaning solution or a toothpick to dislodge stubborn grime. For extra precision, appliance cleaning brushes are invaluable.
10. Quick Tips for Regular Maintenance
- Immediate Action: Clean spills as soon as they occur.
- Weekly Routine: Wipe down the base and panel regularly.
- Seasonal Deep Cleaning: Address vents and hard-to-reach areas every few months.
Consistent care prevents buildup and simplifies future cleaning tasks.
11. Dos and Don’ts When Cleaning the Ninja Blender Base
Dos:
- Use gentle cleaning agents.
- Dry thoroughly after cleaning.
- Focus on small details like buttons and grooves.
Don’ts:
- Never submerge the base in water.
- Avoid abrasive cleaners or scrubbing pads.
- Do not plug the blender back in until all components are completely dry.
Conclusion
Keeping your Ninja blender base clean is not just a matter of aesthetics—it’s an essential step in preserving its performance and extending its lifespan. By following the methods outlined in this guide, you ensure your blender remains a reliable kitchen companion. Start your cleaning routine today and enjoy hassle-free blending for years to come.
