An immersion blender is a handy kitchen tool that simplifies blending, pureeing, and whipping tasks with ease. However, knowing how to clean immersion blender properly is essential to maintain its efficiency, hygiene, and longevity. Food residue can accumulate in hard-to-reach areas, harboring bacteria and causing unpleasant odors if not cleaned thoroughly. In this guide, you’ll discover simple, effective cleaning techniques along with pro tips to keep your immersion blender spotless, safe, and ready for your next culinary creation.
Why Cleaning Your Immersion Blender Matters
A clean immersion blender isn’t just aesthetically pleasing; it’s essential for food safety and performance. Food particles left on the blades or in crevices can harbor bacteria, which could lead to foodborne illnesses. Additionally, residue can dull the blades over time, reducing their effectiveness. Regular cleaning prevents unpleasant odors that can permeate your kitchen and ensures that every dish you create is free of contamination. Beyond hygiene, maintaining your blender preserves its motor and blades, ensuring you get the most out of your investment.
Tools and Materials You’ll Need
Before diving into the cleaning process, gather the following items:
- Warm water
- Dish soap
- White vinegar or baking soda (for deep cleaning)
- A soft sponge or cloth
- A small brush or toothbrush for intricate crevices
- Towels for drying
Having these essentials on hand makes the process seamless and stress-free.
Step-by-Step Guide to Cleaning

General Cleaning (After Every Use)
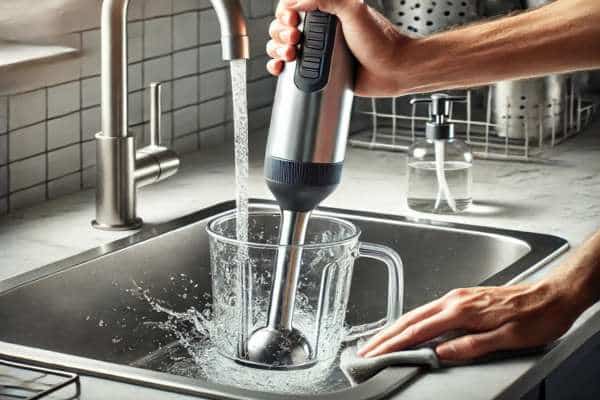
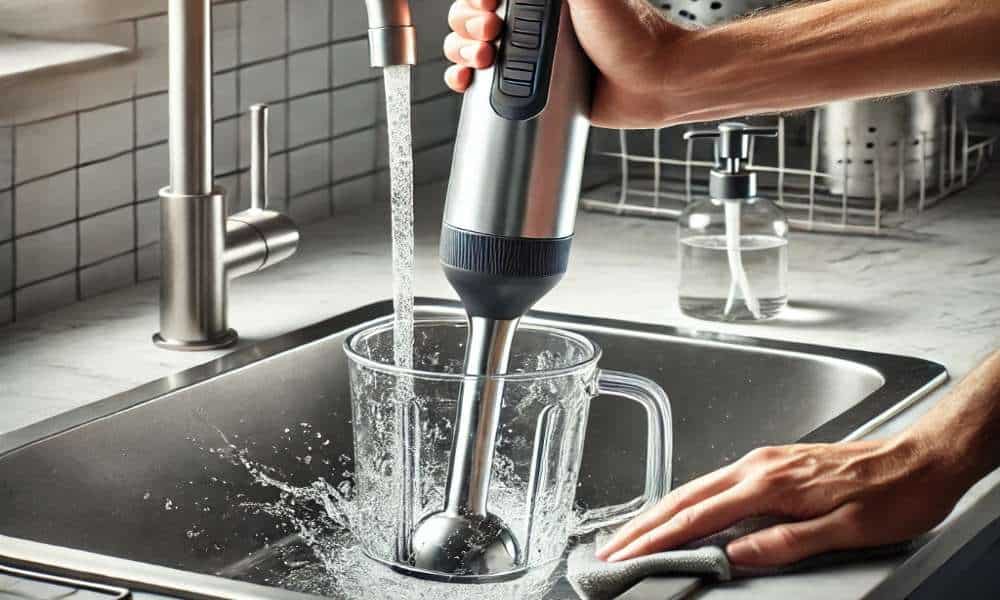
Immediately after using your immersion blender, unplug it to ensure safety. Detach any removable parts, such as blades or attachments, and rinse them under running water to remove loose debris. Fill a bowl with warm soapy water, and use a sponge to scrub away any remaining residue gently. Avoid submerging the motorized handle, as water can damage its electrical components. Once clean, dry all parts thoroughly with a towel or let them air dry before reassembling.
Deep Cleaning (Weekly or Monthly)
For a deeper clean, prepare a solution of warm water and white vinegar or a paste of baking soda and water. Detach the blender’s parts and soak them for 10–15 minutes to dissolve stubborn stains and grease. Use a small brush to scrub any crevices, focusing on the area around the blades. Rinse the parts under running water to remove any remaining cleaning agents, then dry them completely. Deep cleaning prevents buildup and keeps your blender functioning like new.
Cleaning the Motorized Handle
The motorized handle should never be submerged in water. Instead, wipe it down with a damp cloth, taking care not to let moisture enter the motor housing. Use a small brush or a Q-tip to clean around buttons and seams, where dirt and grime can accumulate. Keeping this component clean ensures safe operation and prolongs its life.
Hacks and Pro Tips for Easier Cleaning

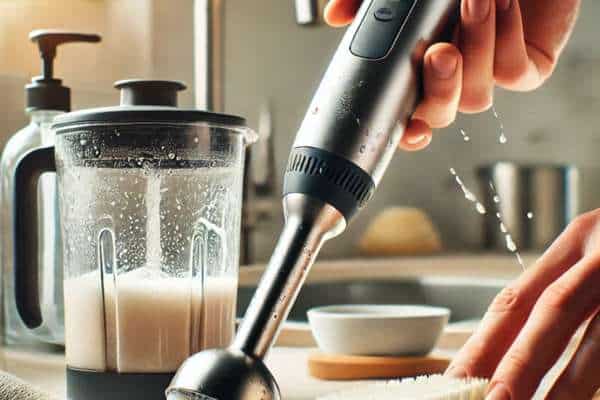
Save time by blending a mixture of warm water and dish soap immediately after using the blender. This quick action loosens residue and makes cleaning significantly easier. For tougher stains or lingering odors, add a splash of lemon juice or a sprinkle of baking soda. Avoid abrasive sponges that could scratch the blender’s surface. As a preventative measure, apply a light coat of non-stick spray to the blades before use, which can reduce the adhesion of food particles.
Mistakes to Avoid
One of the most common mistakes is submerging the motorized handle in water, which can cause irreparable damage. Similarly, using harsh chemicals or abrasive cleaners can erode the protective finish on the blender’s parts. Skipping the drying step is another error, as moisture can lead to rust or promote mold growth. Always ensure every component is completely dry before storing or reassembling the blender.
How to Store Your Immersion Blender After Cleaning

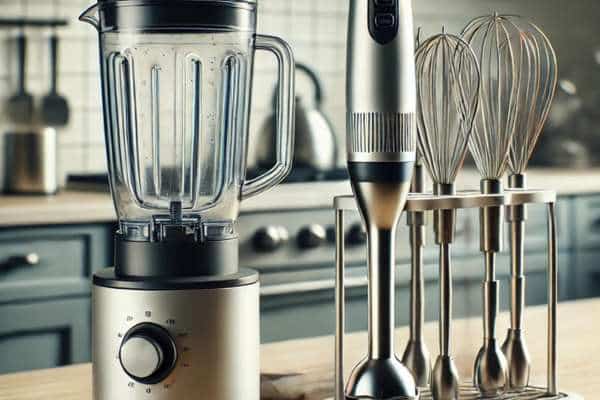
Proper storage is key to keeping your immersion mixer in excellent condition. After cleaning, disassemble the blender and ensure all parts are completely dry. Store the components in a clean, dry area, away from moisture or excessive heat. Use a dedicated container or drawer to organize attachments, keeping cords neatly coiled to prevent tangles. This practice not only protects your blender but also saves time when you’re ready to use it again.
Maintenance Tips to Extend the Life
Regular maintenance goes hand in hand with cleaning to extend the longevity of your immersion mixer. Clean the device immediately after each use to prevent food from hardening on its surface. Inspect the blades and seals for wear and tear, as damaged components can affect performance. Always follow the manufacturer’s guidelines, as specific care instructions may vary by brand or model. Simple practices like these ensure your blender remains a reliable kitchen companion for years.
Conclusion
A clean immersion blender is not just a tool; it’s an ally in your culinary endeavors. Regular cleaning keeps it hygienic, odor-free, and performing at its best. Whether you’re whipping up a quick smoothie or crafting a complex sauce, proper maintenance ensures your blender delivers consistent results every time. With these steps and tips, you can protect your investment and enjoy the convenience of a well-maintained immersion mixer.
