Caring for your enameled cast iron Dutch oven is essential to preserve its durability and cooking performance. The enamel coating provides a non-stick surface, but improper cleaning can lead to stains, chips, and even rust. Knowing how to clean enameled cast iron Dutch oven properly ensures it stays in top shape for years. In this guide, we’ll cover the best techniques and tips for maintaining the enamel’s pristine condition, allowing you to continue enjoying delicious meals without compromising your cookware’s longevity.
Understanding the Uniqueness of Enameled Cast Iron
Enameled cast iron differs vastly from its traditional counterpart. Cast iron, known for its raw ruggedness, demands regular seasoning and careful rust prevention, but the enameled variety? It comes with a glossy armor that shields it from the woes of rust and the acidic rebellion of certain foods. While this porcelain-like coating simplifies cleaning, it also calls for specific care to avoid damaging its smooth surface. Its hallmark? Unmatched heat retention and even distribution, making it perfect for slow-cooked stews and golden-baked bread. However, one must walk the tightrope of careful maintenance, or risk the enamel’s wrath in the form of cracks and chips.
Why Keeping Your Dutch Oven Spotless Is a Game-Changer
A clean Dutch oven is not just about appearances; it is about culinary precision. Residual stains or food remnants can taint the flavor profile of future meals, disrupting the harmony of your recipes. Beyond flavor preservation, cleanliness safeguards against the unseen enemy—bacteria. The moment you ensure your Dutch stove is spotless, you’re also protecting its enamel, keeping it from deteriorating and ensuring it remains the vibrant kitchen workhorse you need. There’s a certain joy in cooking with a clean, gleaming Dutch oven—a joy that translates into every bite.
Your Arsenal: Must-Have Cleaning Supplies
The key to preserving that glossy enamel? Gentle tools. You’ll need a soft sponge, mild dish soap, baking soda, and white vinegar. Harsh abrasives like steel wool? Banish them! They are the enemy of the enamel’s delicate surface. For those stubborn stains that just won’t budge? Enter the silicone spatula and non-abrasive scrubber, your best allies. Armed with these, your Dutch oven will remain in pristine condition, ready to face any culinary challenge.
Step-by-Step: The Ultimate Cleaning Ritual
- Patience is key—wait until your Dutch oven cools down. Pouring water into a hot pot? Thermal shock! And trust me, you don’t want cracked enamel.
- Once cool, fill the oven with warm water and a few drops of mild soap. Let it soak. A 20-minute soak loosens up the stubborn remnants.
- Soft sponge in hand, gently scrub the interior. Target those sticky bits, but with care.
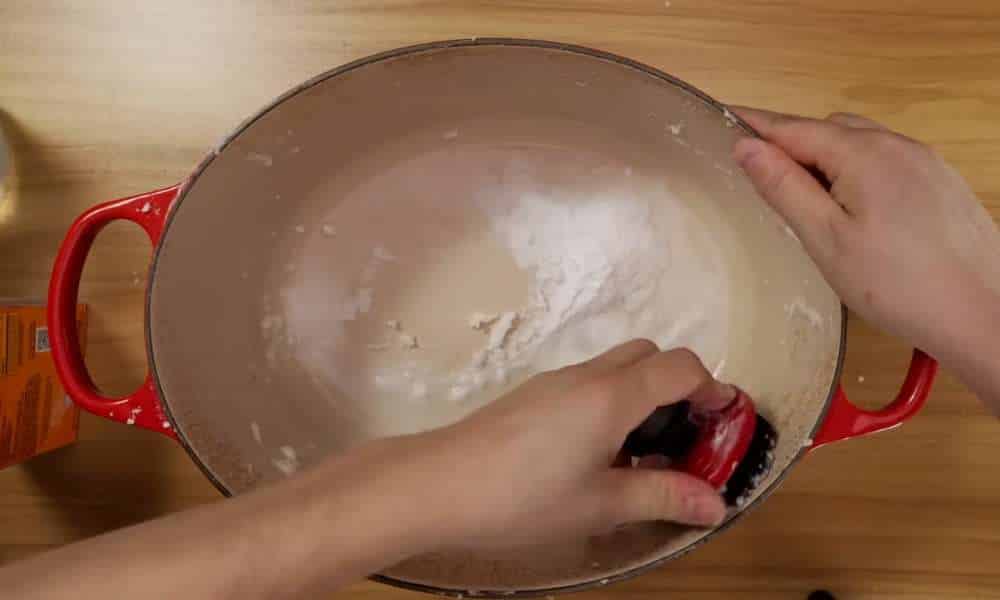
- For the hard-to-remove spots, whip up a baking soda paste and apply directly.
- Thoroughly rinse with warm water. No soap residue should remain.
- Dry meticulously with a soft towel—or better yet, let it air dry.
Battling Stubborn Stains and Burnt Residue
Burnt-on residue: a nightmare for every cook. But there’s hope. If scrubbing doesn’t do the trick, fill the Dutch oven with water, sprinkle in some baking soda, and bring it to a simmer. Heat helps loosen the clingiest of food particles, making them easy to remove. Still struggling? Add white vinegar into the equation—it’s nature’s gentle yet effective cleaner, powerful enough to tackle stubborn stains without harming the enamel.
Reviving Discoloration Without Sacrificing the Enamel
Discoloration—often the result of high heat—doesn’t mean the end of the line. A simple baking soda and hydrogen peroxide mixture, applied as a paste, can rejuvenate your Dutch oven’s interior. Let it sit, scrub gently, and watch the magic unfold. Another method? A white vinegar soak, followed by a gentle rinse using baking soda. But beware—never reach for bleach or strong chemicals, as they’ll erode that precious enamel layer over time.
Do’s and Don’ts of Enameled Cast Iron Maintenance
Do: Opt for mild cleaning agents, soft sponges, and baking soda. Do: Allow the oven to cool before cleaning. Dry thoroughly after washing. Don’t: Use harsh abrasives. Don’t: Introduce your Dutch oven to bleach or chemicals. And never plunge it into cold water right after use—the shock can be too much for the enamel to handle.
The Hazards of Abrasive Tools
While tempting, abrasive scrubbers spell disaster for enameled cast iron. Each micro-scratch dulls the glossy surface, inviting stains and reducing the non-stick capabilities of the coating. Over time, what was once a gleaming kitchen gem becomes susceptible to rust and wear. Steel wool may offer instant gratification, but the long-term damage is not worth the risk.
Exterior Cleaning: Don’t Neglect the Outside
The exterior deserves just as much attention. After all, it’s often splattered with grease and cooking stains. A simple wipe-down with a damp cloth should suffice post-use, but for stubborn spots? A mix of baking soda and water can work wonders without harming the enamel. Rinse thoroughly, dry immediately, and your Dutch stove will remain flawless inside and out.
Preventing Rust on Bare Edges
The rim and edges of your enameled cast iron are vulnerable to rust as they’re often uncoated. Post-cleaning, be sure to dry these areas meticulously. A light rub of vegetable oil can offer an additional moisture barrier. Proper storage—dry and cool—will keep rust at bay, allowing your Dutch oven to shine for years.
Caring for the Lid: Not to Be Overlooked
The lid of your Dutch oven is just as important as the pot itself. Food, grease, and residue tend to build up in those tight crevices. Warm soapy water and a soft sponge can reach every corner. Got metal knobs? Ensure they’re completely dry to avoid rust. Stubborn grease spots? A little baking soda will clear them right up.
Protecting the Non-Stick Surface: Prolonging the Enamel’s Life
That smooth, non-stick surface is worth its weight in gold. But it requires respect. Metal utensils? A definite no. They scratch, mark, and degrade the coating. Instead, stick to wooden or silicone tools. Always clean with care, avoiding harsh scrubbing, and store with caution—never stack anything on top of your Dutch stove without protection.
Drying and Storing: Best Practices for Longevity
Once washed, the Dutch oven must be completely dry before storage. Any lingering moisture invites rust, particularly around the uncoated edges. A soft towel works well, but air-drying for several hours is even better. When storing, avoid stacking other cookware inside the Dutch stove. If necessary, use a soft barrier between layers to prevent scratches.
Common Cleaning Mistakes to Avoid
Many fall into the trap of using abrasives, thinking they save time. In reality, they damage the enamel. Another pitfall? Letting food sit in the pot for too long. The longer it stays, the harder it becomes to clean. And boiling water with aggressive agents? It speeds up the enamel’s decline.
Reviving a Neglected Dutch Oven
Is your Dutch oven looking a bit worse for wear? Don’t worry—there’s hope. Start with a baking soda paste applied to tough stains. Let it sit, then scrub gently. For deeper stains, a vinegar soak followed by a soft scrub can do wonders. As long as the enamel is intact, a bit of patience can bring your Dutch stove back to life.
Conclusion
Proper care transforms your Dutch stove into a lifelong companion. It’s now not only a device—it’s an heirloom inside the making. By following these easy yet powerful cleansing and upkeep steps, you’ll make certain that each dish is cooked to perfection and each chunk is complete of flavor. This prized kitchen treasure, cared for with love and patience, will serve you and your family for generations to come back.