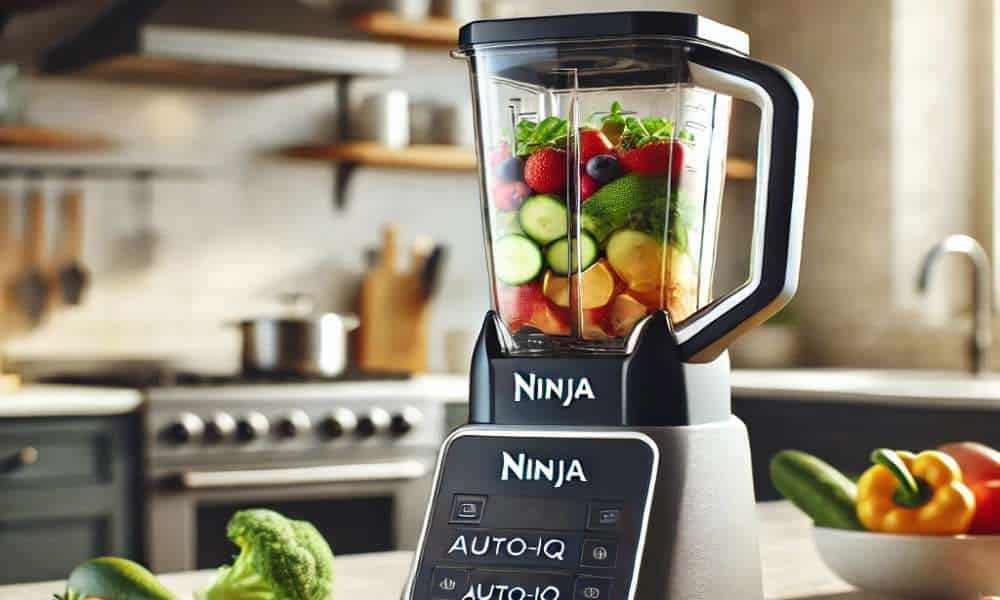
Ninja blenders have become synonymous with innovation and efficiency in modern kitchens. Known for their durability, cutting-edge design, and user-friendly operation, these blenders cater to a wide array of culinary needs. At the heart of this marvel lies Auto-iQ technology, an intelligent system that takes the guesswork out of blending. With its pre-programmed cycles, Auto-iQ delivers consistent, professional results with minimal effort. This guide will walk you through every aspect of using the Ninja Blender Auto-iQ, from setup to maintenance, empowering you to maximize its potential in your kitchen.
Understanding Auto-iQ Technology
Auto-iQ technology is a revolution in blending. It employs automated programs that combine unique blending, pulsing, and pausing patterns to deliver impeccable results. These cycles are meticulously calibrated to handle specific tasks, ensuring that every recipe turns out as intended.
Unlike traditional blenders that rely on manual control, Auto-iQ offers unparalleled convenience. Whether you’re crafting a silky smoothie or a chunky salsa, the system adapts to your ingredients with precision. This technology not only simplifies blending but also minimizes the chances of over- or under-processing, a common pitfall with manual blenders.
Benefits of Auto-iQ Technology
- Consistency: Every blend is uniform, eliminating lumps or uneven textures.
- Ease of Use: Pre-set programs handle the heavy lifting, allowing you to focus on creativity.
- Time Efficiency: Automated cycles reduce the need for constant monitoring.
When compared to conventional blenders, Auto-iQ stands out for its precision and ease, making it an indispensable tool for both beginners and culinary experts.
Getting Started with Your Ninja Blender
Unboxing and Setup
When unboxing your Ninja Blender, you’ll find a motor base, blending jars, lids, blade assemblies, and possibly accessories like a recipe guide or tamper. Carefully inspect each component to ensure everything is intact.
Setup Steps:
- Position the motor base on a stable, flat surface.
- Attach the blending jar securely onto the base. Align the notches for a snug fit.
- Install the blade assembly, taking care to handle it by the edges to avoid injury.
Safety Precautions
Before you dive into blending, keep these safety tips in mind:
- Always ensure the lid is locked in place before turning the blender on.
- Avoid touching the blades directly, as they are exceptionally sharp.
- Never operate the blender with an empty jar to protect the motor.
Key Features of Ninja Blender Auto-iQ
Pre-Set Programs
Ninja Auto-iQ offers tailored programs for specific tasks, such as:
- Smoothie: Ideal for blending fruits, vegetables, and liquid bases into creamy drinks.
- Frozen Drink: Designed for crushing ice and blending frozen ingredients seamlessly.
- Food Prep: Perfect for chopping, mixing, or pureeing ingredients for recipes.
Manual Controls vs. Auto-iQ Settings
While Auto-iQ automates tasks, the blender also provides manual settings for greater control. This dual functionality allows you to customize your blending experience or rely on automation when convenience is paramount.
Step-by-Step Guide to Using Auto-iQ
1. Choosing the Right Program
Select the program that aligns with your recipe. For example, use the “Smoothie” setting for a fruit-based drink or the “Frozen Drink” mode for cocktails. These programs are designed to optimize the blending process based on ingredient type.
2. Preparing Ingredients
Proper preparation is crucial for successful blending. Chop larger ingredients into smaller pieces to prevent strain on the blades. When adding items to the jar, layer liquids first, followed by softer ingredients, and finish with denser items like ice or frozen fruit. This layering technique promotes smooth blending and prevents clogging.
3. Using the Control Panel
The control panel is intuitive yet powerful. Each button corresponds to a specific function. To activate an Auto-iQ mode, simply press the desired button, and the blender takes care of the rest.
4. Starting the Blend
Once you’ve loaded the jar and selected your program, press “Start.” The Auto-iQ cycle will alternate between blending, pausing, and pulsing to achieve the perfect consistency. This dynamic approach ensures every ingredient is processed optimally.
5. Stopping and Serving
When the program completes, the blender will stop automatically. Remove the jar carefully, detach the lid, and pour your creation into a serving glass or bowl. For thicker blends, use a spatula to scoop out the contents.
Cleaning and Maintenance Tips
To keep your Ninja Blender in peak condition, follow these cleaning and maintenance practices:
- Immediate Cleaning: Rinse the jar, lid, and blade assembly immediately after use to prevent residue buildup.
- Deep Cleaning: Use warm, soapy water to clean components thoroughly. For stubborn debris, a soft brush is ideal.
- Blade Care: Avoid using abrasive materials on the blades to maintain their sharpness.
- Motor Maintenance: Wipe the base with a damp cloth and ensure no liquid seeps into the control panel.
Troubleshooting Common Issues
Blender Not Starting: Ensure the jar is securely locked into place and the lid is properly aligned. If the issue persists, check the power cord and outlet.
Overheating: Avoid extended blending sessions to prevent the motor from overheating. If the blender overheats, allow it to cool before resuming use.
Uneven Blending: Improper layering of ingredients can lead to uneven textures. Follow the recommended layering technique for best results.
Conclusion
The Ninja Blender Auto-iQ is a game-changer in the world of blending. Its intelligent design and user-friendly features empower you to create culinary masterpieces effortlessly. From refreshing smoothies to hearty soups, the possibilities are endless. By mastering its functionality, you’ll not only save time but also elevate your kitchen game. Experiment boldly and let Auto-iQ simplify your culinary journey.
