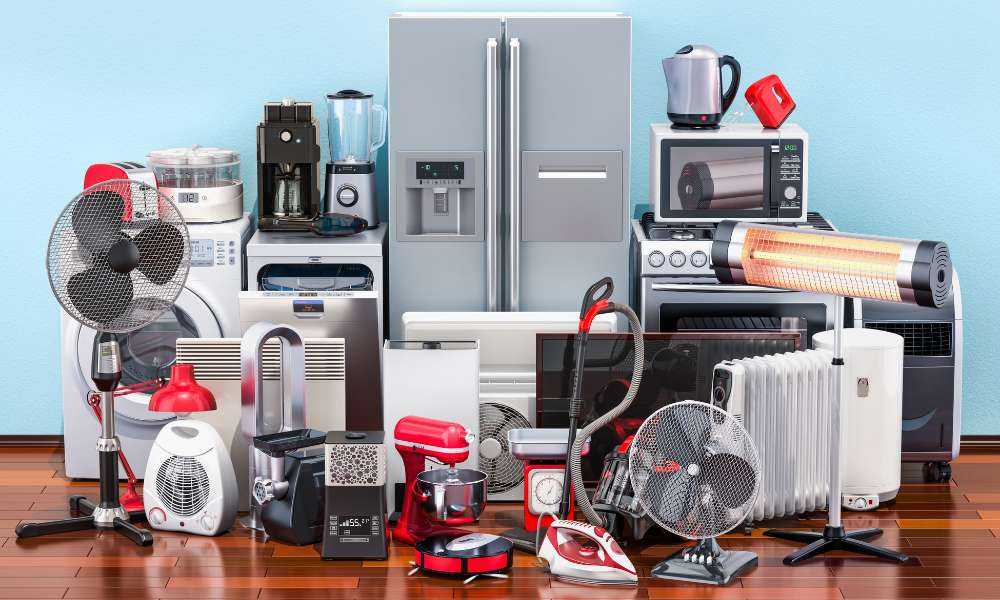
Packing up the kitchen is often the most challenging part of a move. With all those appliances, big and small, it’s crucial to pack them correctly to ensure they arrive in pristine condition. Whether you’re moving across town or across the country, knowing how to pack kitchen appliances can save you from the headaches of damaged goods, tangled cords, and misplaced pieces. Here’s a step-by-step guide to help you tackle this task with confidence.
1. Gather Your Packing Supplies
Before you even touch a single appliance, make sure you have the right packing supplies. The essentials include:
- Sturdy Boxes: Opt for a mix of sizes. Small boxes work well for heavier items like mixers, while medium or large boxes are ideal for lightweight items such as air fryers or microwaves.
- Packing Paper: This will help fill any gaps within boxes, minimizing movement during transit.
- Bubble Wrap: Use this for extra protection around delicate or fragile parts, such as glass lids and handles.
- Packing Tape: Durable tape is non-negotiable for ensuring boxes stay sealed.
- Markers and Labels: Labeling boxes can seem tedious but will make unpacking infinitely easier.
Choosing the right supplies helps prevent unnecessary stress. Invest in quality packing materials, as flimsy boxes or weak tape can compromise the safety of your appliances.
2. Clean and Prepare Your Kitchen Appliances
Once you have your supplies, it’s time to prepare each appliance. Begin by thoroughly cleaning each one to remove any food residue, oils, or crumbs that could attract pests or produce unpleasant odors during the move. Wipe them down with a mild cleanser and allow them to air dry completely. Any residual moisture could lead to mildew growth or, worse, damage electronic components.
For certain appliances, such as a coffee maker or blender, it may also be a good idea to run them one last time with a little vinegar or baking soda to deodorize and sanitize. Taking this step now will leave you with spotless appliances that are ready to use in your new home.
3. Disassemble Large Kitchen Appliances
Large kitchen appliances such as refrigerators, microwaves, and toaster ovens often come with multiple components that need to be carefully disassembled. Start by removing all detachable parts, such as trays, shelves, and removable blades. If you have a refrigerator, defrost the freezer at least 24 hours before you pack it to avoid water leakage during transit.
Use small ziplock bags to store screws, bolts, or other small pieces you remove. Label these bags with the appliance’s name to make reassembly hassle-free. Additionally, tape the bags securely to the appliance or pack them in a designated box for small parts, ensuring they don’t get misplaced during the move.
4. Wrap Appliances for Maximum Protection
Each appliance requires careful wrapping to avoid damage. Bubble wrap is essential for protecting breakable components such as glass jars, blender pitchers, or microwave plates. Wrap each item individually, then use packing tape to secure the bubble wrap. For the appliance itself, apply a layer of bubble wrap around the entire device, focusing on corners and edges.
If the appliance is too bulky for bubble wrap, such as a refrigerator or dishwasher, consider using furniture pads or blankets to safeguard against dents and scratches. Remember, the goal is to create a cushion that absorbs any impacts the appliance may encounter during the move.
5. Pack Appliances in Sturdy Boxes
Now that your appliances are wrapped and ready, it’s time to box them up. Choose boxes that fit the appliance snugly, leaving minimal space for shifting. Place each appliance in its box and use packing paper to fill in any gaps. This helps to stabilize the appliance and provides additional protection.
For items with glass components, place a layer of bubble wrap or cardboard at the bottom of the box before setting the appliance inside. This base layer absorbs shocks, further reducing the risk of breakage.
6. Label Each Box Properly
Labeling is a crucial step that can save you hours of frustration later. Use a permanent marker to write the name of each appliance on its box. If any box contains fragile items, mark it clearly as FRAGILE so movers handle it with care.
Additionally, include notes on any special instructions, such as This Side Up or Do Not Stack to avoid damages from improper handling. Labeling with room assignments, like “Kitchen,” also helps streamline the unpacking process when you arrive at your destination.
7. Pack Smaller Appliances with Extra Care
Small appliances, such as blenders, toasters, and coffee makers, are particularly prone to damage if not packed correctly. Wrap each one in a layer of packing paper, then follow with bubble wrap for added protection. To save space, you can pack multiple small appliances together in a single box, but be sure to separate them with packing paper to prevent them from rubbing against each other.
For delicate items like a stand mixer or espresso machine, wrap the main unit separately from attachments and accessories. Provide a cushion of packing paper or bubble wrap between items to minimize movement.
8. Protect Cords and Accessories
Cords and accessories can easily get tangled or damaged if left unsecured. For each appliance, bundle the cord neatly and secure it with a twist tie or rubber band. Avoid tightly winding cords around the appliance as it could lead to internal wire damage.
Pack accessories, such as blender blades or food processor discs, in ziplock bags to keep them organized and protected. Label each bag with the appliance’s name so they can be quickly matched to their respective devices upon unpacking.
9. Arrange Boxes for Safe Transport
When it comes to loading your packed appliances into the moving truck, strategic placement is key. Stack heavier boxes on the bottom and lighter boxes on top to prevent crushing. For added stability, place larger appliances along the walls of the truck, and use tie-down straps to secure them in place.
Aim to keep boxes with fragile appliances in an upright position whenever possible, avoiding excessive stacking. If you’re transporting any large appliances, make sure they are adequately supported to prevent tipping during the drive.
10. Unpack and Reassemble Kitchen Appliances
After the move, it’s tempting to dive into unpacking as quickly as possible. However, start by inspecting each appliance for any visible damage. If everything checks out, proceed with unpacking and reassembling according to the labels you meticulously applied earlier.
Once reassembled, give each appliance a quick function test to ensure it’s still in working order. Plug it in, perform a brief run-through, and address any issues promptly. With proper packing, most appliances should emerge from the move unscathed and ready for immediate use in your new kitchen.
Conclusion
Packing kitchen appliances properly is essential for ensuring they arrive safely at your new home. By following these steps—gathering the right supplies, carefully cleaning, disassembling, wrapping, and labeling—you’ll not only protect your valuable items but also streamline the unpacking process. A little extra effort now can prevent damages and help you settle into your new kitchen with ease.