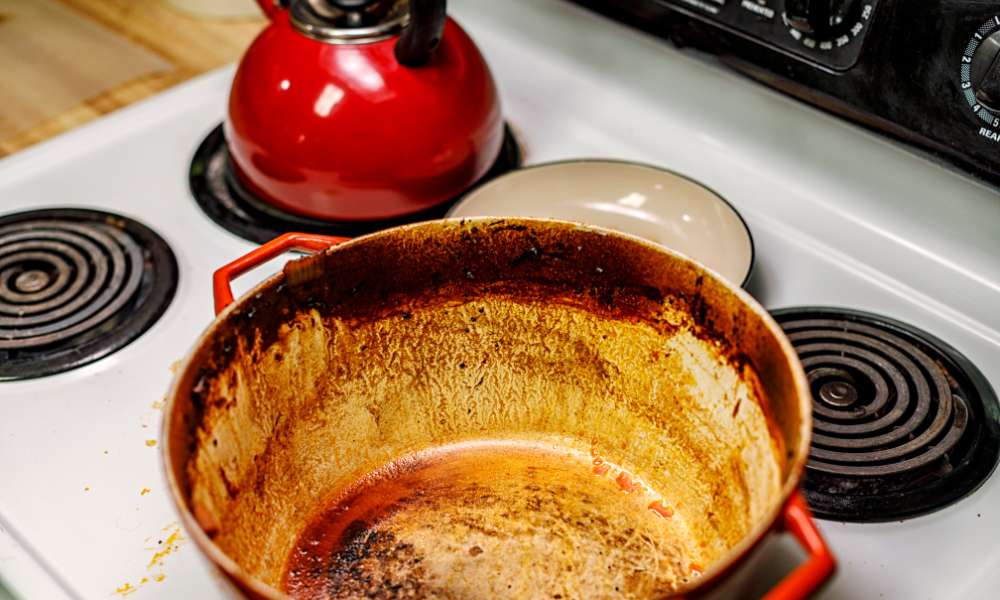
An enameled Dutch oven holds a special vicinity in many kitchens, regarded for its capacity to seamlessly transition from stovetop to oven while delivering delightful dishes. But as time goes on, even these kitchen heroes begin to lose their shine. A chip here, a stupid surface there, and unexpectedly, your as soon as pristine pot looks a little worse for put on. Yet, you needn’t worry; restore an enameled Dutch oven is completely possible, and with a few cautious steps, you can breathe new life into it. Not handiest will you save cash on an alternative, but you’ll hold to experience the entire variety of advantages these versatile cookware pieces offer.
Understanding the Enameled Dutch Oven
The splendor of an enameled Dutch oven lies in its cast iron center cloaked by way of a sleek enamel coat. This protecting layer doesn’t simply decorate aesthetics; it prevents the forged iron from interacting with your food. And what a world of distinction that makes! You get a non-stick floor, rust protection, and better warmness retention, all wrapped up in a pot that’s easier to smooth. However, over time, the tooth can be afflicted by the damage and tear of everyday use. Scratches, chips, and rust creeping in at the rims – these troubles can chip away at its capability. Understanding what you’re operating with is key before diving into recovery.
Assessing the Condition of Your Dutch Oven
Before you get right down to the nitty-gritty of recovery, pause for a moment to check out your Dutch oven. Scan the floor for those telltale symptoms of wear and tear – scratches, chips, or perhaps cracks. These are not just cosmetic issues; they could compromise the tooth’s integrity, mainly whilst cooking acidic dishes. Rust may also rear its ugly head, in particular around the rim or bottom. Rust isn’t always just unpleasant; it may regulate the flavor and safety of your food. Taking inventory of those issues will help you decide what type of restoration your Dutch stove needs.
Gathering the Right Tools for Restoration
Restoring an enameled Dutch stove isn’t a one-size-fits-all operation. It requires a selection of gentle yet effective tools to avoid further damaging the enamel. Non-abrasive sponges, soft cloths, baking soda, vinegar, and mild dish soap are essentials for cleaning without scratching. If you’re dealing with chips or cracks, an enamel-safe repair kit is a must. For long-term care, consider enamel protectors or sealants to reinforce the restored surface, keeping it looking fresh for longer.
Cleaning the Interior: A Gentle Approach
Cleaning an enameled Dutch oven’s interior demands a delicate touch. Start by soaking it in warm water and mild dish soap, letting any stubborn bits of food loosen naturally. For stains that cling tighter, try a mix of baking soda and vinegar—this natural concoction effectively lifts grime without harming the enamel. Got rust? A soft, non-abrasive scrub pad is your friend, but stay far away from metal brushes or harsh chemicals that could erode the protective coating.
Repairing Chips and Cracks in the Enamel
Chips and cracks are all too common in enameled Dutch ovens. The good news? Many can be repaired! Minor chips can be filled with enamel-safe fillers, creating a smooth, seamless surface once again. For more serious damage like deep cracks, you may need to apply a specialized enamel repair product or consider professional help. Ignoring such damage can worsen the issue, and using a Dutch stove with significant cracks is a recipe for disaster.
Polishing the Exterior for a Fresh Look
The exterior of your Dutch oven deserves just as much love. After cleaning, bring back that glossy shine with an enamel-safe polish. This not only restores its appearance but also adds an extra layer of protection. Steer clear of abrasive polishes or materials—they’ll do more harm than good, speeding up the wear on the enamel instead of protecting it. With the right care, your Dutch stove’s exterior will gleam, almost as if it just came out of the box.
Preventing Rust on the Dutch Oven
Rust loves to settle in those hard-to-reach areas—edges, handles, and rims. But it doesn’t stand a chance against a simple paste of baking soda and water. Gently scrub the rust away, taking care not to damage the surrounding enamel. After each wash, dry the Dutch stove thoroughly to prevent future rust from forming. Want extra protection? Rub a light layer of oil on any exposed iron areas, forming a barrier against moisture.
Restoring Discolored or Stained Enamel
After countless stews, roasts, and bakes, your Dutch oven’s once vibrant enamel might look a little worse for wear. Stains, dull patches—these are inevitable, but not irreversible. A combination of hydrogen peroxide and baking soda works wonders in lifting discoloration from both the interior and exterior. If you prefer a ready-made solution, commercial enamel cleaners are designed to restore color and shine without stripping away the enamel. With regular maintenance, your Dutch stove will stay as vibrant as the day you bought it.
Seasoning
Although seasoning is usually associated with cast iron, an enameled Dutch stove can also benefit from it. Applying a thin layer of oil to the cooking surface and heating it helps create a protective barrier that enhances the non-stick properties and prevents food from sticking. Choose an oil with a high smoke point, such as flaxseed or vegetable oil, to avoid burning and leaving residue on the enamel.
Maintaining Your Restored
Once you’ve restored your Dutch oven, you’ll want to keep it in top shape. Wash it gently with soap and water, avoiding abrasive scrubbers. Never plunge a hot Dutch stove into cold water—this can cause the enamel to crack from the thermal shock. When storing, ensure it’s completely dry and placed in a cool, dry spot. Regular care, along with occasional restoration, will extend its lifespan and keep it looking pristine.
FAQ
Can all enameled Dutch ovens be restored?
Most can, but if the enamel is severely damaged or peeling extensively, professional repair might be your best option.
What should I do if the enamel is peeling?
Stop using the pot immediately. Exposed metal can react with food, posing safety risks. Seek professional repair before using it again.
How often should I restore or deep clean my Dutch oven?
Deep cleaning every few months is ideal, depending on usage. Restore it as needed when you notice chips, rust, or discoloration.
Conclusion
Restoring an enameled Dutch stove isn’t pretty much aesthetics—it’s approximately retaining the functionality and durability of a valuable kitchen tool. With patience and the right techniques, you can revive this oven, making it a centerpiece of your kitchen all over again. Regular upkeep will make certain which you keep to create scrumptious food in this versatile pot for masses extra years to come.