Seasoning a forged iron Dutch oven is an critical step to ensure its durability and performance inside the kitchen. This method involves applying a thin layer of oil to the floor and heating it to create a non-stick, rust-resistant coating. Properly pro solid iron not handiest enhances the flavor of your dishes but also affords a durable cooking floor that improves with use. In this guide, we are able to walk you thru the designated steps on a way to season your cast iron Dutch oven, making sure it stays a precious a part of your culinary toolkit for years to come. Whether you’re a seasoned chef or a home cook, information how to maintain your forged iron will increase your cooking enjoy.
What is Seasoning?
Seasoning is the procedure of making use of a thin layer of oil to the surface of forged iron cookware and heating it to create a defensive, non-stick coating. This essential step facilitates to prevent rust and enhance the cooking performance of your forged iron Dutch oven. The technology at the back of seasoning entails key procedures: polymerization and carbonization. During polymerization, the oil is heated to its smoke factor, inflicting it to bond with the metal surface and form a hard, plastic-like layer. Carbonization in addition complements this coating with the aid of breaking down the oil into carbon, which provides a clean, non-stick end. Proper seasoning ensures your cast iron oven stays long lasting, easy to clean, and complements the flavors of your dishes, making it a important part of your kitchen ordinary.
Benefits of Seasoning
Seasoning your solid iron Dutch oven provides severa advantages that beautify your cooking experience. Firstly, seasoning creates a non-stick surface, permitting meals to launch without difficulty with out sticking, making cooking and cleansing a breeze. Secondly, it offers notable rust prevention by way of forming a shielding layer that shields the metallic from moisture and air, ensuring your Dutch oven remains in high condition for years. Lastly, a properly-seasoned oven improves the taste of your dishes, as the seasoned layer can take in and keep diffused flavors from previous meals, including depth and richness to each new dish you prepare. These benefits make seasoning an important step for keeping and taking part in your cast iron cookware.
Preparing for Seasoning:
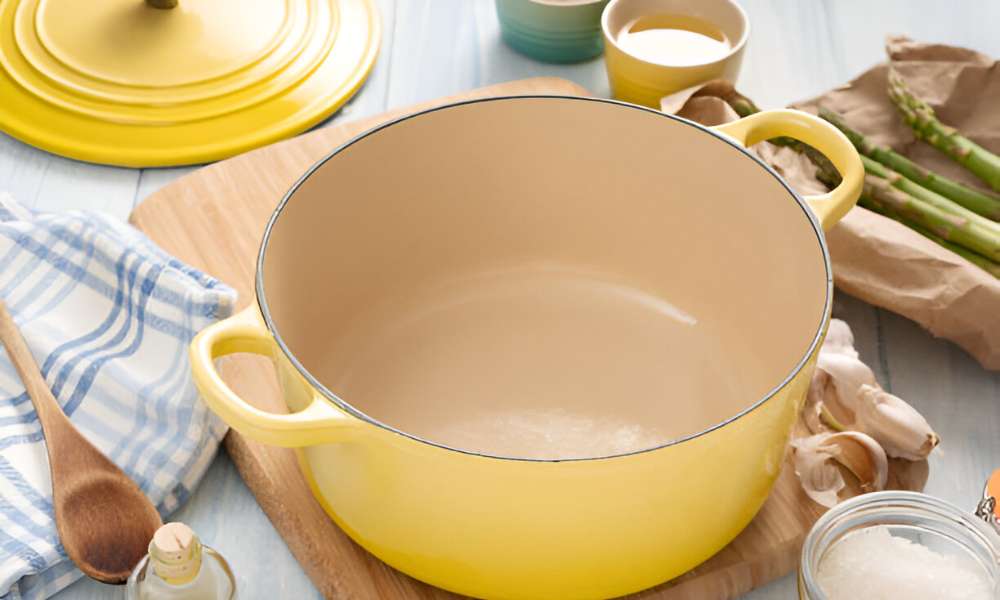
Gathering Necessary Supplies
- Cast Iron Dutch Oven.
- Cooking Oil Or Fat (E.G., Flaxseed Oil, Vegetable Oil, Shortening).
- Paper Towels Or Cloth.
- Aluminum Foil Or A Baking Sheet.
- Oven Mitts Or Heat-Resistant Gloves.
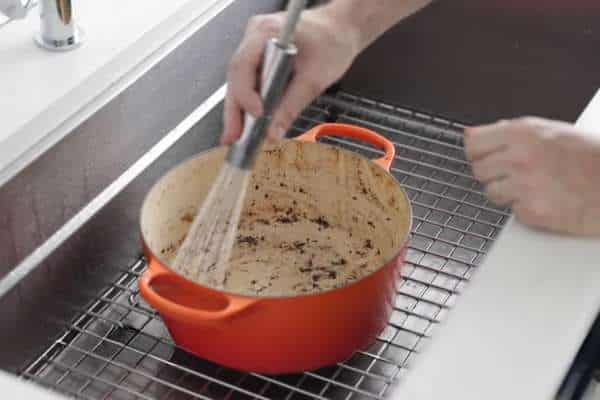
Cleaning the Dutch Oven
Before you begin the seasoning process, it’s crucial to clean the Dutch oven thoroughly. Start with an initial cleaning to remove any factory residue or protective coatings that may be present. Use mild soap and warm water for this step, scrubbing gently to avoid damaging the surface. Once cleaned, ensure you dry this oven thoroughly to prevent rust from forming. Proper preparation and cleaning are vital steps to achieving a well-seasoned and long-lasting cast iron oven.
The Seasoning Process:
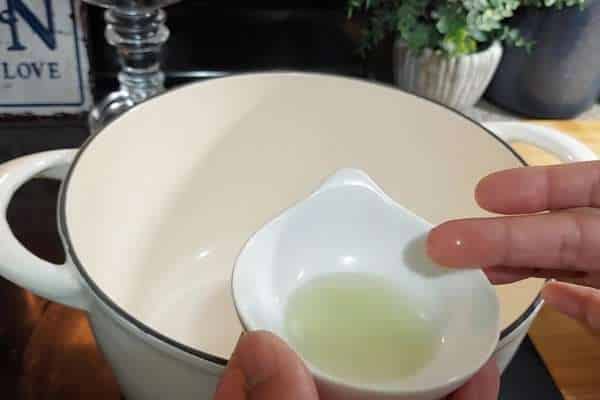
Applying the Oil
The first step in the seasoning process is applying the oil. Choose the right oil for seasoning, such as flaxseed oil, vegetable oil. Or shortening, as these oils create a durable and non-stick coating. Evenly coat the entire surface of the Dutch oven, both inside and outside, to ensure comprehensive protection. After applying the oil, make sure to remove any excess oil to avoid a sticky residue, which can hinder the seasoning process and affect cooking performance.
Baking
Once the oil is applied, it’s time to bake the Dutch oven. Preheat your oven to the appropriate temperature, usually around 450°F to 500°F, to ensure the oil bonds effectively with the cast iron. Place oven upside down on the oven rack to allow for even coating and to prevent pooling of the oil. Use aluminum foil or a baking sheet on the lower rack to catch any drips, protecting your oven from spills. Bake the Dutch stove for the recommended time, typically about 1 hour, to achieve a solid, non-stick layer.
Cooling Down
After baking, allow the Dutch oven to cool in the oven. This gradual cooling technique enables to solidify the seasoning layer. Handle this oven with care to keep away from burns, as forged iron retains warmness for a long time. Once cooled, look into the seasoning layer for evenness, making sure a easy and consistent finish. Proper cooling and inspection are vital to making sure your solid iron oven is flawlessly seasoned and geared up to be used.
Maintenance and Re-Seasoning:
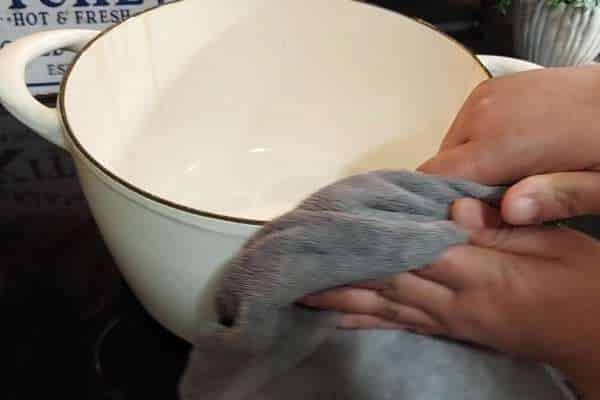
Regular Use and Cleaning
For daily use, avoid cooking highly acidic foods frequently, as they can strip the seasoning. When cleaning, avoid using soap; instead, use hot water and a brush to remove food residues. This method helps preserve the non-stick surface. After washing, always dry your Dutch stove thoroughly to prevent rust. A quick way to ensure it’s completely dry is to place it on a stove burner for a few minutes, allowing any remaining moisture to evaporate.
Touch-Up Seasoning
Over time, your cast iron Dutch oven may show signs that it needs re-seasoning, such as dullness or the appearance of rust spots. When you notice these signs, it’s time for a quick touch-up seasoning process. Simply apply a thin layer of oil to the clean, dry surface and bake it in the oven at 450°F to 500°F for about an hour. This will restore the non-stick coating and prevent rust. For optimal performance, consider re-seasoning this oven every few months or as needed based on its condition and frequency of use. Regular touch-ups will keep your Dutch stove in top shape, ensuring it remains a reliable and efficient tool in your kitchen.
Troubleshooting Common Issues:
Sticky Residue
One common issue with cast iron ovens is the formation of a sticky residue. This often occurs due to the use of too much oil during the seasoning process or not baking the oil long enough. To avoid this, apply a thin, even layer of oil and ensure you remove any excess before baking. If your Dutch stove already has a sticky residue, you can fix it by scrubbing the surface with hot water and a brush. Then reapplying a thin coat of oil and baking it again at a high temperature.
Uneven Seasoning
Uneven seasoning can result in areas of the Dutch oven being more prone to sticking or rust. To identify uneven seasoning, look for spots that appear darker or shinier than the rest of the surface. To fix this, clean the Dutch stove thoroughly and reapply a thin, even layer of oil over the entire surface. Bake the Dutch stove upside down in a preheated oven at 450°F for about an hour, allowing the oil to bond uniformly to the surface. This process may need to be repeated a few times to achieve an even coating.
Rust Formation
Rust can form on a cast iron oven if it is exposed to moisture for extended periods or not dried properly after cleaning. To prevent rust, always dry this oven thoroughly after washing, and store it in a dry place. If rust does form, you can remove it by scrubbing the affected area with a mixture of coarse salt and water, or a specialized cast iron cleaner. Once the rust is removed, re-season the Dutch stove by applying a thin layer of oil and baking it in the oven to restore the protective coating. Proper care and maintenance will keep your Dutch oven rust-free and in excellent condition for years.
Tips for Long-Term Care:
Storing
Proper storage of your forged iron oven is important to avoid moisture buildup, that could lead to rust. Ensure the Dutch stove is absolutely dry before storing it. Store it in a dry area and avoid stacking it with different cookware, that could purpose harm to the seasoning. To shield the floor and prevent moisture from getting trapped, location a layer of paper towels among the lid and the pot. This small step can substantially make bigger the lifestyles of your Dutch stove by way of retaining its seasoning and stopping rust.
Enhancing Seasoning Over Time
To decorate the seasoning of your Dutch oven over time, often cook with oil-wealthy ingredients. The oils and fats from these meals make contributions to the seasoning layer, making it more strong and non-stick. On the opposite hand, it’s clever to avoid cooking fairly acidic meals often, as they could strip away the seasoning. By focusing on cooking methods that promote seasoning and being conscious of the kinds of foods you prepare. You can maintain or even enhance the non-stick floor of your solid iron range, making sure it plays properly for future years.
Conclusion
Properly seasoning and maintaining your cast iron Dutch oven is critical for maximizing its overall performance and sturdiness. By knowledge the seasoning system, applying oil correctly, and baking the Dutch range on the proper temperature, you could create a long lasting. Non-stick surface that complements your cooking. Regular use and cautious cleaning will assist maintain the seasoning. While touch-up seasoning can cope with any symptoms of wear and tear. Troubleshooting common problems like sticky residue, uneven seasoning, and rust formation guarantees this stove stays in pinnacle condition. With right storage techniques and by way of cooking with oil-wealthy foods, you may usually decorate the seasoning over the years. By following these steps, your cast iron Dutch range will stay a dependable and loved piece of cookware for future years.